HP A4500A VRM Replacement for the rp24xx DC-to-DC Converter Installation - Page 2
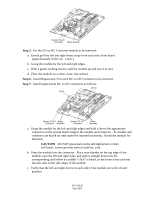
Step 5., Step 6., Step 7., CAUTION
 |
View all HP A4500A manuals
Add to My Manuals
Save this manual to your list of manuals |
Page 2 highlights
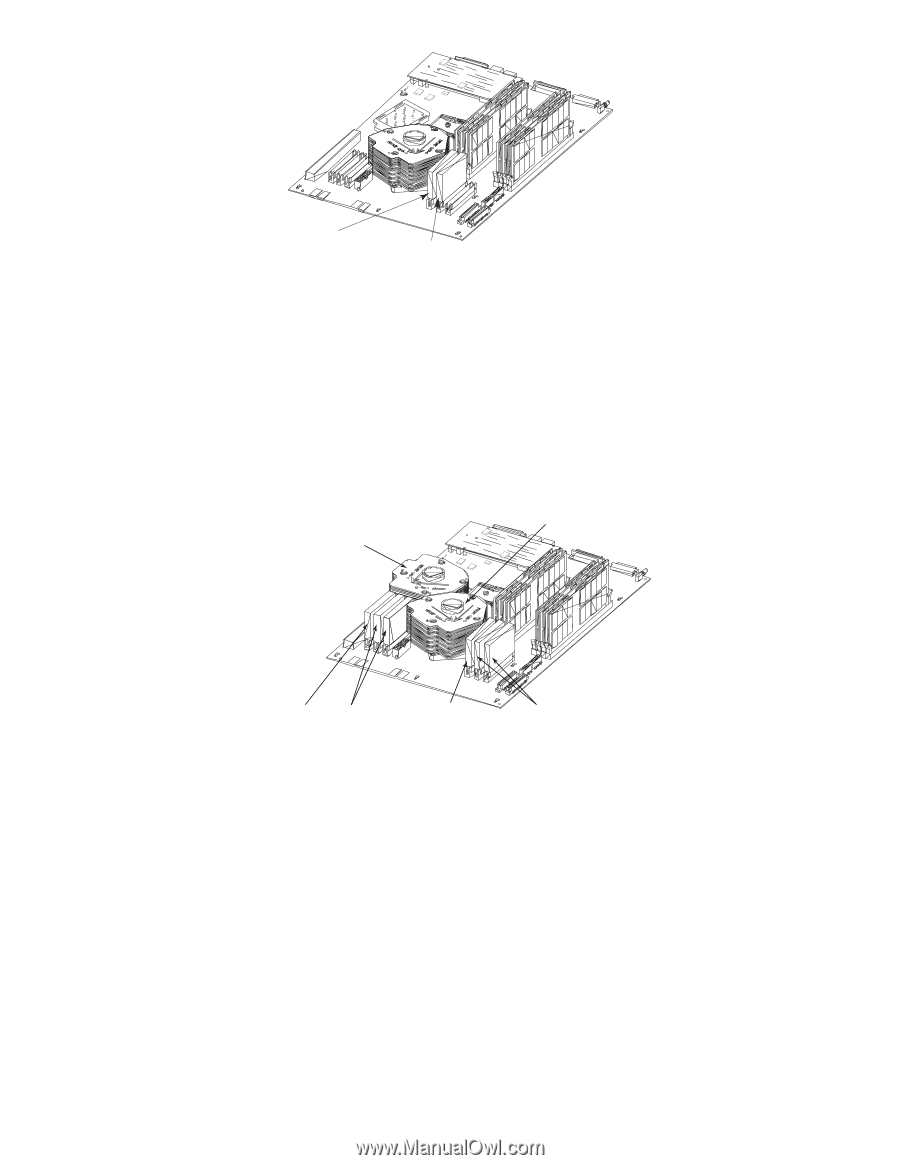
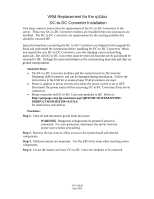
Master DC-DC Converter Slave Module Step 5. For the DC-to-DC Converter module to be removed: a. Gently pull the left and right levers away from each side of the board (approximately 0.635 cm - 1/4 in.). b. Grasp the module by the left and right edges. c. With a gentle rocking motion, pull the module up and out of its slot. d. Place the module on a clean, static-free surface. Step 6. Install Repeat step 5 for each DC-to-DC Converter to be removed. Step 7. Install replacement DC-to-DC converters as follows: CPU0 CPU1 Master DC-DC Slave Converter Modules Master DC-DC Converter Slave Modules a. Grasp the module by the left and right edges and hold it above the appropriate connector on the system board. Inspect the module and connector - he module and connector are keyed are and cannot be inserted incorrectly. Orient the module for insertion. CAUTION DO NOT press hard on the left/right levers or they will break. Levers provide vertical stability, only. b. Press the module into the connector. Place your thumbs on the top edge of the module, near the left and right sides, and push it straight down into the corresponding until either an audible "click" is heard, or the levers close and seat into the slots in the side edges of the module c. Verify that the left and right levers on each side of the module are in the closed position 5971-4258 Sep 2004
-
 1
1 -
 2
2 -
 3
3
 |
 |