HP AJ765A HP StorageWorks RDX DL Server Module getting started guide (5697-788
HP AJ765A - StorageWorks RDX Removable Disk Backup System Manual
 |
UPC - 883585922024
View all HP AJ765A manuals
Add to My Manuals
Save this manual to your list of manuals |
HP AJ765A manual content summary:
- HP AJ765A | HP StorageWorks RDX DL Server Module getting started guide (5697-788 - Page 1
the drive and cable with the HP StorageWorks RDX DL Server Module. 3. Remove the optical drive cage from the server, as instructed in the HP ProLiant Server User Guide. Retain the screws. 4. Install and route the supplied power and USB cables from the server's system board. 1 internal USB connector - HP AJ765A | HP StorageWorks RDX DL Server Module getting started guide (5697-788 - Page 2
the troubleshooting processes in the appropriate optical drive or RDX user guide. If there is an issue that requires replacement, follow the instructions below. If there is a problem with the optical drive, remove it and return for servicing. If there is a problem with the RDX Removable Disk Backup
-
 1
1 -
 2
2
 |
 |
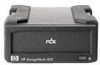
HP StorageWorks RDX DL Server Module
Installing the unit
HP StorageWorks RDX DL Server Module is an internal assembly for a Proliant DL server. It is
supplied with a USB and a power cable.
1.
Power down the server, remove the power cord and then remove the access panel.
2.
If an optical drive is already installed, remove it, leaving the SATA cable connected to the system
board. You can re-use the drive and cable with the HP StorageWorks RDX DL Server Module.
3.
Remove the optical drive cage from the server, as instructed in the HP ProLiant Server User Guide.
Retain the screws.
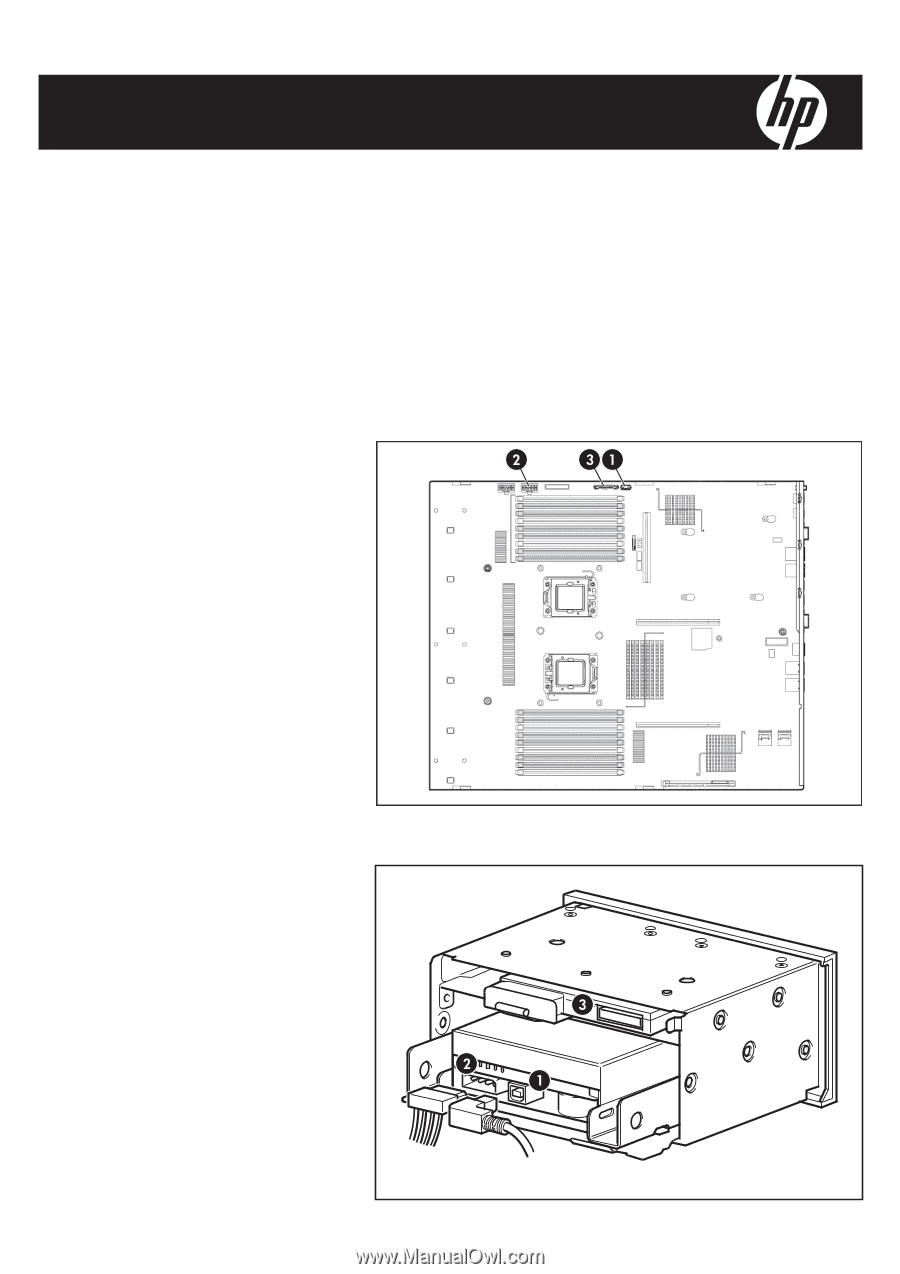
4.
Install and route the supplied
power and USB cables from the
server’s system board.
1 internal USB connector
2 power connector
3 SATA optical drive connector
(optional)
5.
Slide the HP StorageWorks RDX DL Server Module partially into the empty server bay.
6.
Connect the other end of the power
and USB cables to the connectors
on the rear of the HP StorageWorks
RDX DL Server Module.
1 USB connector
2 power connector
3 SATA optical drive connector
(optional)