HP Color LaserJet CM4730 HP Color LaserJet CM4730 MFP - Job Aid - UPD PCL Prin - Page 2
How do I, Steps to perform - mfp drivers
 |
View all HP Color LaserJet CM4730 manuals
Add to My Manuals
Save this manual to your list of manuals |
Page 2 highlights
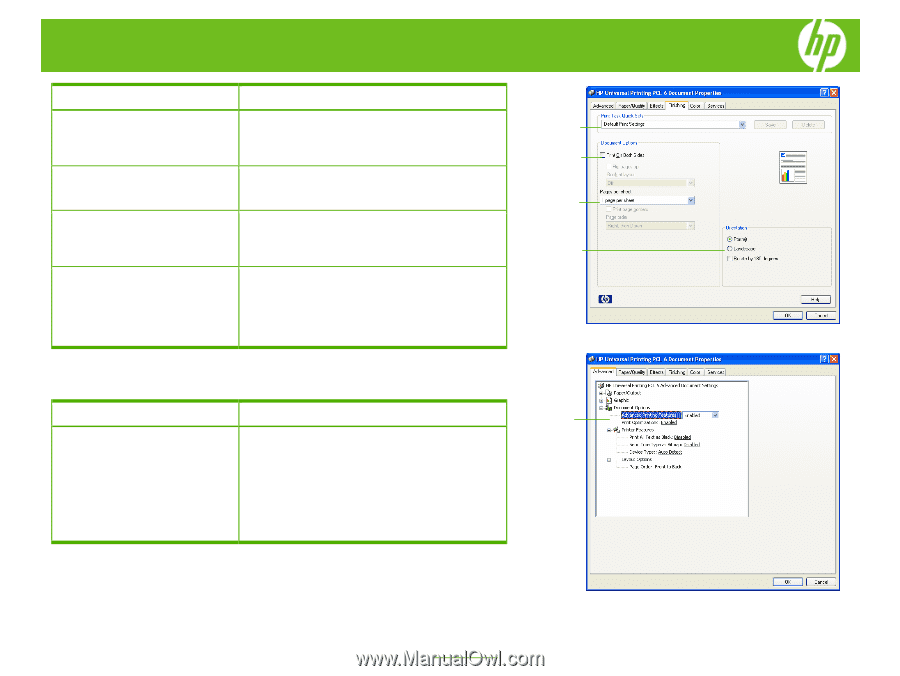
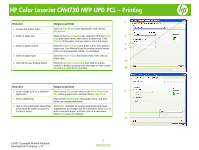
HP Color LaserJet CM4730 MFP UPD PCL - Printing How do I Steps to perform 9 Save a Quick Set (the printer driver Adjust settings on any or all tabs. To add a Quick Set, must be stored on your PC for this type a name in the Print Task Quick Sets field and click 9 to work). Save. To delete a Quick Set, display it in the Quick Sets field and click Delete. 10 10 Print on both sides manually Click on the Finishing tab, and then click Print on Both (Duplex). Sides (Manually). If you will bind the document along the top, click Flip Pages Up. 11 11 Print multiple pages per sheet. Select a number (between 1 and 16) in the Pages Per Sheet drop down menu. Click Print Page Borders to add a box around each printed page. You can also change the Page Order. 12 12 Select page orientation. Select an option in the Orientation box. In addition to the Portrait and Landscape orientation options, you can select the Rotate by 180 degrees check box. This creates a landscape or portrait orientation in which the image is rotated 180°.This setting is useful for printing prepunched paper. How do I Steps to perform 13 13 Select advanced printing options. Click on the Advanced tab. Select options under the Paper/Output, Graphic, or Document Options sections. Click a current setting to activate a drop-down list or spin box where you can enter a new value. Click OK when finished. For example, to change the order of pages as they print, click the arrow by Layout Options, and then select Page Order: Front to Back (page 1 is on the top of the stack) or Back to Front (page 1 is on the bottom of the stack). ©2007 Copyright Hewlett-Packard Development Company, L.P. 2 www.hp.com
-
 1
1 -
 2
2
 |
 |