HP L7680 Setup Guide - Page 21
Step 1: Create and share a folder on the network, Step 2: Set up a shortcut to the folder on - scan to computer
 |
UPC - 808736831611
View all HP L7680 manuals
Add to My Manuals
Save this manual to your list of manuals |
Page 21 highlights
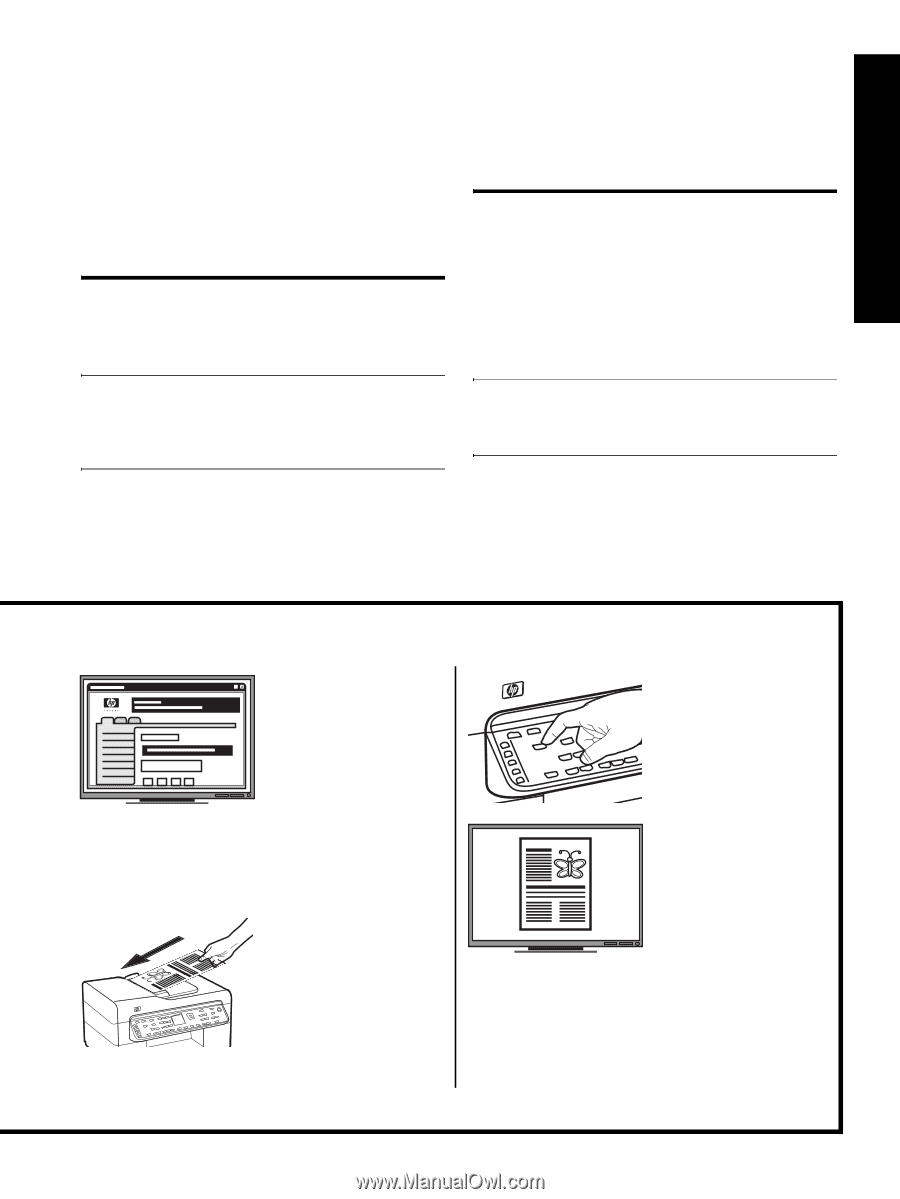
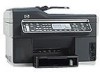
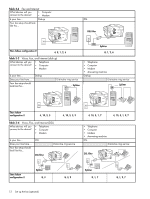
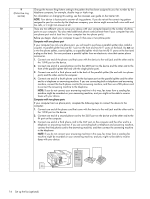
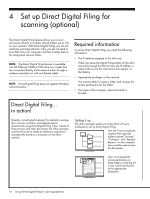
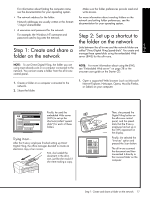
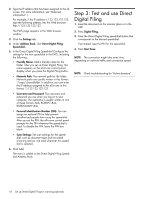
English For information about finding the computer name, see the documentation for your operating system. • The network address for the folder. Network addresses are usually written in this format: \\mypc\sharedfolder • A username and password for the network. For example, the Windows NT username and password used to log onto the network. Step 1: Create and share a folder on the network Make sure the folder preferences provide read and write access. For more information about creating folders on the network and setting folder preferences, see the documentation for your operating system. Step 2: Set up a shortcut to the folder on the network Links between the all-in-one and the network folder are called "Direct Digital Filing Speed-dials". You create and manage these speed-dials using the embedded Web server (EWS) for the all-in-one. NOTE: To use Direct Digital Filing, the folder you are using must already exist on a computer connected to the network. You cannot create a folder from the all-in-one control panel. 1. Create a folder on a computer connected to the network. 2. Share the folder. NOTE: For more information about using the EWS, see "Embedded Web server" on page 28 or the onscreen user guide on the Starter CD. 1. Open a supported Web browser (such as Microsoft Internet Explorer, Netscape, Opera, Mozilla Firefox, or Safari) on your computer. Finally, he used the embedded Web server (EWS) to set up the shortcuts (called "speeddials") for each of these folders Trying it out... After the IT-savvy employee finished setting up Direct Digital Filing, the office manager decided to create an electronic copy of an invoice. First, she loaded the document in the all-inone, just like she would if she were making a copy. Then, she pressed the Digital Filing button on the all-in-one control panel, and the speeddials that the IT-savvy employee had set up in the EWS appeared on the display. Finally, she selected the "Invoices" option and pressed the Scan button. The all-in-one scanned the document and then transmitted it directly to the invoices folder on the computer. Step 1: Create and share a folder on the network 17
-
 1
1 -
2
-
3
-
4
-
5
-
6
-
7
-
8
-
9
-
10
-
11
-
12
-
13
-
14
-
15
-
 16
16 -
 17
17 -
 18
18 -
 19
19 -
 20
20 -
 21
21 -
 22
22 -
 23
23 -
 24
24 -
 25
25 -
 26
26 -
27
-
28
-
29
-
30
-
31
-
32
-
33
-
34
-
35
-
36
-
37
-
38
-
39
-
40
-
41
-
42
-
43
-
44
-
45
-
46
-
47
-
48
-
49
-
50
-
51
-
52
-
53
-
54
-
55
-
56
-
57
-
58
-
59
-
60
-
61
-
62
-
63
-
64
-
65
-
66
-
67
-
68
-
69
-
70
-
71
-
72
-
73
-
74
-
75
-
76
-
77
-
78
-
79
-
80
-
81
-
82
-
83
-
84
-
85
-
86
-
87
-
88
-
89
-
90
-
91
-
92
-
93
-
94
-
95
-
96
-
97
-
98
-
99
-
100
-
101
-
102
-
103
-
104
-
105
-
106
-
107
-
108
-
109
-
110
-
111
-
112
-
113
-
114
-
115
-
116
-
117
-
118
-
119
-
120
-
121
-
122
-
123
-
124
-
125
-
126
-
127
-
128
-
129
-
130
-
131
-
132
-
133
-
134
-
135
-
136
 |
 |