HP MSA2324i HP StorageWorks 2312/2324 Modular Smart Array controller installat
HP MSA2324i Manual
 |
View all HP MSA2324i manuals
Add to My Manuals
Save this manual to your list of manuals |
HP MSA2324i manual content summary:
- HP MSA2324i | HP StorageWorks 2312/2324 Modular Smart Array controller installat - Page 1
2312/2324 Modular Smart Array controller installation instructions About this document This document describes procedures for installing a controller into an HP StorageWorks 2312/2324 Modular Smart Array. Before you begin CAUTION: When upgrading an existing operational system with a second - HP MSA2324i | HP StorageWorks 2312/2324 Modular Smart Array controller installat - Page 2
(2); turn the thumbscrews finger-tight. Verifying Partner Firmware Upgrade is enabled By default the storage system's Partner Firmware Upgrade feature is enabled, so when you upgrade a controller the system automatically ensures that both controllers have the more recent version. • Log in to
-
 1
1 -
 2
2
 |
 |
HP StorageWorks 2312/2324
Modular Smart Array controller
installation instructions
© Copyright 1999, 2008 Hewlett-Packard Development Company,
L.P.
First edition: November, 2008
The information in this document is subject to change without
notice.
Printed in the China
www.hp.com
508933-001
About this document
This document describes procedures for installing a controller into an
HP StorageWorks 2312/2324 Modular Smart Array.
Before you begin
CAUTION:
When upgrading an existing operational system with a second
optional controller, removing the air management blank impacts
the air
fl
ow and cooling ability of the device. To avoid possible
overheating, insert the controller as quickly as possible. If the
internal temperature exceeds acceptable limits, the enclosure may
overheat and automatically shut down or restart.
CAUTION:
Parts can be damaged by electrostatic discharge. Use proper
anti-static protection.
•
Keep the replacement component in the ESD bag until needed.
•
Wear an ESD wrist strap grounded to an unpainted surface
of the chassis.
•
If an ESD wrist strap is unavailable, touch an unpainted surface
of the chassis before handling the component.
•
Never touch connector pins.
Installing a controller (single or dual) for
the
fi
rst time
Remove the air management blank(s)
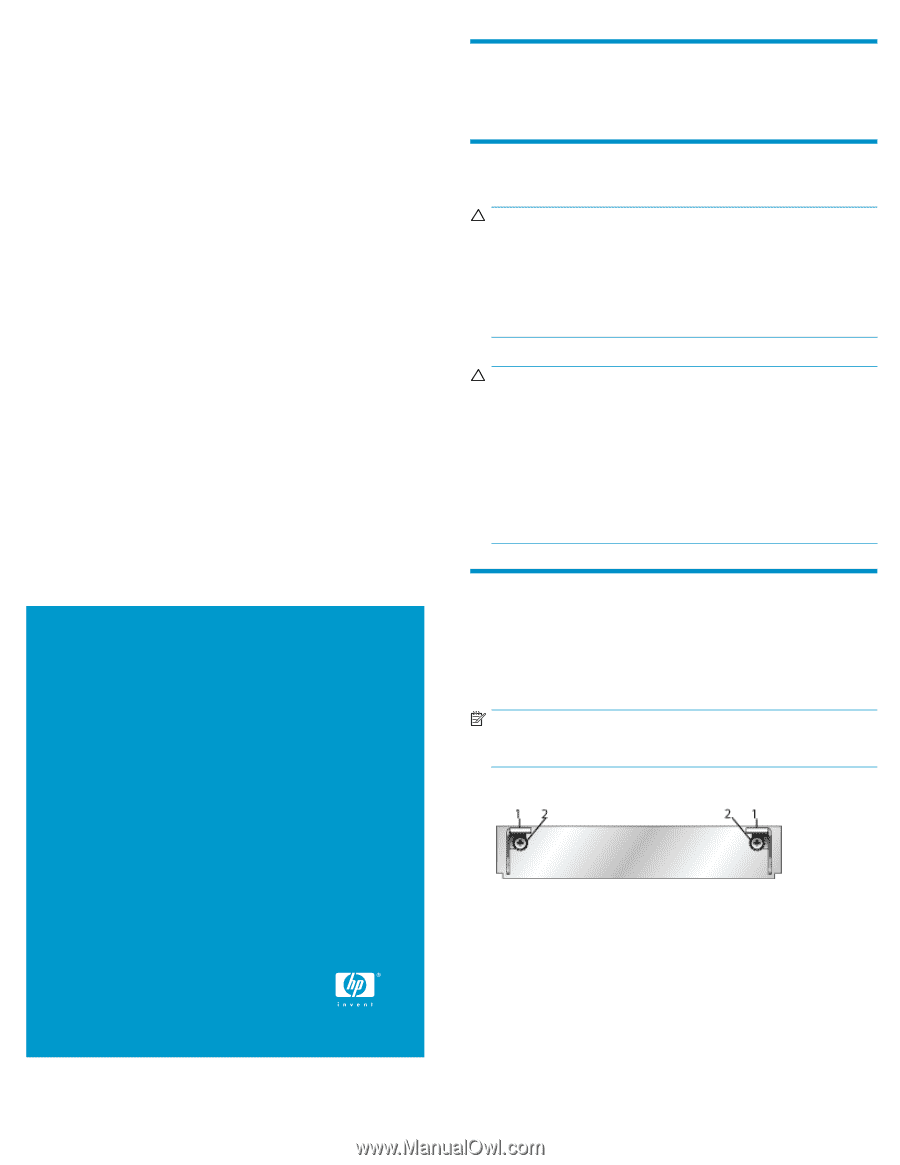
NOTE:
For clarity, only relevant details are shown in these illustrations.
1.
Turn the thumbscrews until the screws disengage from the blank.
1 — Latch
2 — Thumbscrew
2.
Press both latches downward.
Page 1