HP P3005 HP LaserJet P3005 Printer Series - Paper Presenter Installation Instr - Page 5
Document Attributes - p3005n
 |
UPC - 882780566361
View all HP P3005 manuals
Add to My Manuals
Save this manual to your list of manuals |
Page 5 highlights
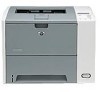
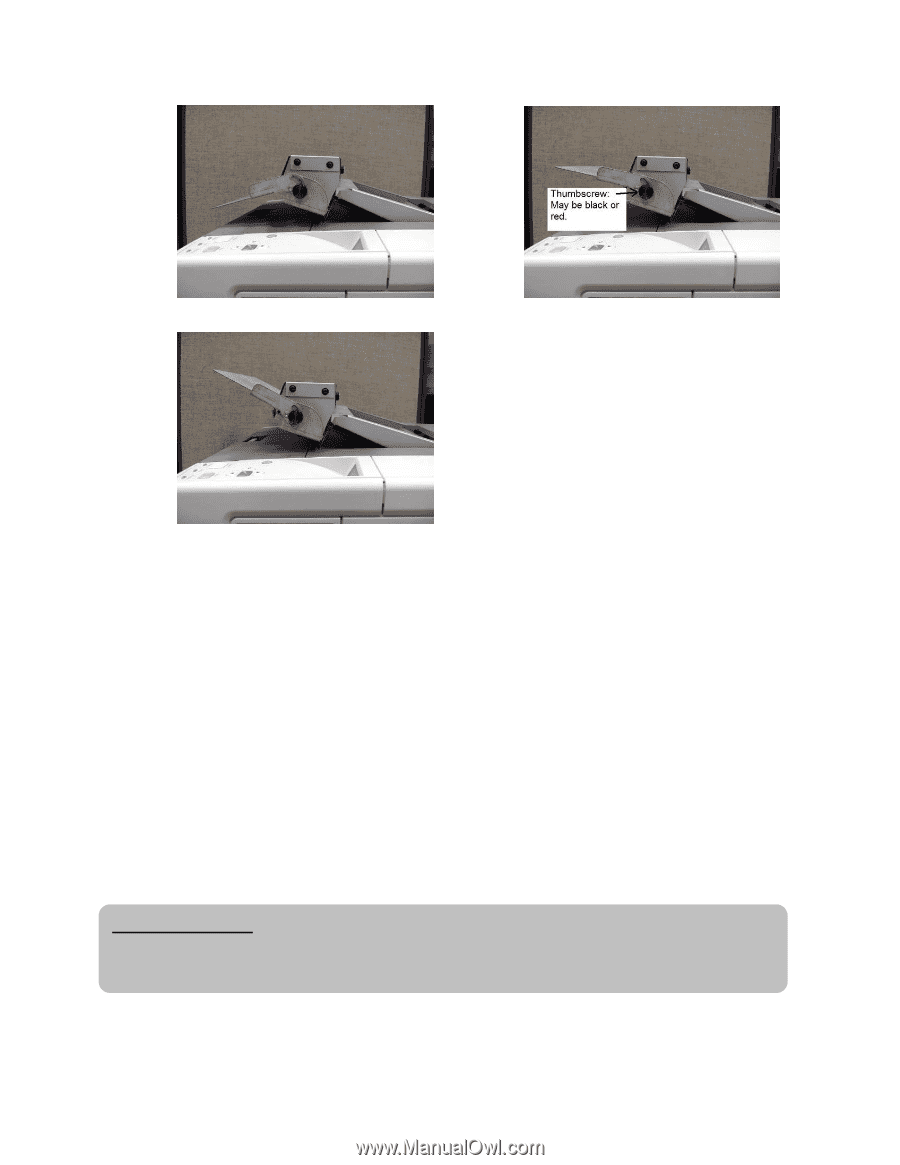
11. Loosen the thumbscrews to rotate the extender to the correct height (so that the paper is directed through the slot in the kiosk.) Tighten the thumbscrews to lock the extender at the correct height. The thumbscrews may be black or red. 12. After placing the printer into the kiosk, slowly close the kiosk door to make sure that no parts interfere, and that the extender is at the correct height. Document Attributes Product Models: P3005, P3005d, P3005n, P3005dn, P30005x Product Numbers: Q7812A, Q7813A, Q7814A, Q7815A, Q7816A Page 5 of 5
-
 1
1 -
 2
2 -
 3
3 -
 4
4 -
 5
5
 |
 |
Page 5 of 5
11. Loosen the thumbscrews to rotate the extender to the correct height (so that the paper is directed
through the slot in the kiosk.)
Tighten the thumbscrews to lock the extender at the correct height.
The thumbscrews may be black or red.
12. After placing the printer into the kiosk, slowly close the kiosk door to make sure that no parts
interfere, and that the extender is at the correct height.
Document Attributes
Product Models:
P3005, P3005d, P3005n, P3005dn, P30005x
Product Numbers:
Q7812A, Q7813A, Q7814A, Q7815A, Q7816A