HP Photosmart c500 HP PhotoSmart C500 Digital Camera User’s Guide - C - Page 6
Protecting Photos, Delete, To protect photos, Protect
 |
View all HP Photosmart c500 manuals
Add to My Manuals
Save this manual to your list of manuals |
Page 6 highlights
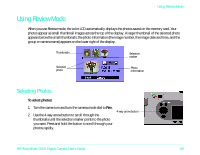
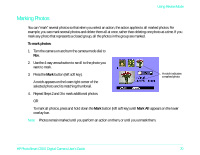
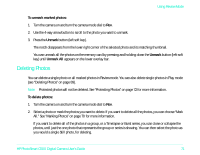
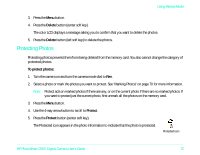
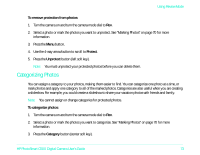
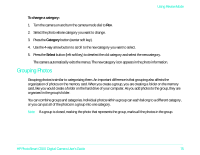
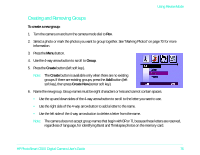
Using Review Mode 3. Press the Menu button. 4. Press the Delete button (center soft key). The color LCD displays a message asking you to confirm that you want to delete the photos. 5. Press the Delete button (left soft key) to delete the photos. Protecting Photos Protecting photos prevents them from being deleted from the memory card. You also cannot change the category of protected photos. To protect photos: 1. Turn the camera on and turn the camera mode dial to Rev. 2. Select a photo or mark the photos you want to protect. See "Marking Photos" on page 70 for more information. Note: Protect acts on marked photos if there are any, or on the current photo if there are no marked photos. If you want to protect just the current photo, first unmark all the photos on the memory card. 3. Press the Menu button. 4. Use the 4-way arrow button to scroll to Protect. 5. Press the Protect button (center soft key). The Protected icon appears in the photo information to indicate that the photo is protected. Protected icon HP PhotoSmart C500 Digital Camera User's Guide 72
-
 1
1 -
 2
2 -
 3
3 -
 4
4 -
 5
5 -
 6
6 -
 7
7 -
 8
8 -
 9
9 -
 10
10 -
 11
11 -
 12
12 -
13
-
14
-
15
-
16
-
17
-
18
-
19
-
20
-
21
-
22
-
23
-
24
-
25
-
26
 |
 |