HP Scitex LX600 HP 104-in Dual Roll Kit - User's guide - Page 11
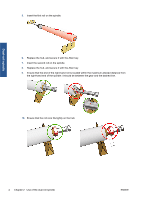
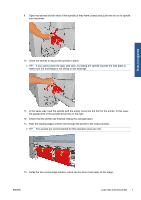
Pass the leading edges of both rolls through the printer to the output spindle. - installation
 |
View all HP Scitex LX600 manuals
Add to My Manuals
Save this manual to your list of manuals |
Page 11 highlights
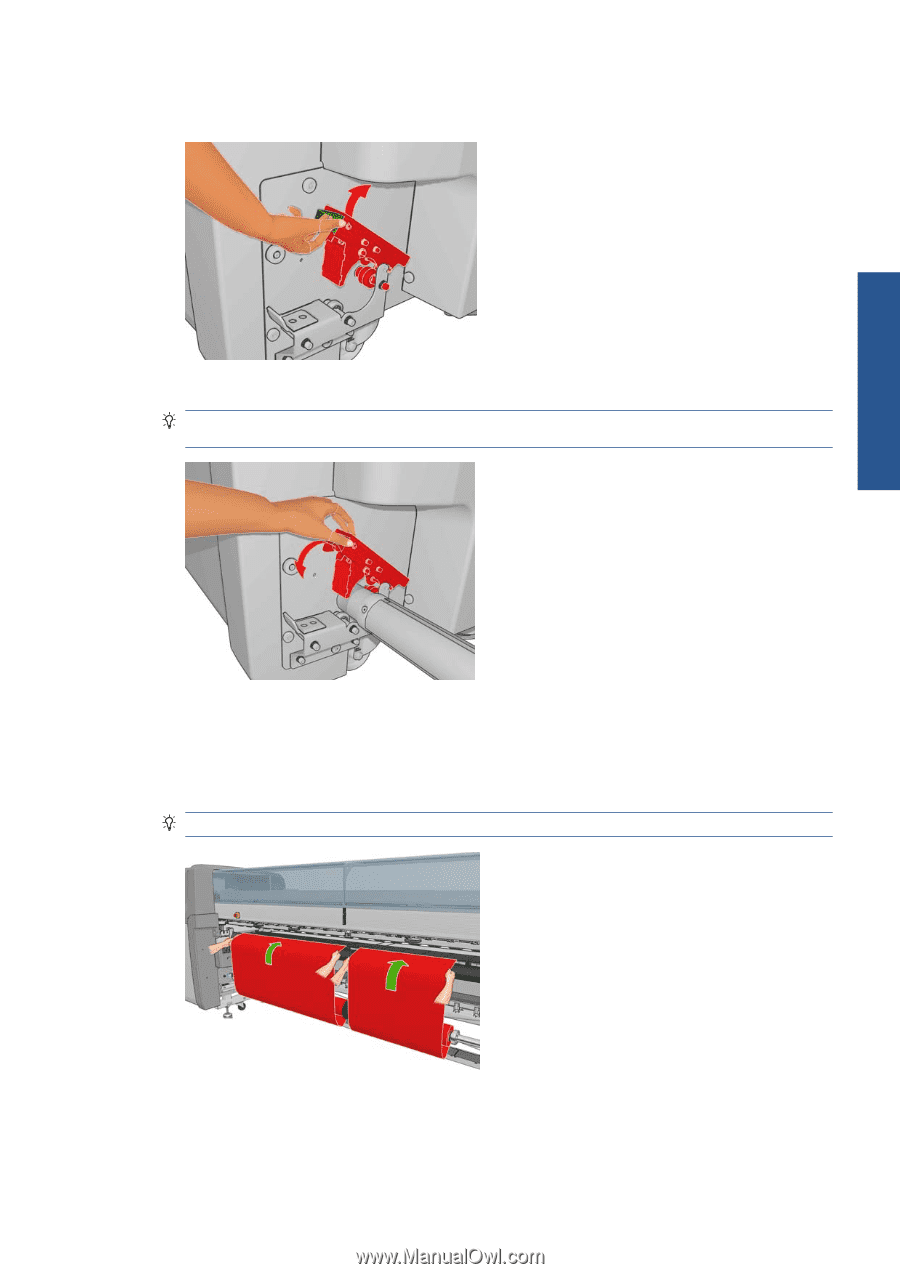
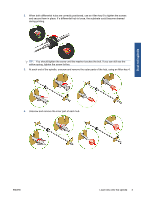
Dual-roll spindle 9. Open the latches at both ends of the spindle (if they were closed) and push the roll on its spindle into the printer. 10. Close the latches to secure the spindle in place. TIP: If you cannot close the gear side latch, try sliding the spindle towards the side plate to make sure the end flange is not sitting on the bearings. 11. In the same way, load the spindle with the empty cores into the front of the printer. In this case, the geared end of the spindle should be on the right. 12. Check that the printer has finished raising the carriage beam. 13. Pass the leading edges of both rolls through the printer to the output spindle. TIP: Two people are recommended for this operation (one per roll). 14. Install the two central edge holders, which can be done most easily at this stage. ENWW Load rolls into the printer 7
-
 1
1 -
2
-
3
-
4
-
5
-
 6
6 -
 7
7 -
 8
8 -
 9
9 -
 10
10 -
 11
11 -
 12
12 -
 13
13 -
 14
14 -
 15
15 -
 16
16
 |
 |