HP Slate 7 4601 Quick Start Guide - Page 3
Setting up your tablet
 |
View all HP Slate 7 4601 manuals
Add to My Manuals
Save this manual to your list of manuals |
Page 3 highlights
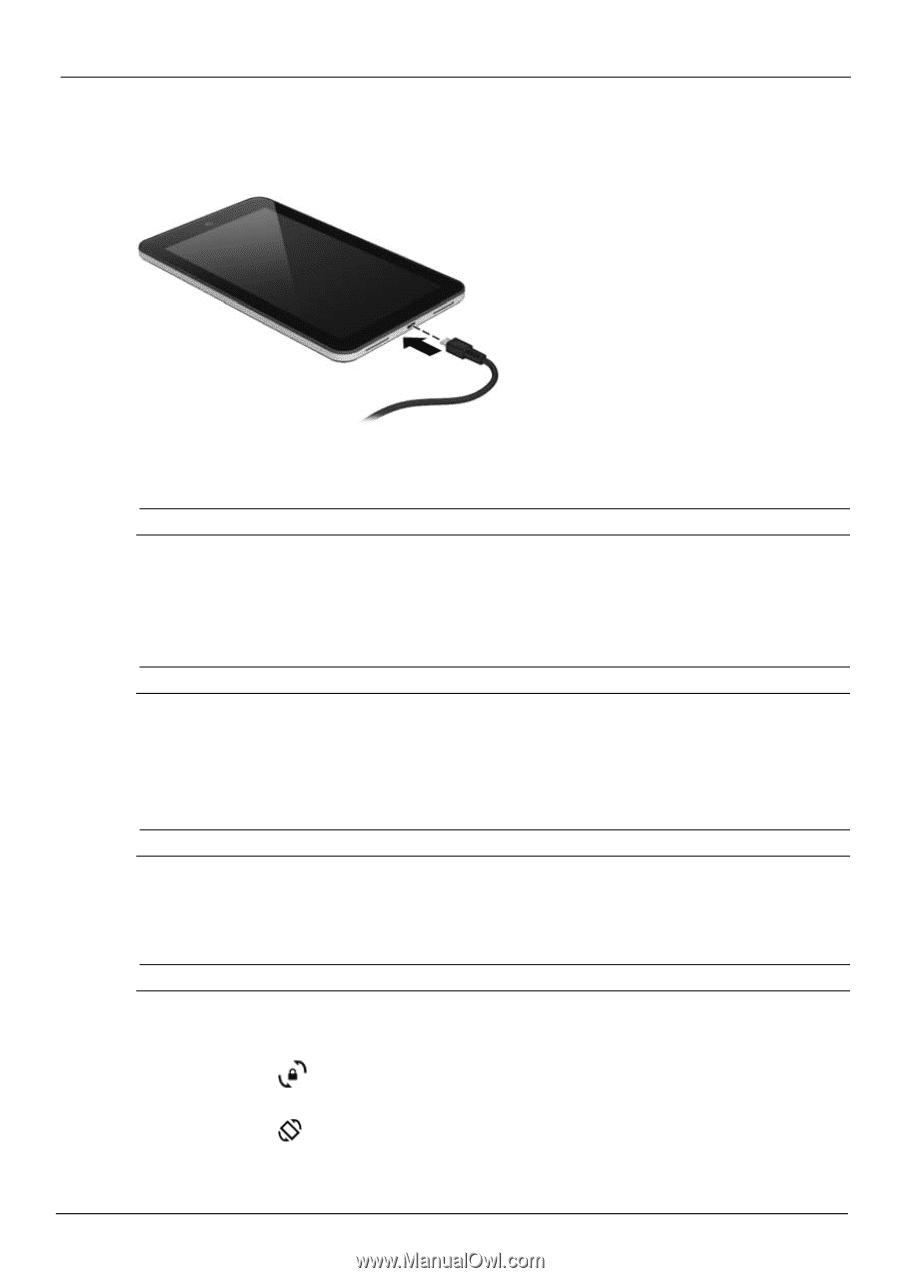
Setting up your tablet 1.Remove the screen protection film. 2.Connect the micro USB cable to the tablet and to the adapter, and then connect the adapter to a power outlet. Charge the battery for at least15 minutes. ✎ The HP 5V 2A adapter included with your tablet is recommended for charging the tablet. 3.While the battery image is displayed, turn on the tablet by pressing and holding the power button about 5 seconds until the HP logo is displayed. If the battery image is not displayed, press the power button briefly to display the image, and then press and hold the power button until the HP logo is displayed. The first time you turn on the tablet, you will see a Welcome screen. 4.Follow the on-screen instructions to select a language. 5.Connect to a wireless network: ✎ You must be connected to a wireless network before you can connect to the Internet. a. Be sure that Wi-Fi is turned on. Touch the All apps icon, touch Settings, and then touch Wi-Fi. b. Select a network from the available networks that are displayed. c. Type the security key if required, and then touch Connect. 6.On the sign-in screen, enter your Google™ username and password. The email, contacts, calendar, and data that are associated with that account will be synchronized automatically. ✎ If you do not have a Google account, you can create one now. Change your tablet's view When setup is complete, the Auto-rotate feature allows you to change your tablet's view. For portrait view, hold the tablet vertically. For landscape view, hold the tablet horizontally. ✎ Some apps are portrait-only and do not rotate automatically. To change the Auto-rotate setting, swipe down from the top of the screen to display notifications, and then touch the Screen rotation icon to lock or unlock the screen rotation. Indicates that the screen rotation is locked. Indicates that the screen rotation is unlocked. 2
-
 1
1 -
 2
2 -
 3
3 -
 4
4 -
 5
5 -
 6
6 -
 7
7 -
 8
8
 |
 |