Image Fitness 10.0 Treadmill English Manual
Image Fitness 10.0 Treadmill Manual
 |
View all Image Fitness 10.0 Treadmill manuals
Add to My Manuals
Save this manual to your list of manuals |
Image Fitness 10.0 Treadmill manual content summary:
- Image Fitness 10.0 Treadmill | English Manual - Page 1
, or if there are missing or damaged parts, we will guarantee complete satisfaction through direct instructions in this manual before using this equipment. Save this manual for future reference. USER'S MANUAL Patent Pending Visit our website at www.imagefitness.com new products, prizes, fitness - Image Fitness 10.0 Treadmill | English Manual - Page 2
9 HOW TO FOLD AND MOVE THE TREADMILL 20 TROUBLESHOOTING 22 CONDITIONING GUIDELINES 24 PART LIST 27 ORDERING REPLACEMENT PARTS Back Cover LIMITED WARRANTY Back Cover Note: An EXPLODED DRAWING and a PART LIST are attached in the center of this manual. IMAGE is a registered trademark of ICON IP - Image Fitness 10.0 Treadmill | English Manual - Page 3
on page 9. To purchase a surge suppressor, see your local IMAGE dealer or call 1-800-753-4645 and order part number 146148. 16. The treadmill is capable of high speeds. Adjust the speed in small increments to avoid sudden jumps in speed. 17. The pulse sensor is not a medical device. Various - Image Fitness 10.0 Treadmill | English Manual - Page 4
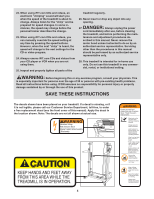
use of this product. SAVE THESE INSTRUCTIONS The decals shown have been placed on your treadmill. If a decal is missing, or if it is not legible, please call our Customer Service Department, toll-free, to order a free replacement decal (see the front cover of this manual). Apply the decal in the - Image Fitness 10.0 Treadmill | English Manual - Page 5
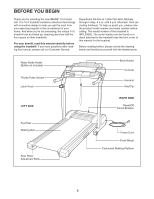
exercising, the unique 10.0 treadmill can be folded up, requiring less than half the floor space of other treadmills. For your benefit, read this manual carefully before using the treadmill. If you have questions after reading this manual, please call our Customer Service Department toll-free at - Image Fitness 10.0 Treadmill | English Manual - Page 6
is a normal condition and does not affect treadmill performance. If there is lubricant on top of the walking belt, simply wipe off the lubricant with a soft cloth and a mild, non-abrasive cleaner. To identify small parts during assembly, use the part identification drawings below. 1 1/2" Screw (79 - Image Fitness 10.0 Treadmill | English Manual - Page 7
end of the Right Upright. With the help of a second person, tip the treadmill onto its other side and repeat steps 1 through 3. Note: There is not . 4. With the help of a second person, set the treadmill flat on the floor so the Right Upright (10) and the Left Upright (not shown) are vertical. Hold - Image Fitness 10.0 Treadmill | English Manual - Page 8
Top View 87 118 9 12 10.Make sure that all parts are properly tightened before you use the treadmill. Note: Extra hardware may be included. Keep the included allen wrench in a secure place; the allen wrench is used to adjust the walking belt (see page 23). To protect the floor or carpet from damage - Image Fitness 10.0 Treadmill | English Manual - Page 9
it will not fit the outlet, treadmill (see draw- ing 1 at the right). To purchase a surge suppres- sor, see your local IMAGE dealer or call 1-800-753- Grounded Outlet Box Adapter Surge Suppressor 4645 and order part treadmill. If the control system is damaged, the walking belt may change speed - Image Fitness 10.0 Treadmill | English Manual - Page 10
Key Clip CAUTION: Before operating the console, read the following precautions. • Do not stand on the walking belt when turning on the power. • Always wear the clip (see the drawing above) while operating the treadmill. • Adjust the speed sensor. speed of the treadmill as it guides you through - Image Fitness 10.0 Treadmill | English Manual - Page 11
of 0.5 mph. Note: The console can display speed and distance in either miles or kilometers (see SPEED DISPLAY on page 12). For simplicity, all instructions in this section refer to miles. 3 Find the clip attached to the key (see the drawing on page 10), and slide the clip onto the waistband of - Image Fitness 10.0 Treadmill | English Manual - Page 12
speed of the walking belt. Note: The console can display speed and distance in either miles or kilometers. To see which unit of measurement is selected, hold down the Stop button, insert the key Select a personal trainer program. When the key is inserted, the manual mode will be selected. To select - Image Fitness 10.0 Treadmill | English Manual - Page 13
program. A moment after the button is pressed, the treadmill will automatically adjust to the first speed setting for the program. Hold the handrails and begin walking. Each program is divided into several time periods of different lengths. One speed setting is pro- grammed for each period. (The - Image Fitness 10.0 Treadmill | English Manual - Page 14
CD player. See pages 14 and 15 for connecting instructions. To use iFIT.com videocassettes, the treadmill must be connected to your VCR. See page 16 for connecting instructions. To use iFIT.com programs directly from our internet site, the treadmill must be connected to your home computer. See page - Image Fitness 10.0 Treadmill | English Manual - Page 15
: If your stereo has an unused LINE OUT jack, see instruction A below. If the LINE OUT jack is being used, see instruction B. Note: If your computer has a 3.5mm LINE OUT jack, see instruction A. If your computer has only a PHONES jack, see instruction B. A. Plug one end of the audio cable into the - Image Fitness 10.0 Treadmill | English Manual - Page 16
HOW TO CONNECT YOUR VCR Note: If your VCR has an unused AUDIO OUT jack, see instruction A below. If the AUDIO OUT jack is being used, see instruction B. If you have a TV with a built-in VCR, see instruction B. If your VCR is connected to your home stereo, see HOW TO CONNECT YOUR HOME STEREO - Image Fitness 10.0 Treadmill | English Manual - Page 17
Select the iFIT.com mode. When the key is inserted, the manual mode will be selected. To use iFIT. guiding you through your workout. Simply follow your personal trainer's instructions. Note: If the Time display is flashing, press the Start button or the Speed L button on the console. The treadmill - Image Fitness 10.0 Treadmill | English Manual - Page 18
the walking belt, and begin walking. During the program, an electronic "chirping" sound will alert you when the speed of the treadmill is about to change. CAUTION: Always listen for the "chirp" and be prepared for speed changes. If the speed setting is too high or too low, you can manually override - Image Fitness 10.0 Treadmill | English Manual - Page 19
the total number of hours that the treadmill has been operated and the total number of miles that the walking belt has moved. The information mode ) that the walking belt has moved. An "E" for english miles or an "M" for metric kilometers will appear in the Speed display. Press the Speed L button to - Image Fitness 10.0 Treadmill | English Manual - Page 20
damaged. Next, unplug the power cord. CAUTION: You must be able to safely lift 45 pounds (20 kg) to raise, lower, or move the treadmill. 1. Hold the treadmill with your hands in the locations shown at the right. CAUTION: To decrease the possibility of injury, bend your legs and keep your back - Image Fitness 10.0 Treadmill | English Manual - Page 21
down until the frame is past the pin. Slowly release the latch knob. 2. Hold the treadmill firmly with both hands, and lower the treadmill to the floor. Do not drop the treadmill frame to the floor. CAUTION: To decrease the possibility of injury, bend your legs and keep your back straight. Latch - Image Fitness 10.0 Treadmill | English Manual - Page 22
minutes, and then plug it back in. c. Remove the key from the console. Reinsert the key fully into the console. d. If the treadmill still will not run, please call our toll-free Customer Service Department. PROBLEM: The speed display on the console does not function properly SOLUTION: a. Remove - Image Fitness 10.0 Treadmill | English Manual - Page 23
cord, insert the key, and run the treadmill for a few minutes. Repeat until the walking belt is properly tightened. c. If the walking belt still slows when walked on, please call our toll-free Customer Service Department. b 3"-4" Rear Roller Adjustment Bolts PROBLEM: The walking belt is off-center - Image Fitness 10.0 Treadmill | English Manual - Page 24
and incline of the treadmill until your heart rate is near the highest number in your training zone. WORKOUT GUIDELINES Each workout should include the following three parts: A Warm-up-Start each workout with 5 to 10 minutes of stretching and light exercise. A proper warm-up increases your body - Image Fitness 10.0 Treadmill | English Manual - Page 25
SUGGESTED STRETCHES The correct form for several basic stretches is shown at the right. Move slowly as you stretch-never bounce. 1. Toe Touch Stretch Stand with your knees bent slightly and slowly bend forward from 1 your hips. Allow your back and shoulders to relax as you reach down toward - Image Fitness 10.0 Treadmill | English Manual - Page 26
NOTES 26 - Image Fitness 10.0 Treadmill | English Manual - Page 27
parts listed below, see the EXPLODED DRAWING attached in the center of this manual. Key No. Qty. Description Key No. Qty. Description Key No. Qty. Description 11 21 34 4* 1 51 62 71 81 91 10 Guide Battery Cover Front Belly Pan U-nut Cable Tie Clamp Cable Tie Walking 4 98 1 99 1 100 1 101 5 102 2 - Image Fitness 10.0 Treadmill | English Manual - Page 28
38 42 62 75 36 18 31 33 16 71 46 80 32 45 106 69 67 70 44 63 92 65 12 59 101 100 55 117 57 92 65 64 62 61 44 117 59 101 44 76 46 45 49 16 54 62 53 51 116 76 76 - Image Fitness 10.0 Treadmill | English Manual - Page 29
60 120 52 85 79 77 76 13 11 56 14 79 114 29 89 9 102 52 107 85 79 83 17 79 114 29 10 89 58 58 52 101 86 20 97 101 95 15 104 112 29 47 101 72 96 104 82 97 101 101 17 99 - Image Fitness 10.0 Treadmill | English Manual - Page 30
NAME OF THE PRODUCT (IMAGE® 10.0 treadmill) • The SERIAL NUMBER OF THE PRODUCT (see the front cover of this manual) • The KEY NUMBER AND DESCRIPTION OF THE PART(S) (see the EXPLODED DRAWING in the center of this manual and the PART LIST on page 27) LIMITED WARRANTY ICON Health & Fitness, Inc. (ICON
-
 1
1 -
 2
2 -
 3
3 -
 4
4 -
 5
5 -
 6
6 -
 7
7 -
8
-
9
-
10
-
11
-
12
-
13
-
14
-
15
-
16
-
17
-
18
-
19
-
20
-
21
-
22
-
23
-
24
-
25
-
26
-
27
-
28
-
29
-
30
 |
 |
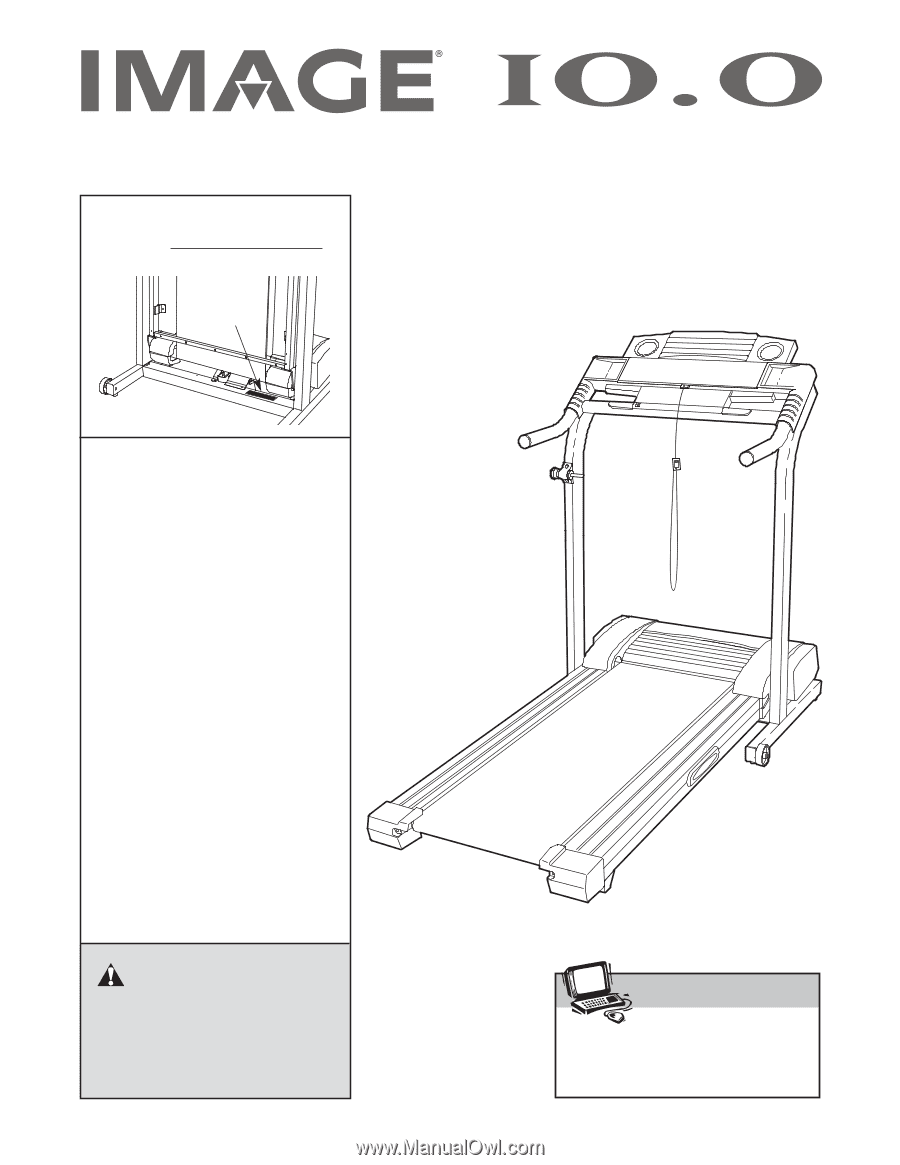
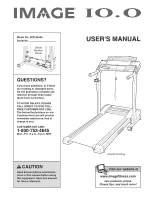
USER'S MANUAL
Visit our website at
www.imagefitness.com
new products, prizes,
fitness tips, and much more!
Patent Pending
Serial
Number
Decal
Model No. IMTL39526
Serial No.
CAUTION
Read all precautions and instruc-
tions in this manual before using
this equipment. Save this manual
for future reference.
QUESTIONS?
If you have questions, or if there
are missing or damaged parts,
we will guarantee complete sat-
isfaction through direct assis-
tance from our factory.
TO AVOID DELAYS, PLEASE
CALL DIRECT TO OUR TOLL-
FREE CUSTOMER HOT LINE.
The trained technicians on our
Customer Hot Line will provide
immediate assistance, free of
charge to you.
CUSTOMER HOT LINE:
1-800-753-4645
Mon.–Fri., 6 a.m.–6 p.m. MST