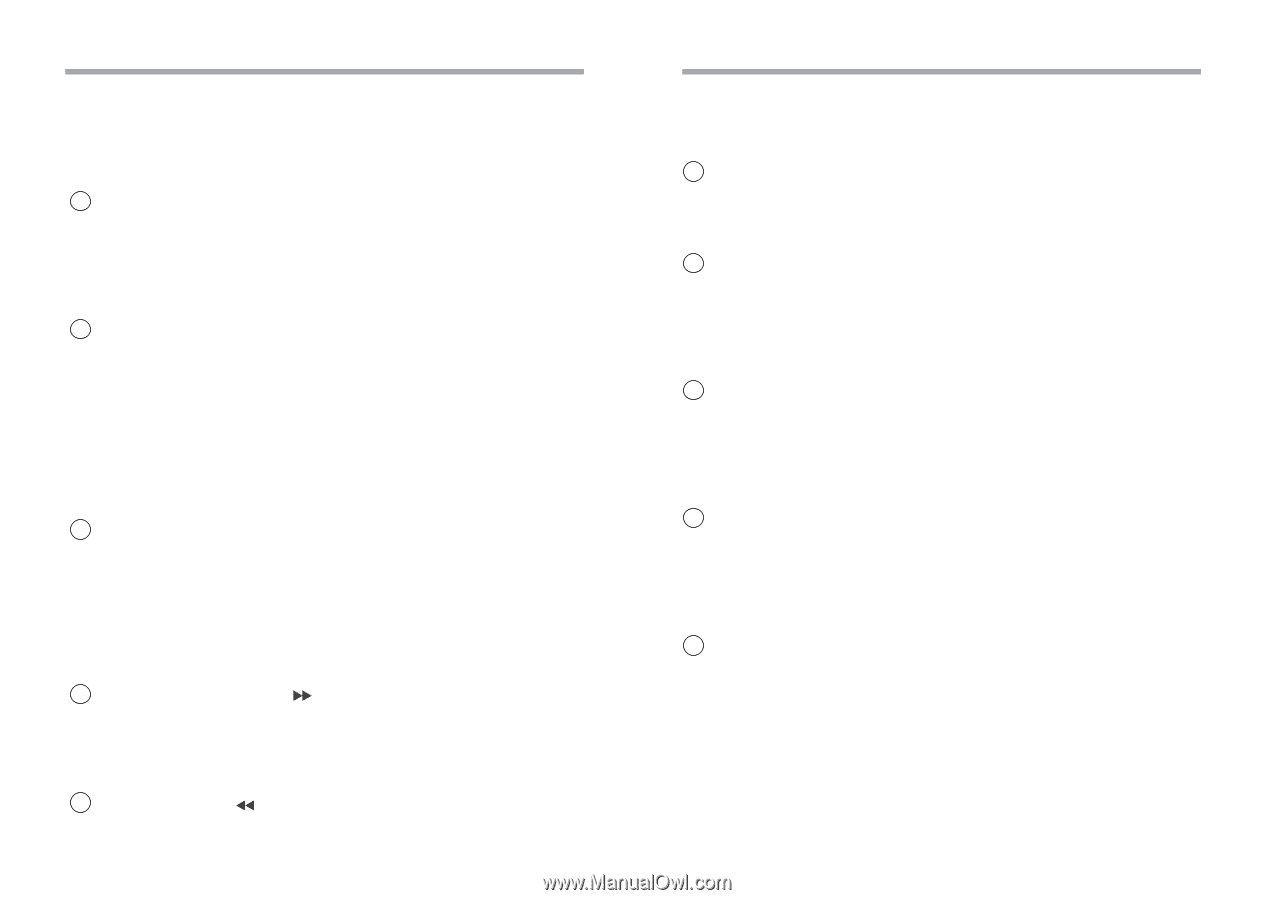
Jensen JHD2000 Owners Manual - Page 4
Weather Band Wb Button - manual
 |
UPC - 681787012587
View all Jensen JHD2000 manuals
Add to My Manuals
Save this manual to your list of manuals |
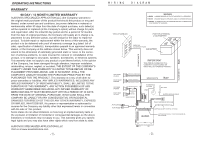
Page 4 highlights
OPERATING INSTRUCTIONS The pre-set number (M1-6) will appear on the display panel, indicating that the station is now set into that pre-set memory position. The station can now be recalled at any time by pressing that button. 4. Repeat the above procedure for the remaining 5 presets on that band and for the other 4 bands on the unit. 14 .STATION SCAN SELECTOR(SCAN) Press this button to automatically scan the FM or AM radio band in the upward direction. When a reasonably strong station is detected, the station frequency is displayed for 5 seconds. If no other button is pressed within this time frame, the scan operation resumes and stops at the next available station. This operation will continue until the SCAN button is pressed again to halt the scan mode. 15 .WEATHER BAND (WB) BUTTON The radio provides access to the weather band for local weather information. Press the WB button to switch the radio from AM/FM reception to the weather band. WB will appear on the display. Pressing the TUNE + or - button for more than 2s will search the weather band for the strongest signal. Pressing the TUNE + or TUNE - button will now access weather channels up or down. When the WB button is pressed again, radio operation returns to the previous FM or AM station, and WB1-7 disappears from the display. It is normal to receive only one station in a given locale due to the design of the Weather radio system. 16 .CASSETTE DOOR Hold the cassette with the exposed tape edge to the right and insert into the cassette door. Depress fully until the cassette is engaged and begins playing. TAPE and the tape directional arrow will appear on the display. When the cassette reaches the end on the side of the tape being played, the unit will automatically change direction of play as shown by the arrows on the display panel and play the other side of the cassette. NOTE: observe cassette operation cautions in the care and maintenance section of this manual 17 .FAST-FORWARD BUTTON( ) pushing the fast-forward button will cause the tape to move rapidly in the forward direction of play; FAST will appear on the display panel. To stop fastforward movement, lightly push the rewind button until the fast-forward button disengages; FAST will disappear from the display panel 18 . REWIND BUTTON( ) Pushing the rewind button will cause the tape to move rapidly in the reverse - 5 - OPERATING INSTRUCTIONS direction of play; FAST will appear on the display panel. To stop rewind movement, lightly push the fast- forward button until the rewind button disengages; FAST will disappear from the display panel 19 .PROGRAM SELECTOR(PROG) To manually reverse tape direction and play the other side of the cassette, lightly push both the fast-forward and rewind buttons at the same time. The change of direction will be shown by the arrows on the display panel. 20 .EJECT BUTTON() Tape playback is stopped and the cassette is ejected by pressing this button, which also has the function of switching over to radio operation. NOTE: Do not leave a cassette engaged in the player when not in use. Doing so can cause damage to the cassette and/or mechanism of the unit. Always press the eject button and remove the cassette when leaving the vehicle 21 .TIME/FREQUENCY SELECTOR(T/F) During radio operation, press this button to call the frequency display on the quartz clock. Radio operation will continue uninterrupted. The time display will return 5 seconds later and will remain until another band and/or frequency is sleceted. The frequency/band display will appear for approximately 5s, and then revert to the time display as before. 22 .AM/FM BAND SELECTOR(BAND) During radio operation,each time this button is pressed, the radio band is changed. The indication AM1.AM2,FM1,FM2 or FM3 will appear on the display panel according to your selection. When FM reception is weak and/or AM1 or AM2 is selected, the stereo (ST) indication will disappear from the display. .MODE SELECT OR (MODE)BUTTON This button is used to select the radio or the TAPE player playback and AUX mode. Each press of the button will select a different mode as indicated on the display panel. - 6 -
-
 1
1 -
 2
2 -
 3
3 -
 4
4 -
 5
5 -
 6
6 -
 7
7
 |
 |