Kenmore 4559 Use and Care Guide
Kenmore 4559 - 30 in. Electric Drop-In Range Manual
 |
View all Kenmore 4559 manuals
Add to My Manuals
Save this manual to your list of manuals |
Kenmore 4559 manual content summary:
- Kenmore 4559 | Use and Care Guide - Page 1
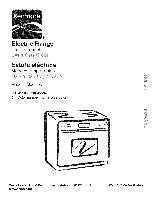
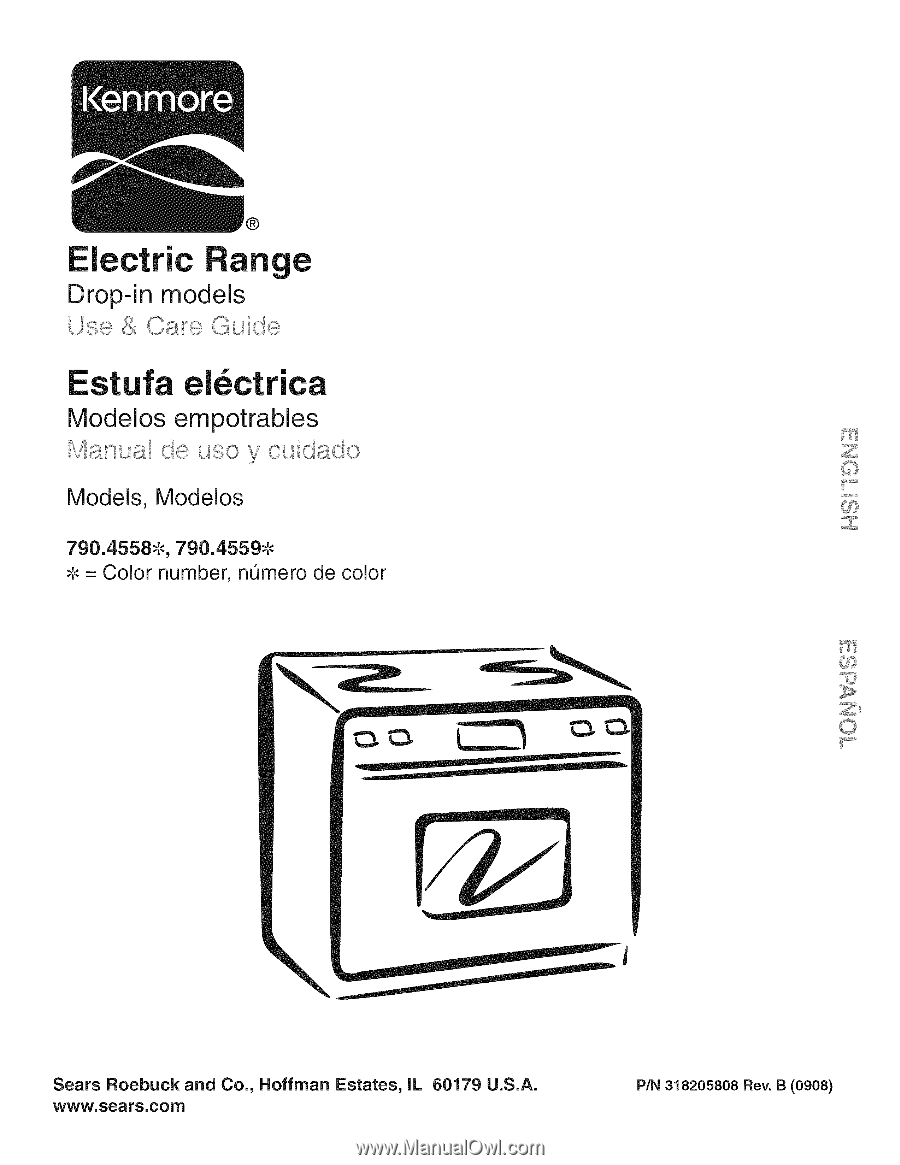
® Electric Ran e Drop-in models , _< Estufa el_ctrica IVIodelosempotrables Us.,......,y.,C'lSJ Models, Modelos 790.4558% 790.4559# .,. = Color number, n0mero de color Sears Roebuck and Co., Hoffman Estates, IL 60179 U.S.A. www.sears.com P/N 318205808 Rev. B (0908) - Kenmore 4559 | Use and Care Guide - Page 2
Functions 11 Setting Oven Controls 12=17 Adjusting the Oven Temperature 17 Self Cleaning 18=19 General Care & Cleaning 20=24 Before you call 25=26 Protection Agreements 27 Sears Service 28 Kenmore Warranty When installed, operated and maintained according to all instructions supplied with - Kenmore 4559 | Use and Care Guide - Page 3
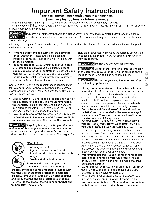
Install only per installation instructions provided in the literature package for this range. Sears Parts & Repair is the recommended repair service for this appliance. Know how to disconnect the electrical , OVEN HEATING ELEMENTS OR IN= TERIOR SURFACES OF THE OVEN. Both surface and oven heating - Kenmore 4559 | Use and Care Guide - Page 4
or aluminum foil may result in a risk of electric shock or fire or short circuit. • Glazed utensils are suitable for rangetop service without breaking due to the INSTRUCTIONS FOR USING YOUR OVEN • Use care when opening oven dooriStand to the side of the range when opening the door of a hot oven - Kenmore 4559 | Use and Care Guide - Page 5
the hood manufacturer's instructions for cleaning. SELF-CLEANiNG OVENS • in the self=cleaning cycle, only clean the parts listed in this Use and Care Guide. Before self-cleaning the oven, remove all utensils or foods from the oven. • Do not use oven cleaners--No commercial oven cleaner or oven liner - Kenmore 4559 | Use and Care Guide - Page 6
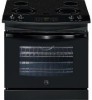
features Your Electric Range Features at a Glance Electronic Oven Controls with Clock and Kitchen Timer Surface Element Control Knob Broil Element Self-Cleaning Oven Glass Front Oven Door (Style varies with model) Oven Vent Oven Light (2) adjustable Oven Racks Door Handle (Style varies with - Kenmore 4559 | Use and Care Guide - Page 7
Radiant Surface Elements and Controls Your range is equipped with radiant surface burners left front position. NOTE: Please read detailed instructions for ceramic glass cooktop cleaning in the General Care Call checklist section of this Use and Care Guide. NOTE: Radiant elements have a limiter that - Kenmore 4559 | Use and Care Guide - Page 8
indicator light has turned off. Do not place plastic items such as salt and pepper shakers, spoon holders or plastic wrappings on top of the range when it is in use. These items could melt or ignite. Potholders, towels or wooden spoons could catch fire if placed too close to the - Kenmore 4559 | Use and Care Guide - Page 9
Setting Surface Controls (cont'd) Models with Ceramic Glass Cooktop (cont'd) Operating the Dual Surface Radiant Element The cooktop is equipped with two dual radiant surface elements located at the right and left front positions (See Figure 2). "Single and Dual" on the control knob are used to - Kenmore 4559 | Use and Care Guide - Page 10
fit the rack onto the guides on the oven walls. Tilt the front of the rack upward and slide the rack back into place. OVEN VENT _ _. i Arranging Oven Racks ALWAYS ARRANGE OVEN RACKS WHEN THE OVEN IS COOL (PRIOR TO OPERATING THE OVEN). Always use oven mitts when the oven is hot. RECOMMENDED RACK - Kenmore 4559 | Use and Care Guide - Page 11
or pads may be shaped differently than those appearing in this Use and Care Guide. READ THE INSTRUCTIONS CAREFULLY BEFORE USING THE OVEN. For satisfactory use of your oven, become familiar with the various functions of the oven as described below. CLOCK SET PAD-- Used to set the time of day - Kenmore 4559 | Use and Care Guide - Page 12
be set in order to operate the oven. To Set the Clock When the range is first plugged in, or when the power supply to the range has been interrupted, the display will out. The timer can be used alone or during any of the other oven functions. When the timer is in use with any other function, the - Kenmore 4559 | Use and Care Guide - Page 13
temperature, the preheat indicator light will turn OFF and the control will beep 3 times. 4. To cancel baking, press (s_oP'p)ad. To Change the Oven Temperature after Baking has Started: 1. Press pad and make sure the bake temperature is displayed. 2. Press the j_ or V pad to increase or decrease - Kenmore 4559 | Use and Care Guide - Page 14
6. Press pad. ":00" will flash in the display (HR:MIN). 7. Press the A or V pad until the desired baking time appears in the display. To Program Oven for a Delayed Start Time and to Shut-Off Automatically (Delayed Start Bake): 1. Be sure that the clock shows the correct time of day. 2. Place the - Kenmore 4559 | Use and Care Guide - Page 15
Adjusting the Oven Temperature" section. Baking Problems Cookies and Range not level. • Pan too close to oven wall or rack overcrowded. • Pan warped. • Place marked glass measuring cup filled with water on the center of the oven rack. If water level is uneven, refer to the installation instructions - Kenmore 4559 | Use and Care Guide - Page 16
the broil stop position (See Fig. 2). 6. Broil on one side until food is browned. Turn and broil food on 2nd side. Note: Always pull the oven rack out to the stop position before turning or removing the food. 7. When broiling is finished, press ('s_P')pad. Broil Rack Position Table (Refer to - Kenmore 4559 | Use and Care Guide - Page 17
pad. The display now indicates the amount of degrees offset between the original factory temperature setting and the current temperature setting. If the oven control has the original factory calibration, the display will read "0." 4. The temperature can now be adjusted up or down 35°F or 19°C, in - Kenmore 4559 | Use and Care Guide - Page 18
is extremely sensitive to the fumes given off during the Self-Cleaning cycle of any range. Move birds to another wellventilated room. DO NOT line the oven walls, racks, bottom or any other part of the range with aluminum foil. Doing so will destroy heat distribution, produce poor baking results and - Kenmore 4559 | Use and Care Guide - Page 19
until the Self-Cleaning iiiiiii_ii_!ii!i cycle is complete or cancelled and the oven temperature has cooled• When the Self=Clean Cycle is Completed: ...ii.i...... pad. The time of day will appear in the display. NOTE: When the oven is cool, wipe away any residue or powdered ash with a damp cloth - Kenmore 4559 | Use and Care Guide - Page 20
of Your Range Before cleaning any part of the range, be sure all controls are turned OFF and the range is cool. oven cleaners on the cooktop. Remove racks. See under Before Setting Oven Controls, Use a mild, abrasive cleaner, following manufacturer's instructions - Kenmore 4559 | Use and Care Guide - Page 21
wipe dry with a clean cloth. . If any soil remains, apply a few drops of a recommended cooktop cleaning cream on the spots and rub gently using a oven mitt, wipe up carefully or move hot spills away from the element area with a clean damp cloth. 3. Allow the cooktop to cool. Follow the instructions - Kenmore 4559 | Use and Care Guide - Page 22
top down into the _ ..-s-'_ A rod swings up to support the top for cleaning underneath. _e. When lowering the lift-up range top, grasp the sides with fingertips only. Be careful not to pinch fingers. DO NOT drop or bend the range top when raising or lowering. This could damage the surface. Models - Kenmore 4559 | Use and Care Guide - Page 23
the General Care & Cleaning section in this Use & Care Guide. iii!"!il"_iiii iiiiiii_il;:;!ii! Changing Oven Light ...ii.i...... Be sure the oven is unplugged and all parts are COOL before replacing the oven light bulb. Do not turn the oven light on during a self-cleaning cycle. High temperature - Kenmore 4559 | Use and Care Guide - Page 24
oven frame on both left and right oven door hinges (See Fig. 2) to the locked position. 5. Close the oven door. Special Door Care Instructions = Most oven both hands. (See picture) 2. When re-installing the "hidden bake" cover, be sure to put it all the way to the back of the oven and lay it down - Kenmore 4559 | Use and Care Guide - Page 25
maker to correct the problem. Contact builder or installer to make appliance accessible. Carpeting interferes with range. Provide sufficient space so range can be lifted over carpet. Entire range or oven does not operate. Make sure cord/plug is tightly into outlet. Service wiring is not complete - Kenmore 4559 | Use and Care Guide - Page 26
recurs, record fault number. Press CLEAR and contact your Sears or other qualified service agency. Oven light does not work. Replace or tighten bulb. See "Changing Oven Light" in this owner's Guide for instructions. Poor baking results. Many factors affect baking results. Make sure the proper - Kenmore 4559 | Use and Care Guide - Page 27
phone support from a Sears representative on all products. Think of us as a ,4alking owner's manual,,. [] Power surge protection against electrical damage covered repair service and related installed parts. Enhorabuena por haber hecho una compra inteligente. Su nuevo producto Kenmore®esta diseSado - Kenmore 4559 | Use and Care Guide - Page 28
replacement parts, accessories and owner's manuals that you need to do-it-yourself. For Sears professional installation of home appliances and items like sears.com www.sears.ca To purchase a protection agreement on a product serviced by Sears: 1-800-827-6655 (U.S.A.) 1-800-361-6665 (Canada)
-
 1
1 -
 2
2 -
 3
3 -
 4
4 -
 5
5 -
 6
6 -
 7
7 -
8
-
9
-
10
-
11
-
12
-
13
-
14
-
15
-
16
-
17
-
18
-
19
-
20
-
21
-
22
-
23
-
24
-
25
-
26
-
27
-
28
 |
 |
®
Electric
Ran
Drop-in
models
,
_<
e
Estufa el_ctrica
IVIodelos
empotrables
..................
,,._s
U,...,.,'S
y
ClJ
Models,
Modelos
790.4558%
790.4559#
.,. = Color
number,
n0mero
de color
Sears
Roebuck
and
Co.,
Hoffman
Estates,
IL
60179
U.S.A.
www.sears.com
P/N
318205808
Rev.
B
(0908)