Kyocera FS-C5300DN FS-C5100DN/C5200DN/C5300DN/C5400DN Printer Driver User Guid - Page 69
Deleting a Job Storage (e-MPS) Job (FS-C5100DN, FS-C5200DN, Enter, Hard disk, Job Box, Quick Copy
 |
UPC - 632983010303
View all Kyocera FS-C5300DN manuals
Add to My Manuals
Save this manual to your list of manuals |
Page 69 highlights
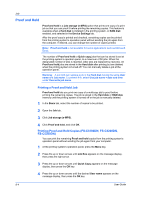
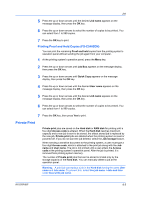
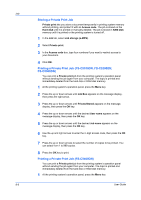
Job 6 If an access code was set, use the up or down arrows and the OK key to enter the 4-digit access code, then press Enter. 7 Press the up or down arrows to select the number of copies to be printed. You can select from 1 to 999 copies. 8 Press the OK key, then press Yes to print. Deleting a Job Storage (e-MPS) Job (FS-C5100DN, FS-C5200DN, FS-C5300DN) Any print job stored in printing system memory (Hard disk) can be deleted manually at the printing system's operation panel. 1 At the printing system's operation panel, press the Menu key. 2 Press the up or down arrows until Job Box appears on the message display, then press the right arrow. 3 Press the up or down arrows until Quick Copy (for Quick copy or Proof and hold jobs) or Private/Stored (for Private print or Job storage jobs) appears on the message display, then press the OK key. 4 Press the up or down arrows until the desired User name appears on the message display, then press the OK key. 5 Press the up or down arrows until the desired Job name appears on the message display. 6 If an access code was set, use the arrow keys and OK key to enter the 4-digit access code, then press the OK key. 7 Press the down arrow until Delete appears. 8 Press OK to delete the job. Deleting a Job Storage (e-MPS) Job (FS-C5400DN) Any print job stored in printing system memory (Hard disk) can be deleted manually at the printing system's operation panel. 1 At the printing system's operation panel, press the Menu key. 2 Press the up or down arrows until Job Box appears on the message display, then press the OK button. 3 Press the up or down arrows until Quick Copy (for Quick copy or Proof and hold jobs) or Private/Stored (for Private print or Job storage jobs) appears on the message display, then press the OK key. KX DRIVER 8-9
-
 1
1 -
2
-
3
-
4
-
5
-
6
-
7
-
8
-
9
-
10
-
11
-
12
-
13
-
14
-
15
-
16
-
17
-
18
-
19
-
20
-
21
-
22
-
23
-
24
-
25
-
26
-
27
-
28
-
29
-
30
-
31
-
32
-
33
-
34
-
35
-
36
-
37
-
38
-
39
-
40
-
41
-
42
-
43
-
44
-
45
-
46
-
47
-
48
-
49
-
50
-
51
-
52
-
53
-
54
-
55
-
56
-
57
-
58
-
59
-
60
-
61
-
62
-
63
-
 64
64 -
 65
65 -
 66
66 -
 67
67 -
 68
68 -
 69
69 -
 70
70 -
 71
71 -
 72
72 -
 73
73 -
 74
74 -
75
-
76
-
77
-
78
-
79
-
80
-
81
-
82
-
83
-
84
-
85
-
86
-
87
-
88
-
89
 |
 |