LG D2342P User Manual - Page 14
D Settings(Only 3D mode), Volume Settings (Only supported in HDMI), MONITOR SETUP, VOLUME - 2d to 3d
 |
View all LG D2342P manuals
Add to My Manuals
Save this manual to your list of manuals |
Page 14 highlights
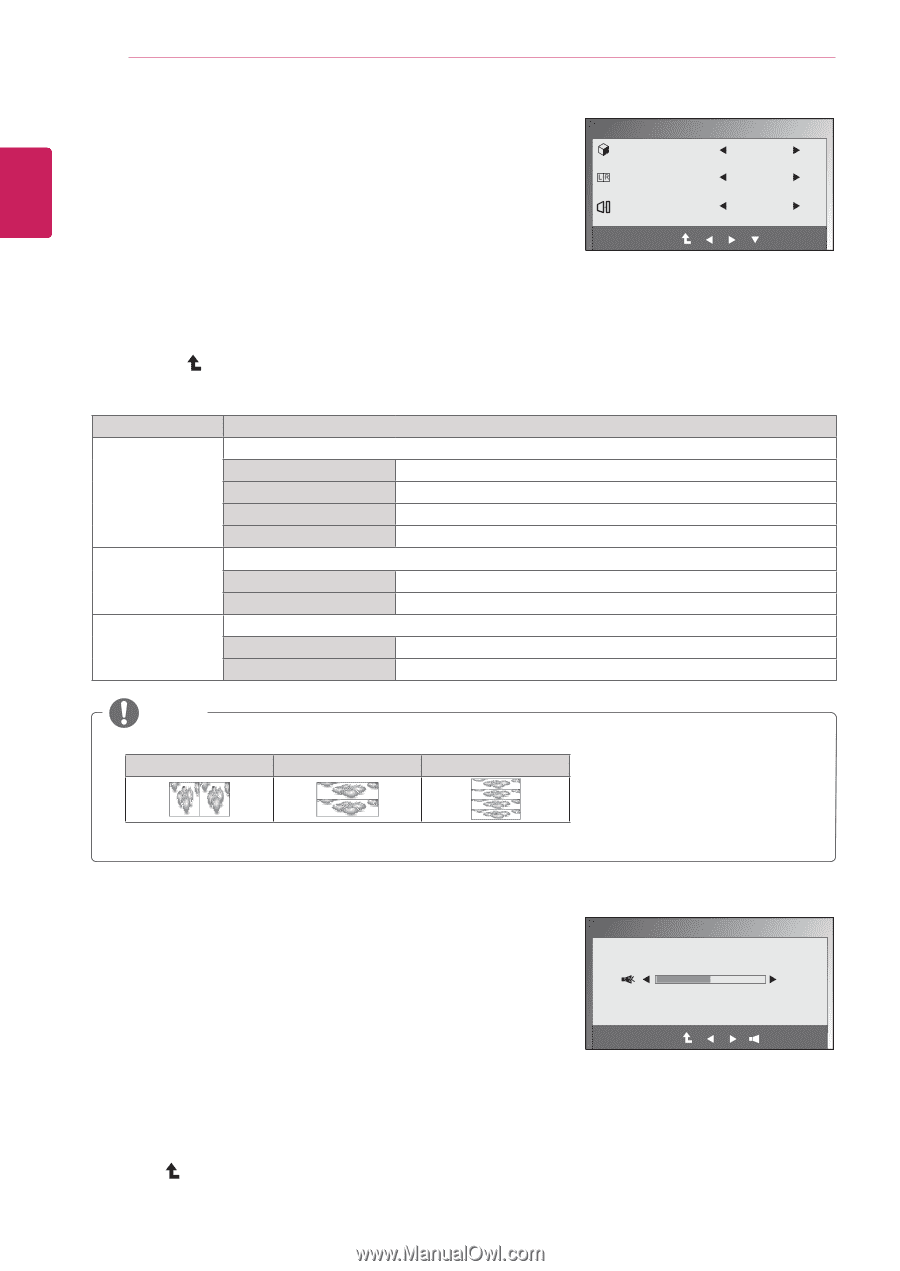
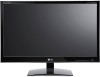
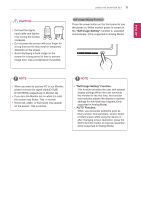
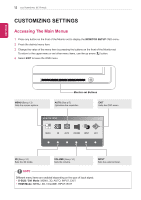
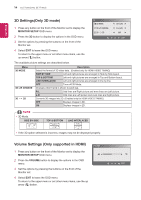
14 CUSTOMIZING SETTINGS ENEGNLGISH 3D Settings(Only 3D mode) 1 Press any button on the front of the Monitor set to display the MONITOR SETUP OSD menu. 2 Press the 3D button to display the options in the OSD menu. 3 Set the options by pressing the buttons on the front of the Monitor set. 3D 3D MODE 3D L/R CHANGE 3D - > 2D OFF(1/4) R-L(1/2) OFF EXIT 4 Select EXIT to leave the OSD menu. To return to the upper menu or set other menu items, use the up arrow ( ) button. The available picture settings are described below. Menu 3D MODE 3D L/R CHANGE 3D - > 2D Description Select the format of 3D video data. (Enabled only for HDMI VIDEO TIMING) SIDE BY SIDE TOP & BOTTOM Left and right pictures are arranged in Side by Side layout. Left and right pictures are arranged in Top and Bottom layout. LINE INTERLACED OFF Left and right pictures are arranged in line by line. Turns off 3D Mode. Changes which frame is shown to each eye. R-L Odd lines are Right picture and even lines are Left picture. L-R Odd lines are Left picture and even lines are Right picture. Converts 3D images into 2D. (Enabled only for HDMI VIDEO TIMING) OFF Displays images in 3D. ON Displays images in 2D. NOTE yy3D Mode. SIDE BY SIDE TOP & BOTTOM LINE INTERLACED yyIf the 3D option selected is incorrect, images may not be displayed properly. Volume Settings (Only supported in HDMI) 1 Press any button on the front of the Monitor set to display the MONITOR SETUP OSD menu. 2 Press the VOLUME button to display the options in the OSD menu. 3 Set the options by pressing the buttons on the front of the Monitor set. 4 Select EXIT to leave the OSD menu. To return to the upper menu or set other menu items, use the up arrow ( ) button. VOLUME 50 EXIT
-
 1
1 -
2
-
3
-
4
-
5
-
6
-
7
-
8
-
 9
9 -
 10
10 -
 11
11 -
 12
12 -
 13
13 -
 14
14 -
 15
15 -
 16
16 -
 17
17 -
 18
18 -
 19
19 -
20
-
21
-
22
-
23
-
24
 |
 |