LG L1006R Owners Manual - Page 7
to possible - installation
 |
View all LG L1006R manuals
Add to My Manuals
Save this manual to your list of manuals |
Page 7 highlights
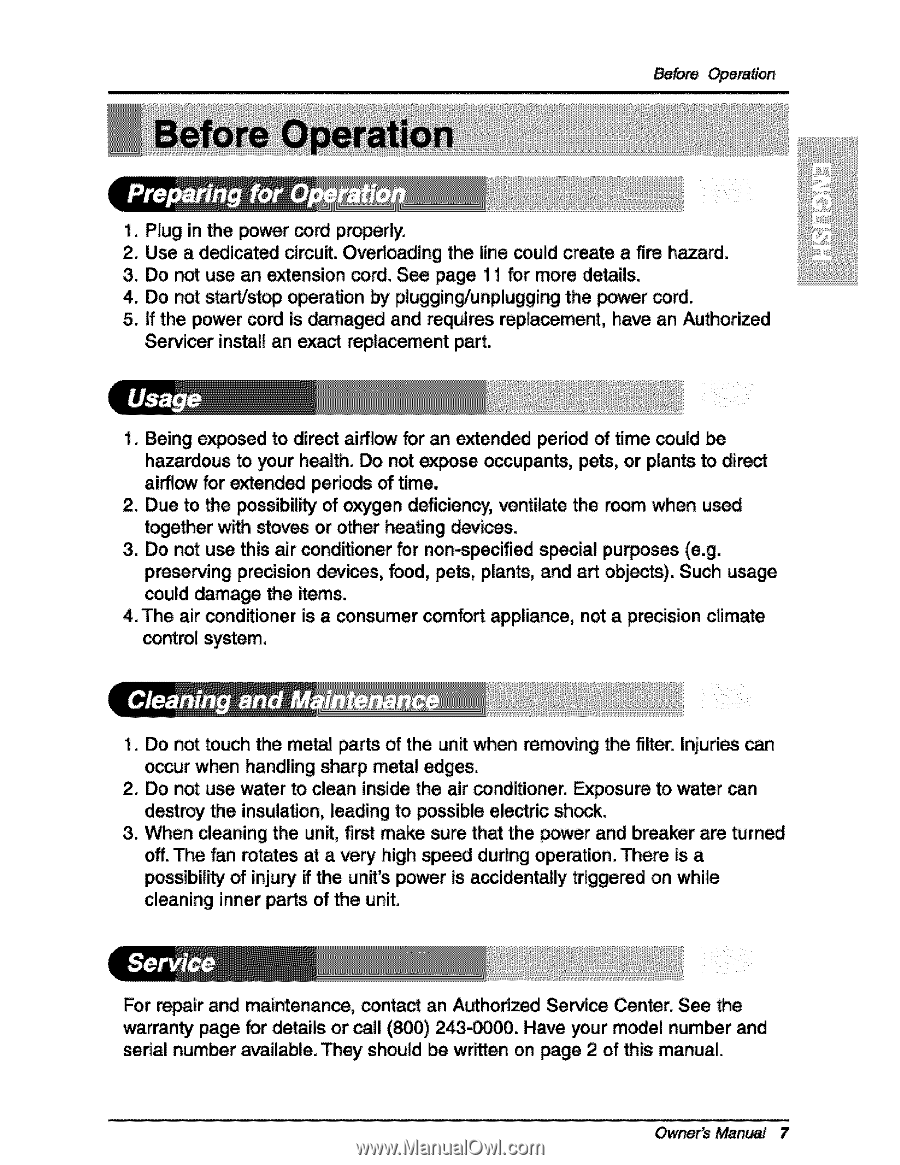
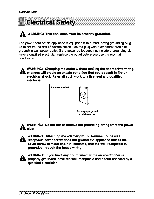
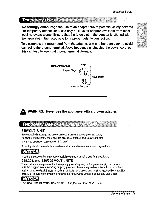
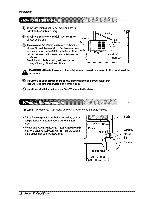
B_,'e Operat_ i. P_ug in the power _rd properly. 2. Use a diedicat_ circuit. Overloading the Hne _uJd create a fire hazard. 3. Do not use an e_ension _rd. S_ page 11 for more details. 4. Do not staW_op or_raUon by plugging/unplugging the _er cord. 5. If the power _rd Is damaged and requires replacement, have an Authorized Servicer install an exact repla_ment part. 1. _ing ex_sed to direct aiffllow for an extended ped_ _ time _uld be hazardous to your health. Do not e_se _upants, _ts, or plan_ to direct airflow for extended pedods of time. 2. Due to the _ssibil_ of oxygen deficiency, ventilate the room when us_ together with stoves or other heaUng devils. 3. Do not use this air _nd_ioner for non-specified s_ial [purposes (e.g. pre_rving precision clevis, food, pe_, plan_, and art objects). Such usage _uld damage the _ems. 4. The air _nditioner is a consumer comfo_ appliance, not a precision climate control system, 1. Do not touch the metal parts of the unit when retaking the filter. I_uries can _ur when handling sharp metal edges. 2. Do not u_ water to clean insiide the air _ndi_oner.i _posure to water _n d_troy the insuia_on, leading to possible electric sh_k. 3. When cleaning the un_, flint ma_ sure that the power and breaker are _Jrn_ off. _e fan rotates at a very high _d during operation. There Is a _ssibil_ of injury ff the unit's power is a_ident_ _ig_red on _ille cleaning inner parts of the unit. For rep!ir _d maintenance, conta_ an A_hodzed Service Center. See the wa_anty page for details or _11 (800) 2_000. Have your model number _d _rial number available. _ey should be wr_en on page 2 of this manual. Owner's Manual 7
-
 1
1 -
 2
2 -
 3
3 -
 4
4 -
 5
5 -
 6
6 -
 7
7 -
 8
8 -
 9
9 -
 10
10 -
 11
11 -
 12
12 -
13
-
14
-
15
-
16
-
17
-
18
-
19
-
20
-
21
-
22
-
23
-
24
-
25
-
26
-
27
-
28
-
29
-
30
-
31
-
32
-
33
-
34
-
35
-
36
-
37
-
38
-
39
-
40
-
41
-
42
-
43
-
44
-
45
-
46
-
47
-
48
-
49
-
50
-
51
-
52
-
53
-
54
-
55
-
56
-
57
-
58
-
59
-
60
-
61
-
62
-
63
-
64
-
65
-
66
-
67
-
68
-
69
-
70
-
71
-
72
-
73
-
74
-
75
-
76
-
77
-
78
-
79
-
80
-
81
-
82
-
83
-
84
-
85
-
86
-
87
-
88
-
89
-
90
-
91
-
92
-
93
-
94
-
95
-
96
-
97
-
98
-
99
-
100
-
101
-
102
-
103
-
104
 |
 |