Lenovo ThinkPad 380D TP 380Z Hardware Maintenance Manual (August 1998) for use - Page 36
Running the Diagnostics, The Advanced Diagnostics menu
 |
View all Lenovo ThinkPad 380D manuals
Add to My Manuals
Save this manual to your list of manuals |
Page 36 highlights
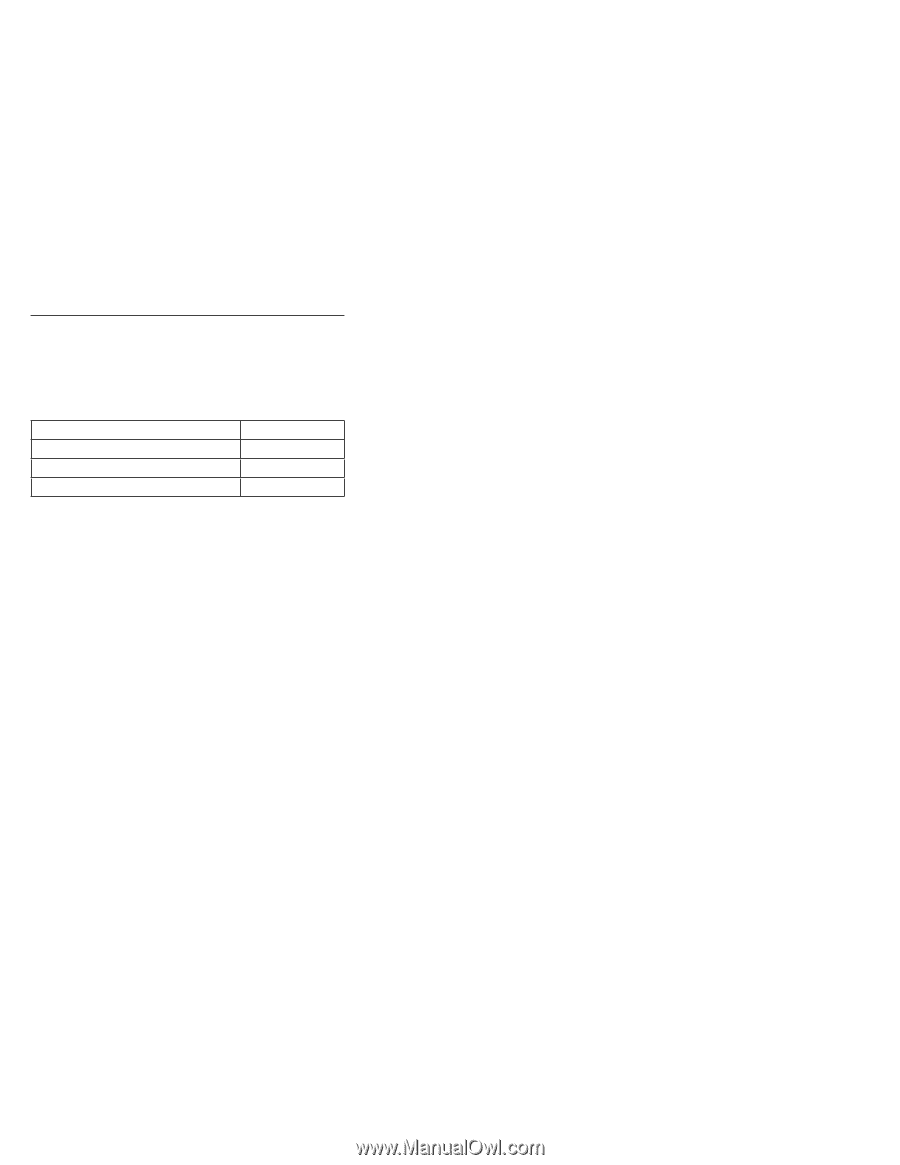
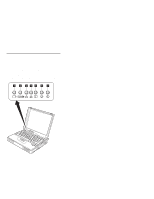
Running the Diagnostics Use either the TrackPoint or the cursor move keys to interact with the tests. The following table lists the special tools used in the diagnostics: Tool Name PC test card Tri-Connector wrap plug USB parallel test cable Part Number 35G4703 72X8546 05K2580 Use either the TrackPoint or the cursor move keys to interact with the tests. The Enter key works in the same way as when selecting the OK icon to reply OK. 1. Press and hold F1; then turn on the computer. Hold F1 down until the Easy-Setup menu appears. 2. Click on Test. The basic diagnostic menu appears. 3. Click on a device to run the test. The test progress window appears; then OK appears under the tested device icon when the test ends without any errors. 4. Start the Advanced Diagnostic test by pressing Ctrl+A on the basic diagnostic menu. The ThinkPad FRU connections window appears. 5. Click on Exit or press the Esc key. The keyboard test window appears. 6. When you press a key, a mark appears or disappears on the corresponding key position on the screen. Repeat this step for any key that needs to be tested. You can run the keyboard test if you press the Ctrl+K keys at the advanced diagnostic menu. 7. To exit the keyboard test, click on Exit or press the Ctrl+Break keys. The Advanced Diagnostics menu appears. 34
-
 1
1 -
2
-
3
-
4
-
5
-
6
-
7
-
8
-
9
-
10
-
11
-
12
-
13
-
14
-
15
-
16
-
17
-
18
-
19
-
20
-
21
-
22
-
23
-
24
-
25
-
26
-
27
-
28
-
29
-
30
-
 31
31 -
 32
32 -
 33
33 -
 34
34 -
 35
35 -
 36
36 -
 37
37 -
 38
38 -
 39
39 -
 40
40 -
 41
41 -
42
-
43
-
44
-
45
-
46
-
47
-
48
-
49
-
50
-
51
-
52
-
53
-
54
-
55
-
56
-
57
-
58
-
59
-
60
-
61
-
62
-
63
-
64
-
65
-
66
-
67
-
68
-
69
-
70
-
71
-
72
-
73
-
74
-
75
-
76
-
77
-
78
-
79
-
80
-
81
-
82
-
83
-
84
-
85
-
86
-
87
-
88
-
89
-
90
-
91
-
92
-
93
-
94
-
95
-
96
-
97
-
98
-
99
-
100
-
101
-
102
-
103
-
104
 |
 |