Lexmark C544DTN Quick Reference - Page 4
paper jam, 242 and 243 paper jams, Remove the jammed paper.
 |
UPC - 734646072472
View all Lexmark C544DTN manuals
Add to My Manuals
Save this manual to your list of manuals |
Page 4 highlights
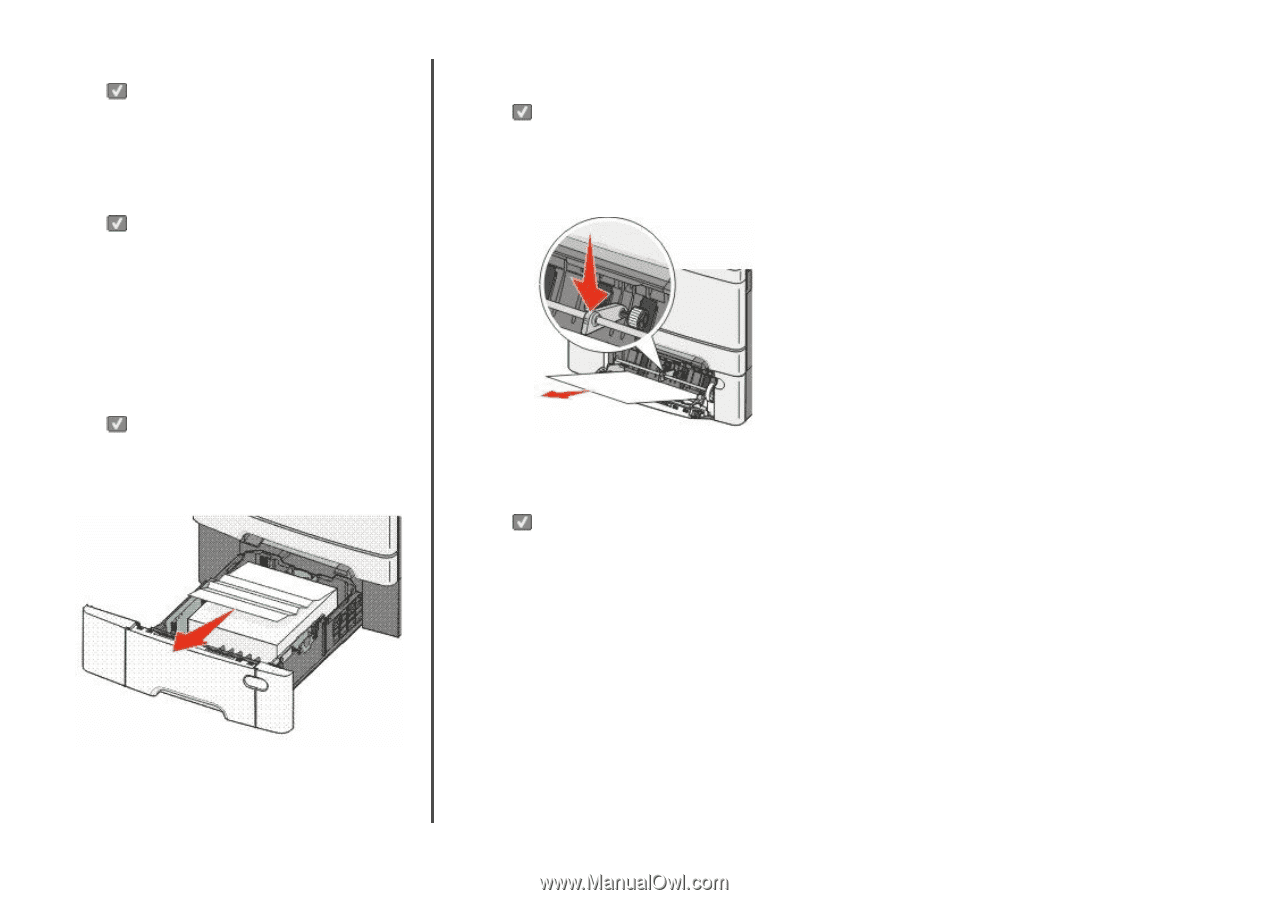
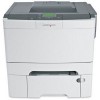
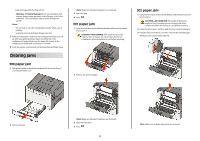
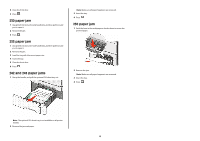
4 Close the front door. 5 Press . 230 paper jam 1 Grasp the front door at the side handholds, and then pull it toward you to open it. 2 Remove the jam. 3 Press . 235 paper jam 1 Grasp the front door at the side handholds, and then pull it toward you to open it. 2 Remove the jam. 3 Load the tray with the correct paper size. 4 Insert the tray. 5 Close the front door. 6 Press . 242 and 243 paper jams 1 Grasp the handle, and pull the optional 550-sheet tray out. Note: Make sure all paper fragments are removed. 3 Insert the tray. 4 Press . 250 paper jam 1 Push the lever in the multipurpose feeder down to access the jammed paper. 2 Remove the jam. Note: Make sure all paper fragments are removed. 3 Insert the tray. 4 Press . Note: The optional 550-sheet tray is not available on all printer models. 2 Remove the jammed paper. 4
-
 1
1 -
 2
2 -
 3
3 -
 4
4
 |
 |