Lexmark X543 Sending a fax using the computer - Page 3
For Windows users, For Mac OS X version 10.2 and 10.3 users, For Mac OS X version 10.4 or later - ps driver
 |
View all Lexmark X543 manuals
Add to My Manuals
Save this manual to your list of manuals |
Page 3 highlights
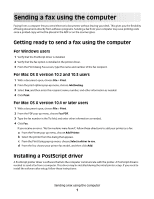
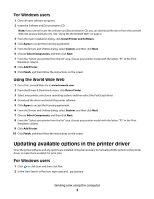
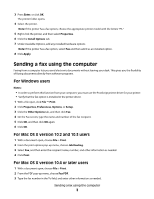
3 Press Enter, or click OK. The printer folder opens. 4 Select the printer. Note: If the printer has a fax option, choose the appropriate printer model with the letters "PS." 5 Right-click the printer, and then select Properties. 6 Click the Install Options tab. 7 Under Available Options, add any installed hardware options. Note: If the printer has a fax option, select Fax and then add it as an installed option. 8 Click Apply. Sending a fax using the computer Faxing from a computer lets you send electronic documents without leaving your desk. This gives you the flexibility of faxing documents directly from software programs. For Windows users Notes: • In order to perform this function from your computer, you must use the PostScript printer driver for your printer. • Verify that the fax option is installed in the printer driver. 1 With a file open, click File Print. 2 Click Properties, Preferences, Options, or Setup. 3 Click the Other Options tab, and then click Fax. 4 On the Fax screen, type the name and number of the fax recipient. 5 Click OK, and then click OK again. 6 Click OK. For Mac OS X version 10.2 and 10.3 users 1 With a document open, choose File > Print. 2 From the print options pop-up menu, choose Job Routing. 3 Select Fax, and then enter the recipient name, number, and other information as needed. 4 Click Print. For Mac OS X version 10.4 or later users 1 With a document open, choose File > Print. 2 From the PDF pop-up menu, choose Fax PDF. 3 Type the fax number in the To field, and enter other information as needed. Sending a fax using the computer 3
-
 1
1 -
 2
2 -
 3
3 -
 4
4
 |
 |