Lexmark Z65n Information Update (98 KB)
Lexmark Z65n Manual
 |
View all Lexmark Z65n manuals
Add to My Manuals
Save this manual to your list of manuals |
Lexmark Z65n manual content summary:
- Lexmark Z65n | Information Update (98 KB) - Page 1
and tape before installing your cartridges. Printing from paper tray 1 This section replaces the information regarding the paper dimensions for printing from paper tray 1 in the User's Guide. From paper tray 1, you can print on any supported paper type, such as plain, coated, photo, or glossy paper - Lexmark Z65n | Information Update (98 KB) - Page 2
the steps for installing additional listed printers for Windows in the Lexmark Z65n Color Jetprinter User's Guide. After installing the first printer on your network computer, complete the following process for each additional listed printer you want to install. 1 Insert the printer software CD into - Lexmark Z65n | Information Update (98 KB) - Page 3
the cartridges. 6 From the Printer Setup is Complete screen, click Test Page to print a test page on the network printer. 7 Click Continue to complete printer software installation and for instructions about registering your printer. 8 Repeat these steps for each additional Lexmark Z65n printer you - Lexmark Z65n | Information Update (98 KB) - Page 4
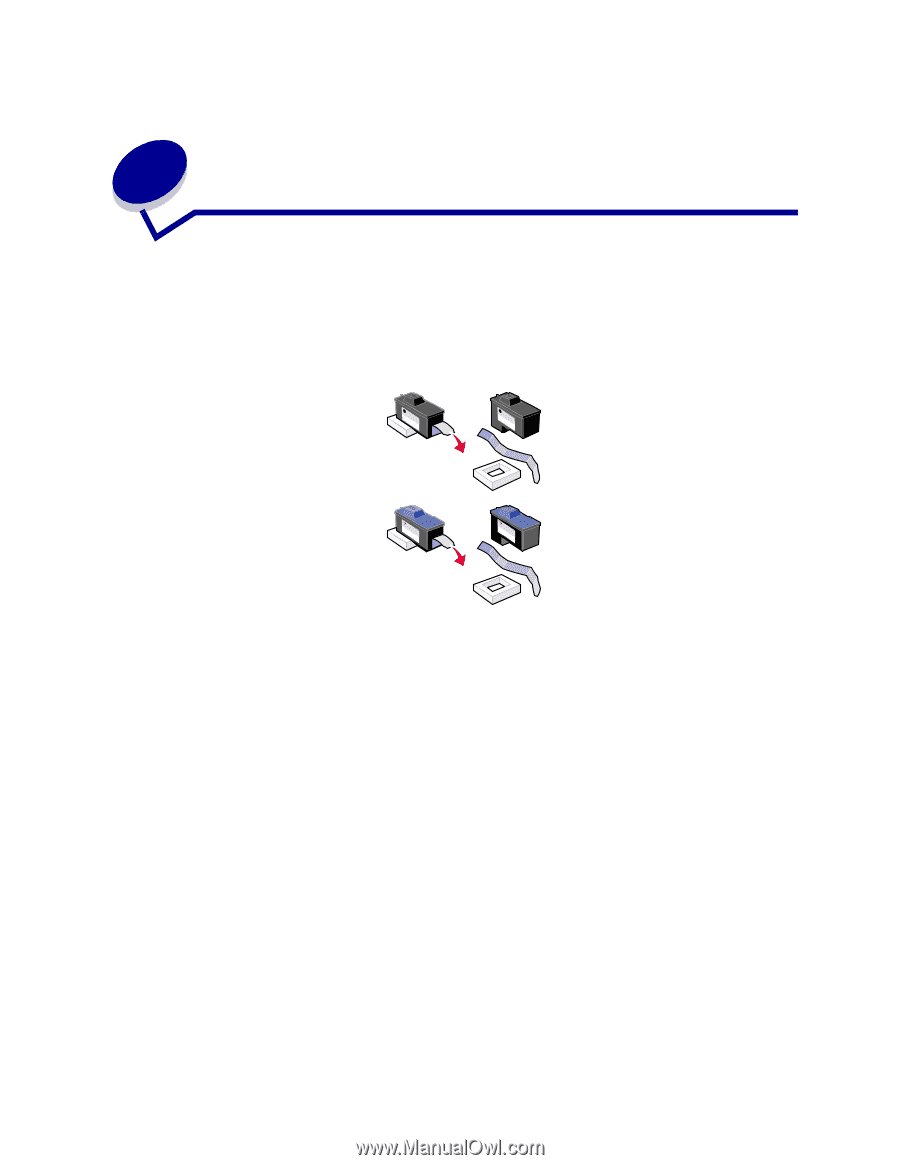
instructions on the screen. 12 After completing alignment, click the button in the upper left to close the Lexmark Z65 dialog box. Mac OS X version 10.0.3 to 10.1 1 Make sure your computer is on. 2 Disconnect the old printer. 3 Connect the replacement printer to your computer, install the cartridges
-
 1
1 -
 2
2 -
 3
3 -
 4
4
 |
 |
1
Lexmark Z65 Information Update
Cartridge packaging
Foam has been added to the packaging to give the cartridges extra protection during shipping.
Note:
Remove the foam, sticker, and tape before installing your cartridges.
Printing from paper tray 1
This section replaces the information regarding the paper dimensions for printing from paper tray 1 in
the
User’s Guide
.
From paper tray 1, you can print on any supported paper type, such as plain, coated, photo, or glossy
paper, transparencies, envelopes, labels, iron-on transfers, or banner paper. Your paper must be within
these dimensions:
Note:
Banner paper may be longer than the dimensions listed above.
Paper exit tray capacity
The paper exit tray can hold up to 150 sheets of plain paper when the printer and the paper exit tray
are both placed on one level surface.
Width:
76.2 to 215.9 mm (3.0 to 8.5 in.)
Length:
127 to 432 mm (5.0 to 17.0 in.) for Windows
127 to 355.6 mm (5.0 to 14.0 in.) for Macintosh