Linksys FESWSK5 User Guide - Page 21
Novell NetWare Server Setup - default password
 |
UPC - 745883549054
View all Linksys FESWSK5 manuals
Add to My Manuals
Save this manual to your list of manuals |
Page 21 highlights
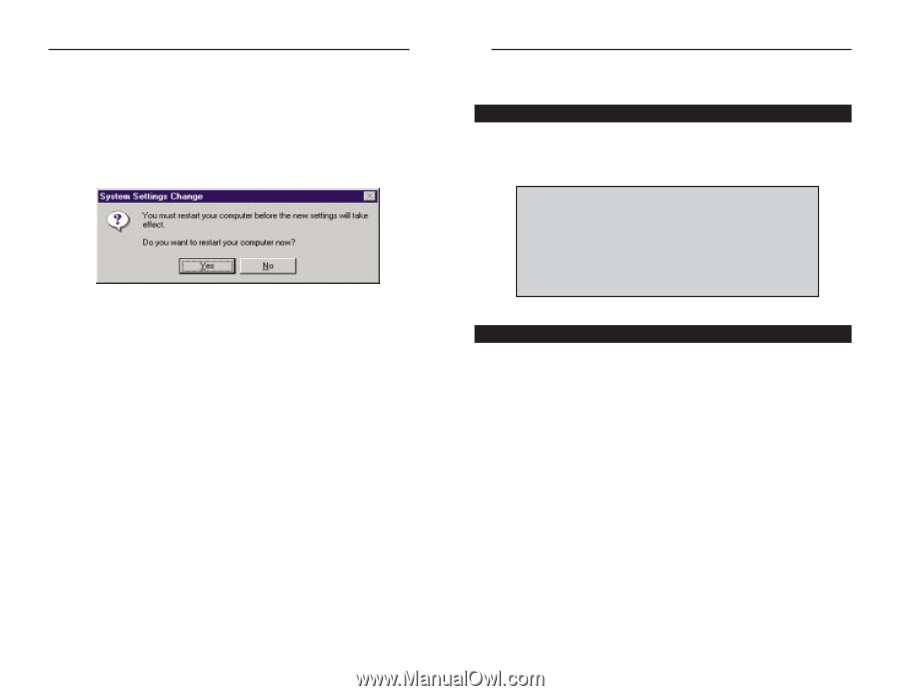
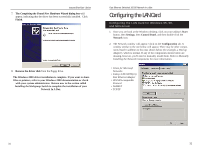
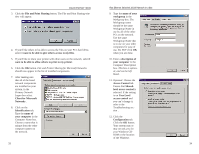
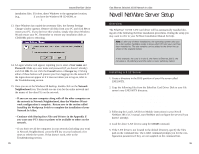
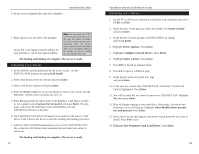
Instant EtherFast® Series installation files. If it does, direct Windows to the appropriate location, (e.g., D:\win98 if you have the Windows 98 CD-ROM, or C:\windows\options\cabs). 13. Once Windows has copied the necessary files, the System Settings Change window appears. Remove all disks from your PC and click Yes to restart your PC. If you don't see this window, simply shut down Windows 98 and restart your PC. Remember to remove any installation disks or CD-ROMs prior to rebooting. 14. A Logon window will appear, requiring you to enter a User name and Password. Make up a user name and password (if you haven't already) and click OK. Do not click the Cancel button or Escape key. Clicking either of these buttons will prevent you from logging into the network. If the logon does not appear or if it does not allow you to log on, refer to the Troubleshooting section. 15. Once you are at the Windows 98 desktop, double-click on the Network Neighborhood icon. You should see one icon for the entire network and the names of the other PCs on the network. • If you can see your computer along with all the other computers on the network in Network Neighborhood, then the Windows 98 network configuration is complete. Return now to the section called Installing the Workgroup Switch to complete the installation of your Network In A Box. • Continue with Sharing Your Files and Printers in the Appendix if you want your PC's data or printer to be available to others on the network. • If you don't see all the computers in your network (including your own) in Network Neighborhood, press the F5 key on your keyboard a few times to refresh the screen. If that doesn't work, refer to the Troubleshooting section. 35 Fast Ethernet Switched 10/100 Network In a Box Novell NetWare Server Setup Overview The EtherFast® 10/100 LAN Card driver will be automatically installed during all of the following NetWare installation procedures. During the setup you may want to refer to your NetWare Installation Manual for help. Note: If, after any of these installations, the operating system asks you for a slot number, NetWare needs to know which PCI slot your card has been installed to. The slot variable can be added to the driver line as shown in the example below: load c:\lne100TX\LNE100TX.lan slot = 3 frame = ethernet_802.2 name = nserv bind ipx to nserv net = 15 In this example, the card is in slot 3, the frame is Ethernet_802.2, the net value is 15 (arbitrary) and the name is nserv (arbitrary name). Installing a 3.12 Server 1. Create a directory in the DOS partition of your file server called LNE100TX. 2. Copy the following files from the EtherFast Card Driver Disk to your file server's new LNE100TX directory: a:\netware\server\nw31x\NBI31X.NLM a:\netware\server\nw31x\MSM31X.NLM a:\netware\server\nw31x\ETHERTSM.NLM a:\netware\server\nw31x\LNE100TX.LAN 3. Following the Load LAN Driver Module instructions in your Novell NetWare 386 v3.12 manual, start NetWare and configure the server (if you haven't already). 4. Load the above LAN drivers using the LOAD command. 5. If the LAN driver is not located in the default directory, specify the file's path on the command line. The LOAD command prompts you for the configuration parameters if they are not supplied on the command line. 36
-
 1
1 -
2
-
3
-
4
-
5
-
6
-
7
-
8
-
9
-
10
-
11
-
12
-
13
-
14
-
15
-
 16
16 -
 17
17 -
 18
18 -
 19
19 -
 20
20 -
 21
21 -
 22
22 -
 23
23 -
 24
24 -
 25
25 -
 26
26 -
27
-
28
-
29
-
30
-
31
-
32
-
33
-
34
-
35
-
36
-
37
-
38
-
39
 |
 |