Magic Chef MCM1110B User Manual - Page 8
Parts And Features, Microwave Oven Control - microwave model
 |
View all Magic Chef MCM1110B manuals
Add to My Manuals
Save this manual to your list of manuals |
Page 8 highlights
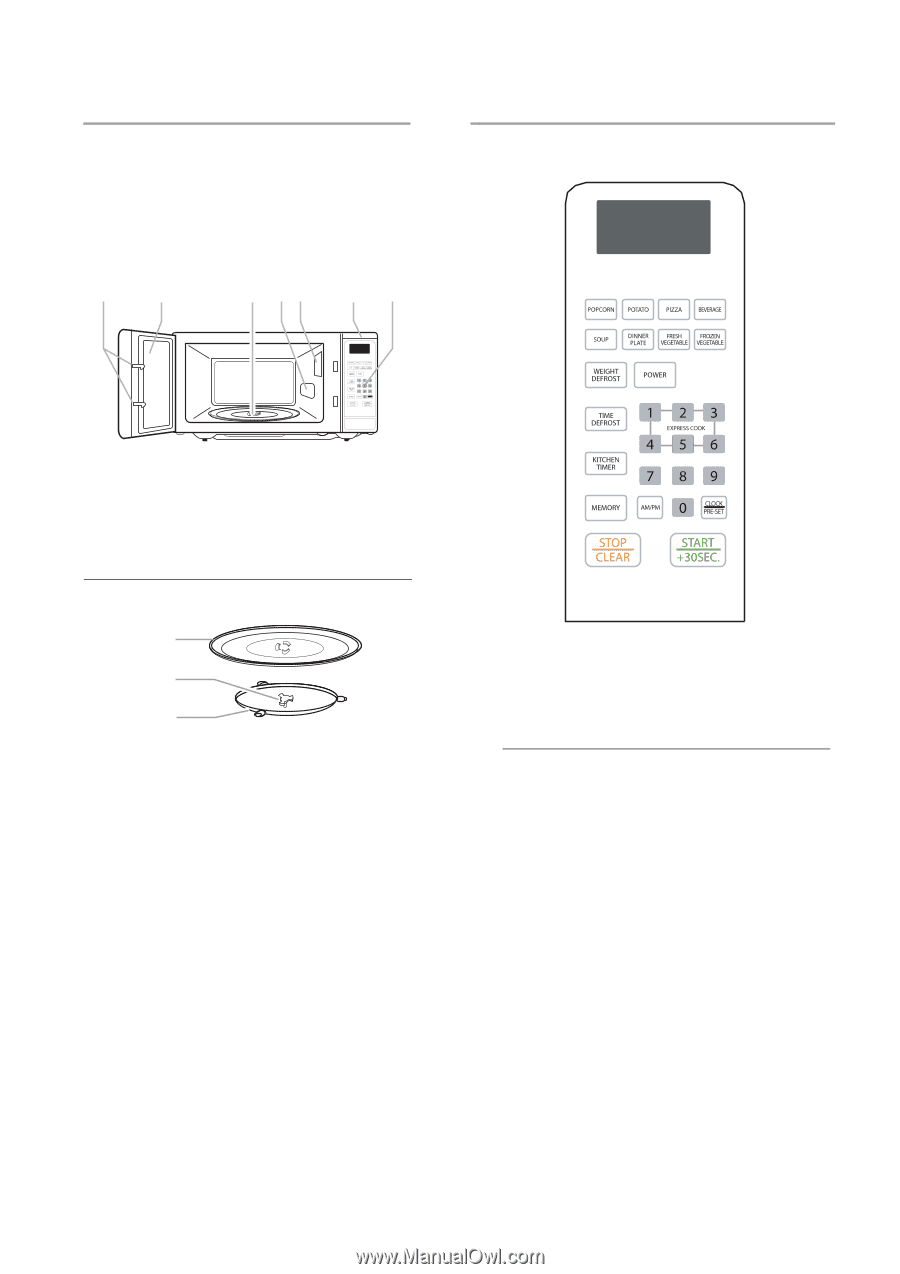
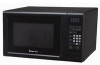
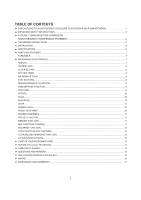
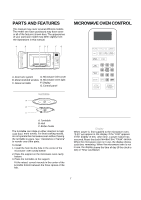
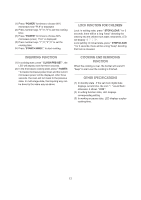
PARTS AND FEATURES This manual may cover several different models. The model you have purchased may have some or all of the features shown here. The appearance of your particular model may differ slightly from the illustrations in this manual. A B C DE F G MICROWAVE OVEN CONTROL A. Door lock system D. Microwave inlet cover B. Metal shielded window E. Microwave oven light C. Glass turntable F. Display G. Control panel Turntable A B C A. Turntable B. Hub C. Roller Guide The turntable can rotate in either direction to help cook food more evenly. For best cooking results, do not operate the microwave oven without having the turntable in place. See "Assistance or Service" to reorder any of the parts. To Install: 1. Install the hub into the hole in the center of the microwave oven cavity bottom 2. Place the support on the microwave oven cavity bottom. 3. Place the turntable on the support. Fit the raised, curved mounds in the center of the turntable bottom between the three spokes of the hub. Display When power is first supplied to the microwave oven, "0:00" will appear in the display. If the "0:00" appears in the display at any other time, a power failure has occurred.Reset the clock if needed.See "Clock" section. When the microwave oven is in use, the display shows cook time remaining. When the microwave oven is not in use, the display shows the time of day (if the clock is set) or Timer countdown. 7
-
 1
1 -
2
-
 3
3 -
 4
4 -
 5
5 -
 6
6 -
 7
7 -
 8
8 -
 9
9 -
 10
10 -
 11
11 -
 12
12 -
 13
13 -
14
-
15
-
16
-
17
-
18
 |
 |