Makita SP6000J1 Owners Manual - Page 11
Maintenance
 |
View all Makita SP6000J1 manuals
Add to My Manuals
Save this manual to your list of manuals |
Page 11 highlights
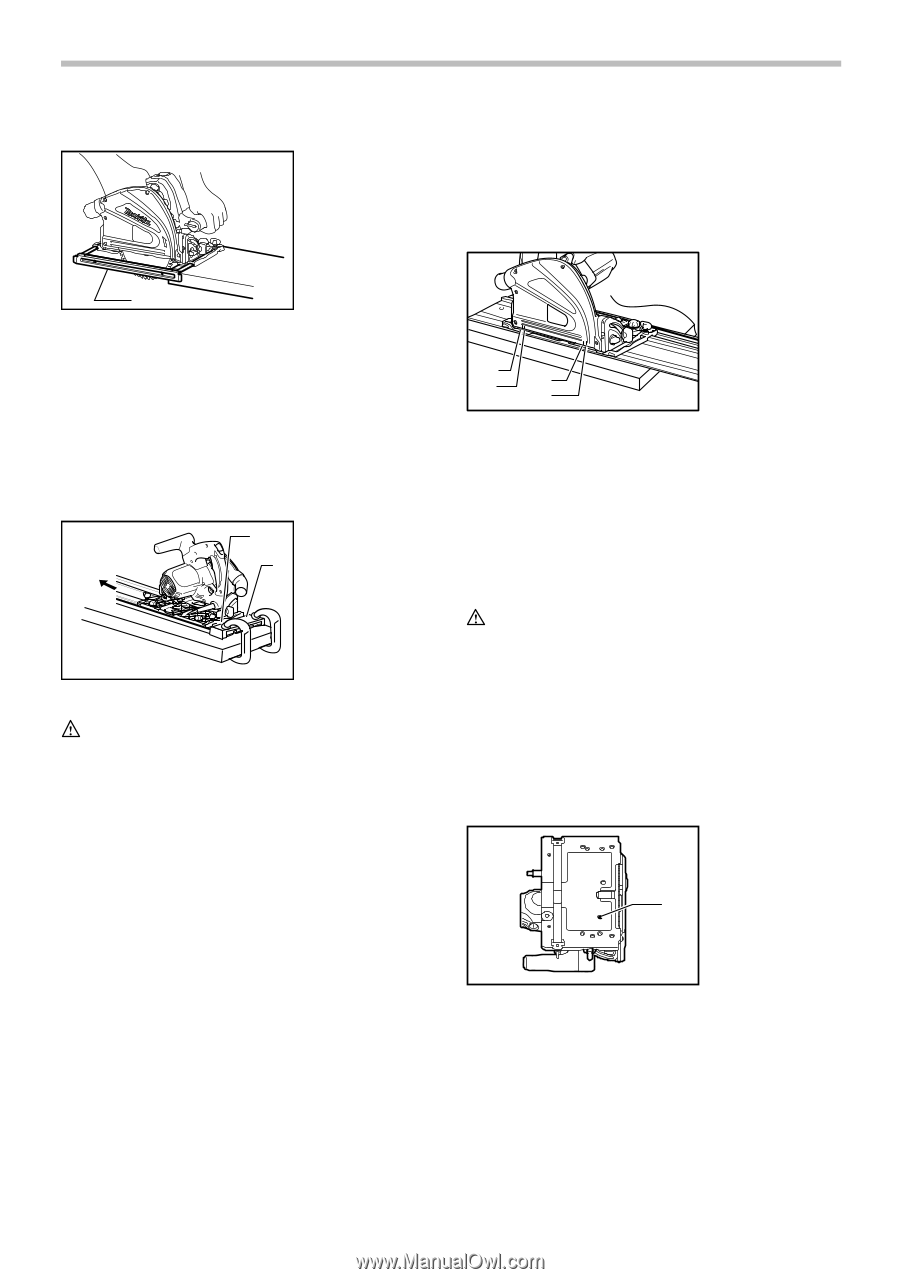
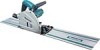
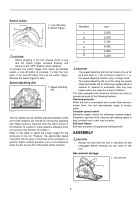
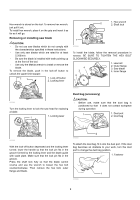
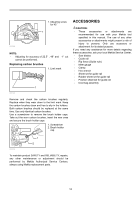
Rip fence (guide rule) (Accessory) 1. Rip fence (Guide rule) NOTE: • The markings on the side of the blade guard show the absolute front and the absolute rear cutting points of the saw blade (A for diameter 160 mm and B for diameter 165 mm) at the maximum cutting depth and using the guide rail. 1 007675 The handy rip fence allows you to do extra-accurate straight cuts. Simply slide the rip fence up snugly against the side of the workpiece and secure it in position with the screws on the front and the back of the base. It also makes repeated cuts of uniform width possible. Overturning the rip fence (guide rule) also works as a sub base for the tool. Plunge cutting (Cutting-out) 1 2 1. Rear edge of tool base 2. Fixed stop B A A B 007678 Guide device (accessories) Use of the miter gauge (accessory) allows exact miter cuts with angles and fitting works. Use of the clamp (accessory) ensures firm hold of workpiece on the table. MAINTENANCE 007686 WARNING: • To avoid a kickback, be sure to observe the following instructions. When using the tool without guide rail Place the tool on the workpiece with the rear edge of tool base against a fixed stop or equivalent which is devised by an operator. When using the tool with guide rail Place the tool on the guide rail with the rear edge of tool base against a fixed stop or equivalent which is clamped on the guide rail. Hold the tool firmly with one hand on the front grip and the other on the tool handle. Then push in the lock-off button and turn the tool on and wait until the blade attains full speed. Now press down the saw head slowly to the preset depth of cut and simply move the tool forward to the desired plunge position. CAUTION: • Always be sure that the tool is switched off and unplugged before attempting to perform inspection or maintenance. Adjusting for accuracy of 90° and 45° cut (vertical and 45° cut) This adjustment has been made at the factory. But if it is off, adjust the adjusting screws with a hex wrench while inspecting 90° or 45° the blade with the base using a triangular rule or square rule, etc. 1. Adjusting screw for 90 ゚ 1 007667 11
-
 1
1 -
2
-
3
-
4
-
5
-
 6
6 -
 7
7 -
 8
8 -
 9
9 -
 10
10 -
 11
11 -
 12
12 -
 13
13 -
 14
14 -
 15
15 -
 16
16 -
17
-
18
-
19
-
20
-
21
-
22
-
23
-
24
-
25
-
26
-
27
-
28
-
29
-
30
-
31
-
32
-
33
-
34
-
35
-
36
-
37
-
38
-
39
-
40
 |
 |