Maytag MAL2000AXW Instruction Sheet - Page 3
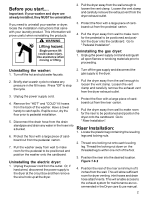
Lifting hazard.
 |
View all Maytag MAL2000AXW manuals
Add to My Manuals
Save this manual to your list of manuals |
Page 3 highlights
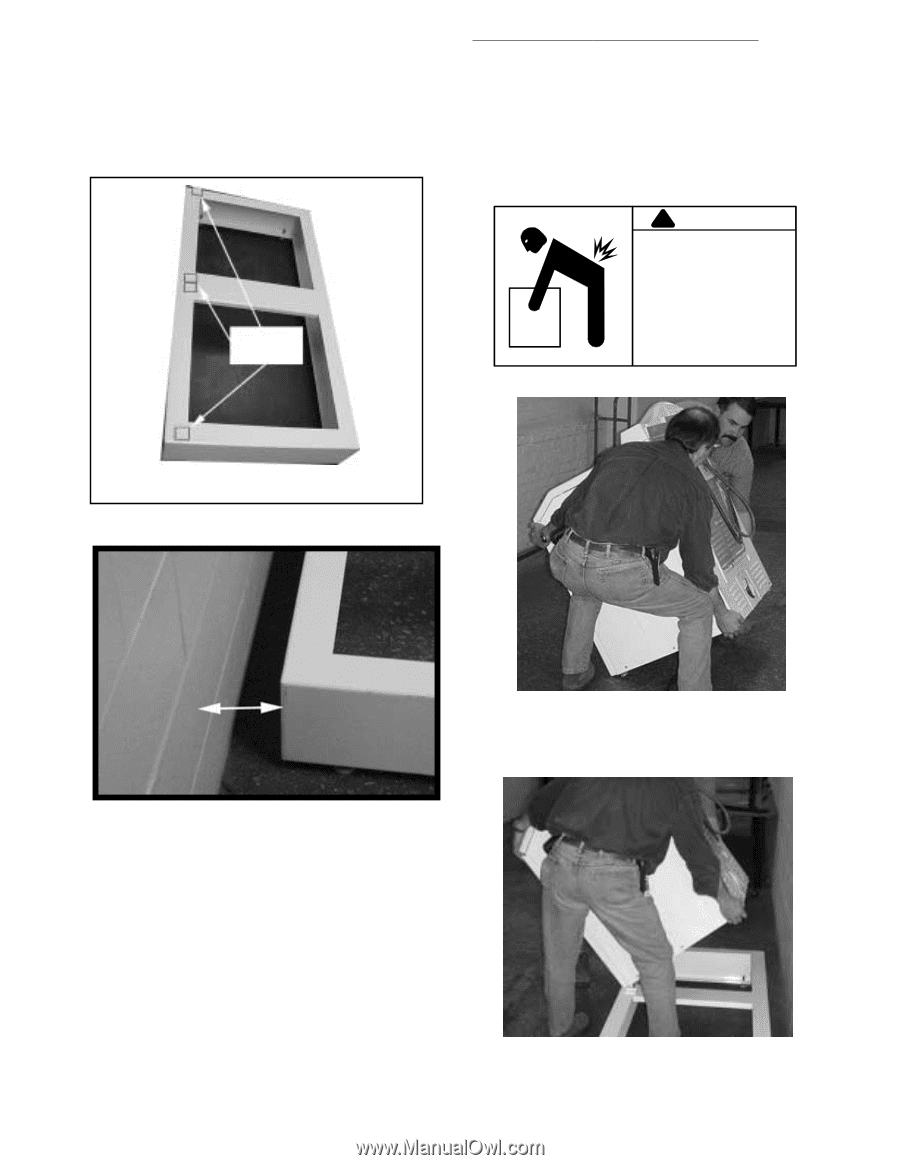
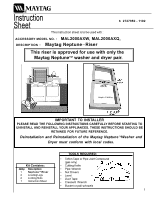
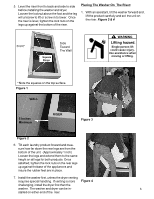
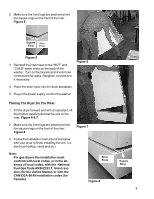
5. Level the riser front to back and side to side before installing the washer and dryer. Loosen the locknut above the foot and the leg will unscrew to lift or screw in to lower. Once the riser is level, tighten the lock nuts on the legs up against the bottom of the riser. Placing The Washer On The Riser: 1. With an assistant, tilt the washer forward and , lift the product carefully and set the unit on the riser. Figure 3 & 4 Front* Square Rings Side Toward The Wall ! WARNING Lifting hazard. Single person lift could cause injury. Use assistance when moving or lifting. * Note the squares on the top surface. Figure 1 WALL 5 Inches Minimum RISER Figure 3 Figure 2 6. Tilt each laundry product forward and measure how far down the rear legs are from the bottom of the unit. (Approximately 1 inch) Loosen the legs and extend them to the same height on all legs for both products. Once satisfied, tighten the lock nuts on the rear legs up against thebase of the appliances and insure the rubber feet are in place. 7. Install the washer first, unless the dryer venting requires special handling. If venting is more Figure 4 challenging, install the dryer first then the washer. The washer and dryer can be in- 3 stalled on either end of the riser.
-
 1
1 -
 2
2 -
 3
3 -
 4
4
 |
 |