NEC M40-2-AV M40/46-2 user's manual - Page 19
Remote Control ID Function
 |
UPC - 805736024913
View all NEC M40-2-AV manuals
Add to My Manuals
Save this manual to your list of manuals |
Page 19 highlights
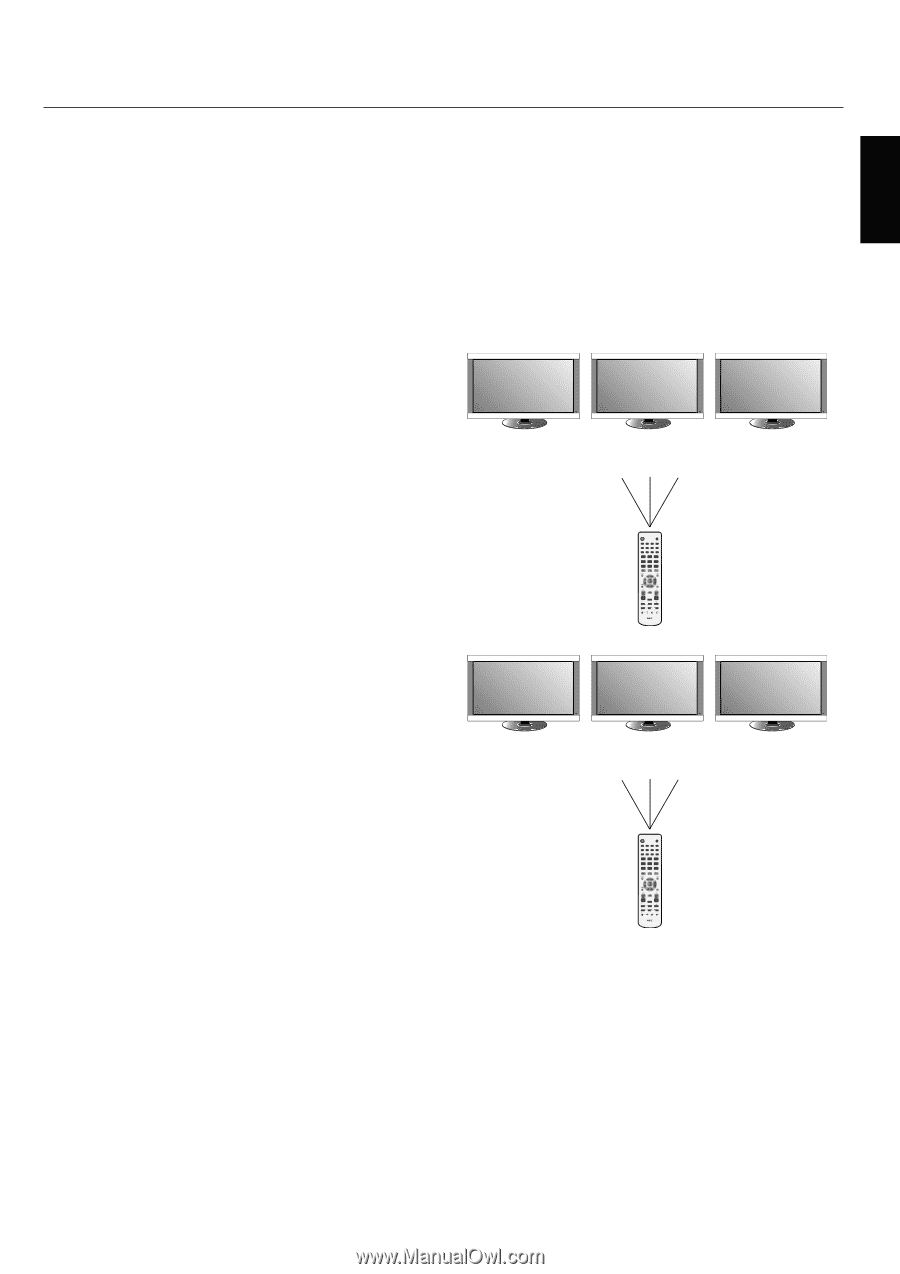
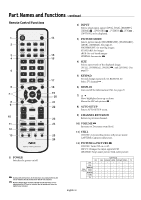
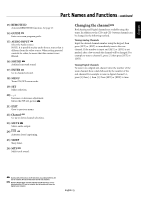
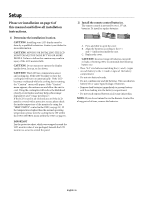
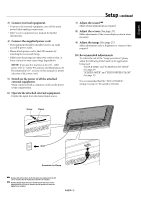
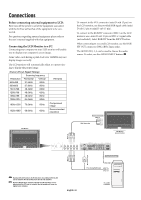
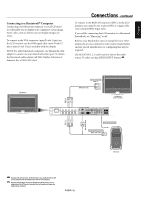
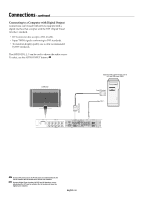
English Part Names and Functions - continued REMOTE CONTROL ID The remote control included with the display can be used to control up to 26 individual Multeos monitors using what is called the REMOTE CONTROL ID mode. The REMOTE CONTROL ID mode works in conjunction with the Monitor ID, allowing control of up to 26 individual Multeos monitors. For example: if there are many monitors being used in the same area, a remote control in normal mode would send signals to every monitor at the same time Figure 1. Using the remote in REMOTE CONTROL ID mode will only operate one specific monitor within the group Figure 2. Remote Control ID Function 3. Point the remote control towards the remote sensor of the desired monitor and press the REMOTE ID SET button. The MONITOR ID number is shown in red on the display. If the REMOTE CONTROLID is "0", then all displays in range will show their respective MONITOR ID number in red. If the MONITOR ID number is shown in white on the display, the MONITOR ID number and the REMOTE CONTROL ID are not the same. Monitor ID:1 Monitor ID:2 Monitor ID:3 TO SET REMOTE CONTROL ID: While holding down the REMOTE ID SET button on the remote control, use the KEYPAD to input the Monitor ID (1-26) of the display to be controlled via remote. The remote can then be used to operate the monitor having that specific Monitor ID number. When 0 is selected or when the remote control is in normal mode, all monitors will be operated. TO SET/RESET REMOTE CONTROL ID MODE ID Mode - To enter ID Mode press the REMOTE ID SET button and hold down for 2 seconds. Normal Mode - To return to Normal Mode press the REMOTE ID RESET button and hold down for 2 seconds. In order for this feature to work properly, the display must be assigned a Monitor ID number. The Monitor ID number can be assigned under the MULTI DISPLAY menu in the OSD (See page 30). Point the remote control towards the remote sensor of the desired monitor and press the REMOTE ID SET button. The MONITOR ID number is shown on the display when your remote control is in ID mode. Use the remote control to operate a monitor that has a specific MONITOR ID number assigned to it. 1. Set the MONITOR ID number for the display (See page 30). The MONITOR ID number can range from 1-26. This MONITOR ID number allows the remote control to operate this specific monitor without affecting other monitors. 2. On the remote control, press and hold down the REMOTE ID SET button while using the keypad to input the REMOTE CONTROL ID number (1-26). The REMOTE ID NUMBER should match the MONITOR ID number of the display to be controlled. Choose "0" to simultaneously control all displays in range. Remote works Remote works Remote works Figure 1 Remote in Normal mode or the REMOTE ID is set to 0 POWER GUIDE DVI VGA RGB/HV OPTION HDMI DVD/HD VIDEO TV PICTURE MODE SIZE AUDIO SOUND INPUT 1 2 3 4 5 6 7 8 9 MUTE STILL ON/OFF CAPTURE PIP ON/OFF INPUT CHANGE REMOTE ID SET RESET MTS SLEEP REMOTE CONTROLLER RU-M111 Monitor ID:1 Remote does not work Monitor ID:2 Remote does not work Monitor ID:3 Remote works Figure 2 Remote set up to use Remote ID:3 POWER GUIDE DVI VGA RGB/HV OPTION HDMI DVD/HD VIDEO TV PICTURE MODE SIZE AUDIO SOUND INPUT 1 2 3 4 5 6 7 8 9 MUTE STILL ON/OFF CAPTURE PIP ON/OFF INPUT CHANGE REMOTE ID SET RESET MTS SLEEP REMOTE CONTROLLER RU-M111 English-15
-
 1
1 -
2
-
3
-
4
-
5
-
6
-
7
-
8
-
9
-
10
-
11
-
12
-
13
-
 14
14 -
 15
15 -
 16
16 -
 17
17 -
 18
18 -
 19
19 -
 20
20 -
 21
21 -
 22
22 -
 23
23 -
 24
24 -
25
-
26
-
27
-
28
-
29
-
30
-
31
-
32
-
33
-
34
-
35
-
36
-
37
-
38
-
39
-
40
-
41
-
42
-
43
-
44
-
45
-
46
-
47
-
48
-
49
-
50
-
51
-
52
-
53
-
54
-
55
-
56
-
57
-
58
-
59
-
60
-
61
-
62
-
63
-
64
-
65
-
66
-
67
-
68
-
69
-
70
-
71
-
72
-
73
-
74
-
75
-
76
-
77
-
78
-
79
-
80
-
81
-
82
-
83
-
84
-
85
-
86
-
87
-
88
-
89
-
90
-
91
-
92
-
93
-
94
-
95
-
96
-
97
-
98
-
99
-
100
-
101
-
102
-
103
-
104
-
105
-
106
-
107
-
108
-
109
-
110
-
111
-
112
-
113
-
114
-
115
-
116
-
117
-
118
-
119
-
120
-
121
-
122
-
123
-
124
-
125
-
126
-
127
-
128
-
129
-
130
-
131
-
132
-
133
-
134
-
135
-
136
-
137
-
138
-
139
-
140
-
141
-
142
-
143
-
144
-
145
-
146
-
147
-
148
-
149
-
150
-
151
-
152
 |
 |