Nikon D850 SnapBridge Connection Guide - English - Page 1
Nikon D850 Manual
 |
View all Nikon D850 manuals
Add to My Manuals
Save this manual to your list of manuals |
Page 1 highlights
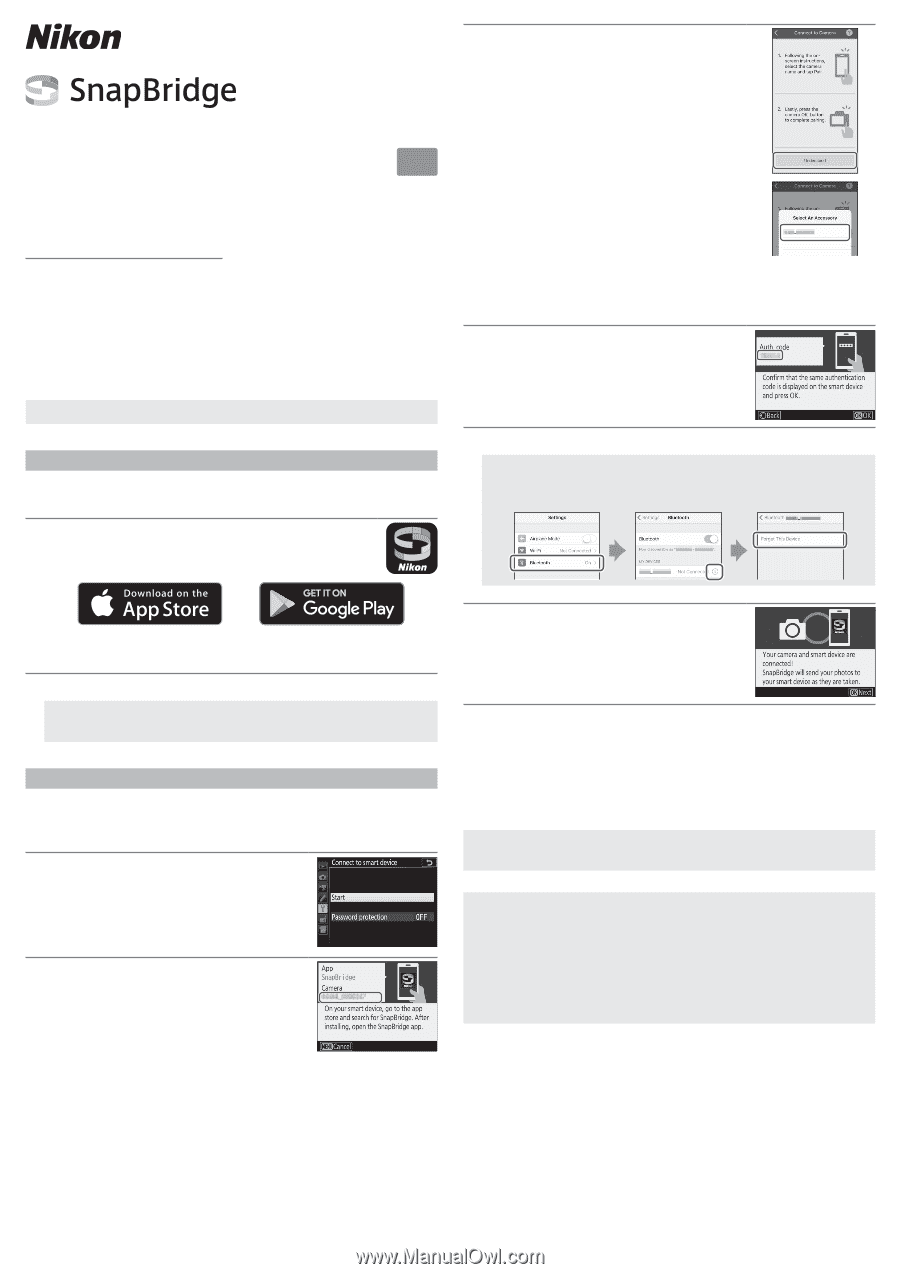
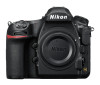
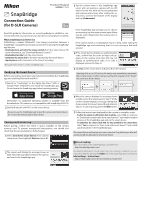
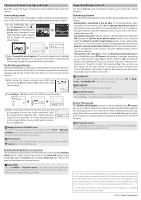
Printed in Thailand 6MB40711-01 Connection Guide (for D-SLR Cameras) En Read this guide for information on using SnapBridge to establish a connection between your camera and a smart device (smartphone or tablet). What SnapBridge Can Do for You Establishing a wireless (Bluetooth® Low Energy) connection between a SnapBridge-compatible camera and a smart device running the SnapBridge app lets you: • Download pictures and control the camera remotely from the smart device (for more information, see "Download/Remote Control") • Download location data from the smart device • Synchronize the camera clock to the time reported by the smart device • Imprint pictures with comments or the time of recording This guide is for version 1.3 of the SnapBridge app. Readying the Smart Device Before connecting, ready your smart device by installing the SnapBridge app and enabling Bluetooth and Wi-Fi. 1 Search for "snapbridge" on the Apple App Store® (iOS) or Google Play™ (Android™) and install the SnapBridge app. Do not launch the SnapBridge app before beginning pairing. 3 Tap the camera name in the SnapBridge app (users who are pairing a camera with an iOS device for the first time will first be presented with pairing instructions; after reading the instructions, scroll to the bottom of the display and tap Understood). If the SnapBridge app prompts you to choose an accessory, tap the camera name again (there may be some delay before the camera name is displayed). If the camera name is not displayed, return to Step 2 after exiting the SnapBridge app and confirming that it is not running in the background. 4 If the smart device displays an authentication code, confirm that the same six-digit code appears on the camera (note that iOS may not display an authentication code; if no code is displayed, proceed to Step 5). 5 Tap Pair on the smart device and press J on the camera. If pairing fails on an iOS device, the device may nevertheless remember the camera name, in which case you will need to request iOS to "forget" the camera as shown below. Information on supported operating systems is available from the download site. This camera is not compatible with SnapBridge 360/170. 2 Enable Bluetooth and Wi-Fi on the smart device. Be sure to use the SnapBridge app to pair the camera and smart device. Do not use the Settings app on your device. Pairing and Connecting Before pairing, confirm that there is space available on the camera memory card. To prevent unexpected interruptions, you should also check that the camera battery is fully charged. 1 Select Connect to smart device in the camera setup menu, then highlight Start and press J. 2 The camera will display the message shown at right. Place the smart device next to the camera and launch the SnapBridge app. 6 When the camera displays the message shown at right, press J and proceed to Step 7 (if the camera instead displays a message stating that it was unable to connect, press J and return to Step 2). To cancel pairing, press the G button. 7 Follow the instructions displayed by the camera to complete setup. • To allow the camera to add location data to photos, select Yes in response to "Download location data from smart device?" and enable location services in the SnapBridge app and on the smart device. • To synchronize the camera clock with the time provided by the smart device, select Yes in response to "Sync clock with smart device?" and enable synchronization in the SnapBridge app. The smart device and camera are now connected. Any photos you take will automatically be uploaded to the smart device. A More on SnapBridge Basic information on the SnapBridge app is available from: http://snapbridge.nikon.com For detailed information, consult online help (once pairing is complete, you can view online help by opening the Other tab in the SnapBridge app and selecting Info/settings > Instructions). http://nikonimglib.com/snbr/onlinehelp/en/index.html
-
 1
1 -
 2
2
 |
 |