Olympus TG-810 TG-810 Instruction Manual (English) - Page 38
To turn the LED illuminator off, Sequential shooting Drive, Using the LED illuminator
 |
UPC - 050332177529
View all Olympus TG-810 manuals
Add to My Manuals
Save this manual to your list of manuals |
Page 38 highlights
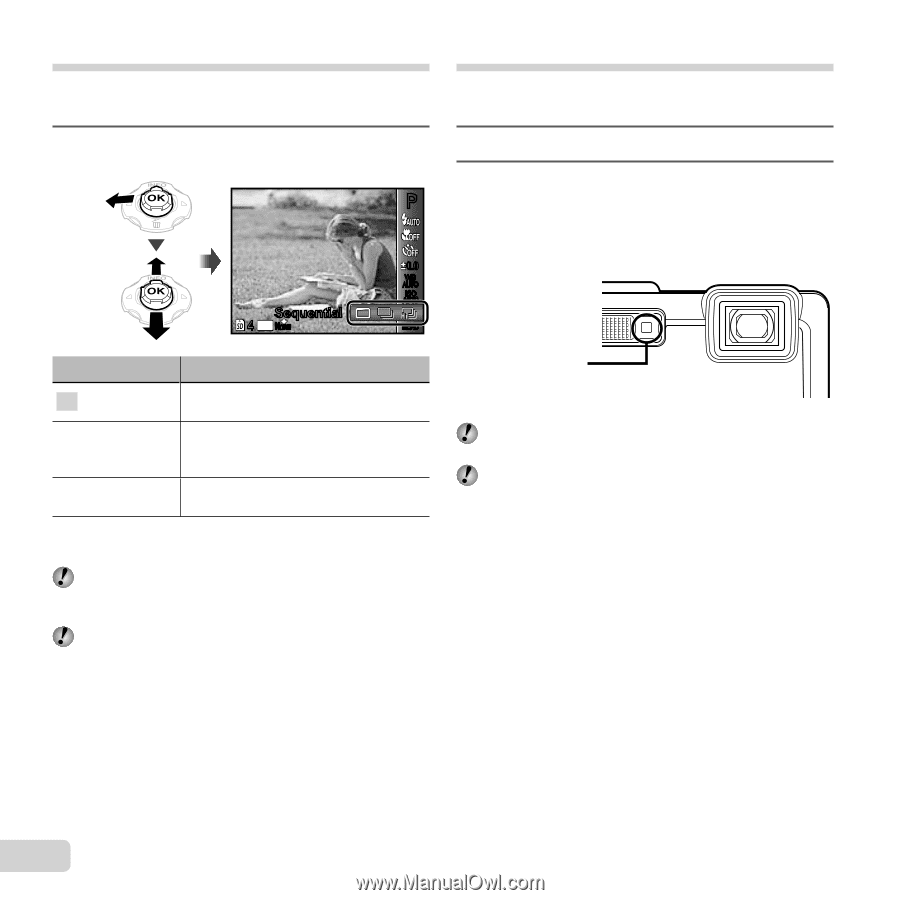
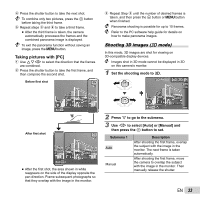
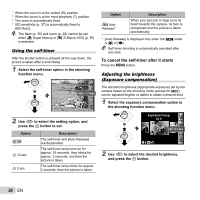
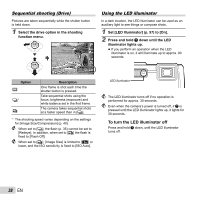
Sequential shooting (Drive) Pictures are taken sequentially while the shutter button is held down. 1 Select the drive option in the shooting function menu. P 0.0 WB AUTO ISO AUTO Sequential 4 14M NORM MENU Option o j*1 W Description One frame is shot each time the shutter button is pressed. Take sequential shots using the focus, brightness (exposure) and white balance set in the first frame. The camera takes sequential shots at a faster speed than in [j]. *1 The shooting speed varies depending on the settings for [Image Size/Compression] (p. 40). When set to [j], the flash (p. 35) cannot be set to [Redeye]. In addition, when set to [W] the flash is fixed to [Flash Off]. When set to [W], [Image Size] is limited to [3] or lower, and the ISO sensitivity is fixed to [ISO Auto]. Using the LED illuminator In a dark location, the LED illuminator can be used as an auxiliary light to see things or compose shots. 1 Set [LED Illuminator] (p. 57) to [On]. 2 Press and hold E down until the LED illuminator lights up. ● If you perform an operation when the LED illuminator is on, it will illuminate up to approx. 90 seconds. LED illuminator The LED illuminator turns off if no operation is performed for approx. 30 seconds. Even when the camera's power is turned off, if E is pressed until the LED illuminator lights up, it lights for 30 seconds. To turn the LED illuminator off Press and hold E down, until the LED illuminator turns off. 38 EN
-
 1
1 -
2
-
3
-
4
-
5
-
6
-
7
-
8
-
9
-
10
-
11
-
12
-
13
-
14
-
15
-
16
-
17
-
18
-
19
-
20
-
21
-
22
-
23
-
24
-
25
-
26
-
27
-
28
-
29
-
30
-
31
-
32
-
 33
33 -
 34
34 -
 35
35 -
 36
36 -
 37
37 -
 38
38 -
 39
39 -
 40
40 -
 41
41 -
 42
42 -
 43
43 -
44
-
45
-
46
-
47
-
48
-
49
-
50
-
51
-
52
-
53
-
54
-
55
-
56
-
57
-
58
-
59
-
60
-
61
-
62
-
63
-
64
-
65
-
66
-
67
-
68
-
69
-
70
-
71
-
72
-
73
-
74
-
75
-
76
-
77
-
78
-
79
-
80
-
81
-
82
-
83
-
84
-
85
-
86
-
87
-
88
-
89
-
90
-
91
-
92
 |
 |