Olympus VR-320 VR-330 Instruction Manual (English) - Page 42
Pw On Setup], volume [Sound Settings]
 |
View all Olympus VR-320 manuals
Add to My Manuals
Save this manual to your list of manuals |
Page 42 highlights
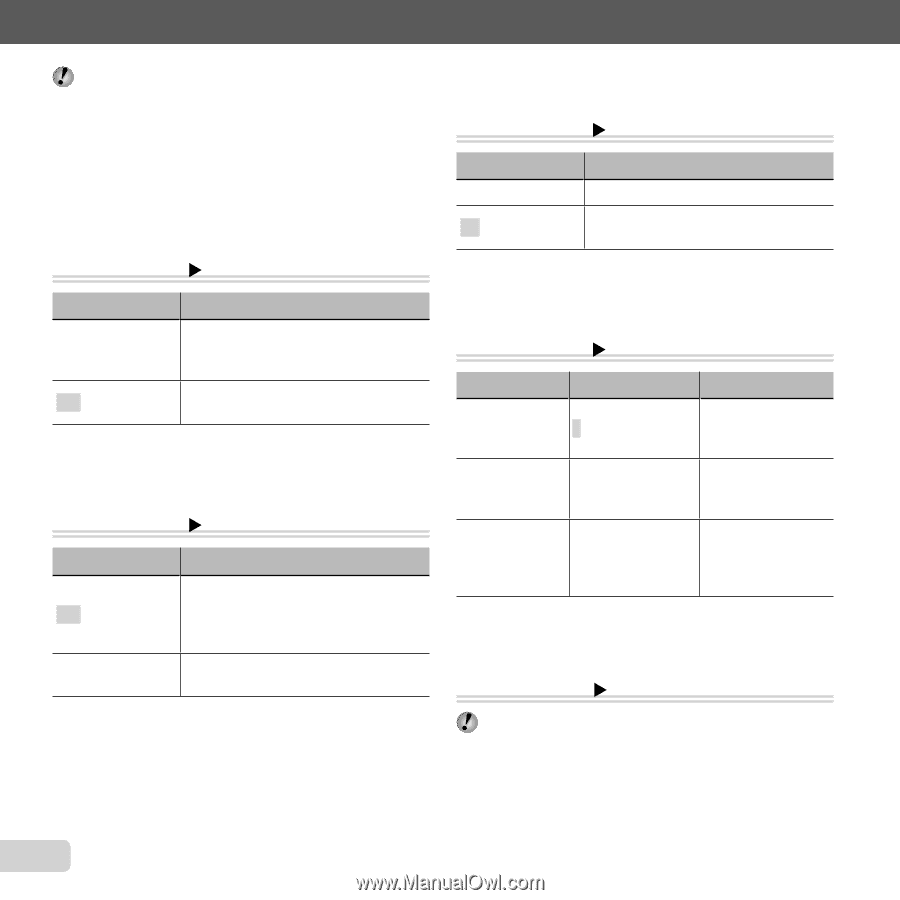
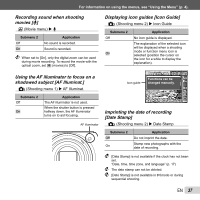
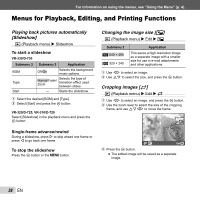
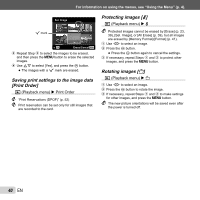
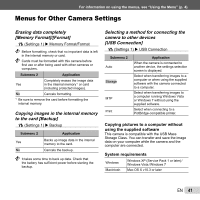
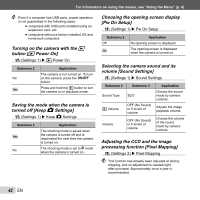
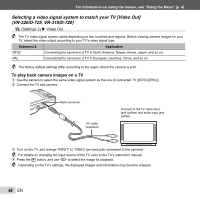
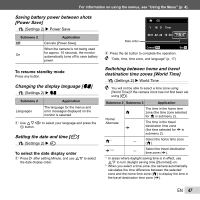
For information on using the menus, see "Using the Menu" (p. 4). Even if a computer has USB ports, proper operation is not guaranteed in the following cases. ● computers with USB ports installed using an expansion card, etc. ● computers without a factory-installed OS and home-built computers Turning on the camera with the q button [q Power On] r (Settings 1) X q Power On Submenu 2 No Yes Application The camera is not turned on. To turn on the camera, press the n button. Press and hold the q button to turn the camera on in playback mode. Saving the mode when the camera is turned off [Keep K Settings] r (Settings 1) X Keep K Settings Submenu 2 Yes No Application The shooting mode is saved when the camera is turned off and is reactivated the next time the camera is turned on. The shooting mode is set to P mode when the camera is turned on. Choosing the opening screen display [Pw On Setup] r (Settings 1) X Pw On Setup Submenu 2 Off On Application No opening screen is displayed. The opening screen is displayed when the camera is turned on. Selecting the camera sound and its volume [Sound Settings] r (Settings 1) X Sound Settings Submenu 2 Sound Type q Volume Volume Submenu 3 1/2/3 OFF (No Sound) or 5 levels of volume OFF (No Sound) or 5 levels of volume Application Choose the sound made by camera controls. Adjusts the image playback volume. Choose the volume of the sound made by camera controls. Adjusting the CCD and the image processing function [Pixel Mapping] s (Settings 2) X Pixel Mapping This function has already been adjusted at factory shipping, and no adjustment is needed right after purchase. Approximately once a year is recommended. 42 EN
-
 1
1 -
2
-
3
-
4
-
5
-
6
-
7
-
8
-
9
-
10
-
11
-
12
-
13
-
14
-
15
-
16
-
17
-
18
-
19
-
20
-
21
-
22
-
23
-
24
-
25
-
26
-
27
-
28
-
29
-
30
-
31
-
32
-
33
-
34
-
35
-
36
-
 37
37 -
 38
38 -
 39
39 -
 40
40 -
 41
41 -
 42
42 -
 43
43 -
 44
44 -
 45
45 -
 46
46 -
 47
47 -
48
-
49
-
50
-
51
-
52
-
53
-
54
-
55
-
56
-
57
-
58
-
59
-
60
-
61
-
62
-
63
-
64
-
65
-
66
-
67
-
68
-
69
-
70
-
71
-
72
-
73
-
74
-
75
-
76
 |
 |