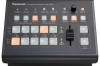
Panasonic AW-HS50 How-To Store Still Images in HS50 Software Frame Memory
Panasonic AW-HS50 Manual
 |
View all Panasonic AW-HS50 manuals
Add to My Manuals
Save this manual to your list of manuals |
Panasonic AW-HS50 manual content summary:
- Panasonic AW-HS50 | How-To Store Still Images in HS50 Software Frame Memory - Page 1
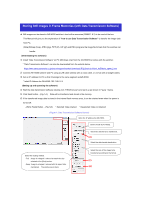
) from the CD-ROM that comes with the switcher. * "Data Transmission Software" can also be downloaded from the website below. https://eww.pass.panasonic.co.jp/pro-av/support/content/download/JP/jp2main/soft/tool_hs50data_agree_j.htm ② Connect AW-HS50 switcher and PC using a LAN cable (directly with - Panasonic AW-HS50 | How-To Store Still Images in HS50 Software Frame Memory - Page 2
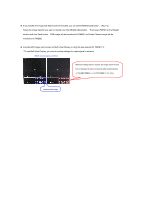
View Display Screen) When the setting below is at [On], the image stored in AUX bus is displayed for about 2 seconds after being imported. - [12] USER/FMEM > 6. AUX To FMEM => Rv: [On] Imported Still Image
-
 1
1 -
 2
2
 |
 |
★
Still images can be stored in AW-HS50 switcher’s two built-in memories (FMEM 1 & 2) to be used at the bus.
This Manual will give you the explanation of
“how to use Data Transmission Software”
to transfer the image data
from PC.
(Note) Bitmap (bmp), JPEG (jpg), TIFF (tif), GIF (gif) and PNG (png) are the image file formats that this switcher can
handle.
(Downloading the software)
①
Install “Data Transmission Software” on PC (Windows only) from the CD-ROM that comes with the switcher.
* “Data Transmission Software” can also be downloaded from the website below.
②
Connect AW-HS50 switcher and PC using a LAN cable (directly with a cross cable, or via hub with a straight cable).
③
Set an IP address for PC so that it belongs to the same segment as AW-HS50.
* Initial IP Address for AW-HS50: 192. 168. 0. 8
(Setting up and operating the software)
④
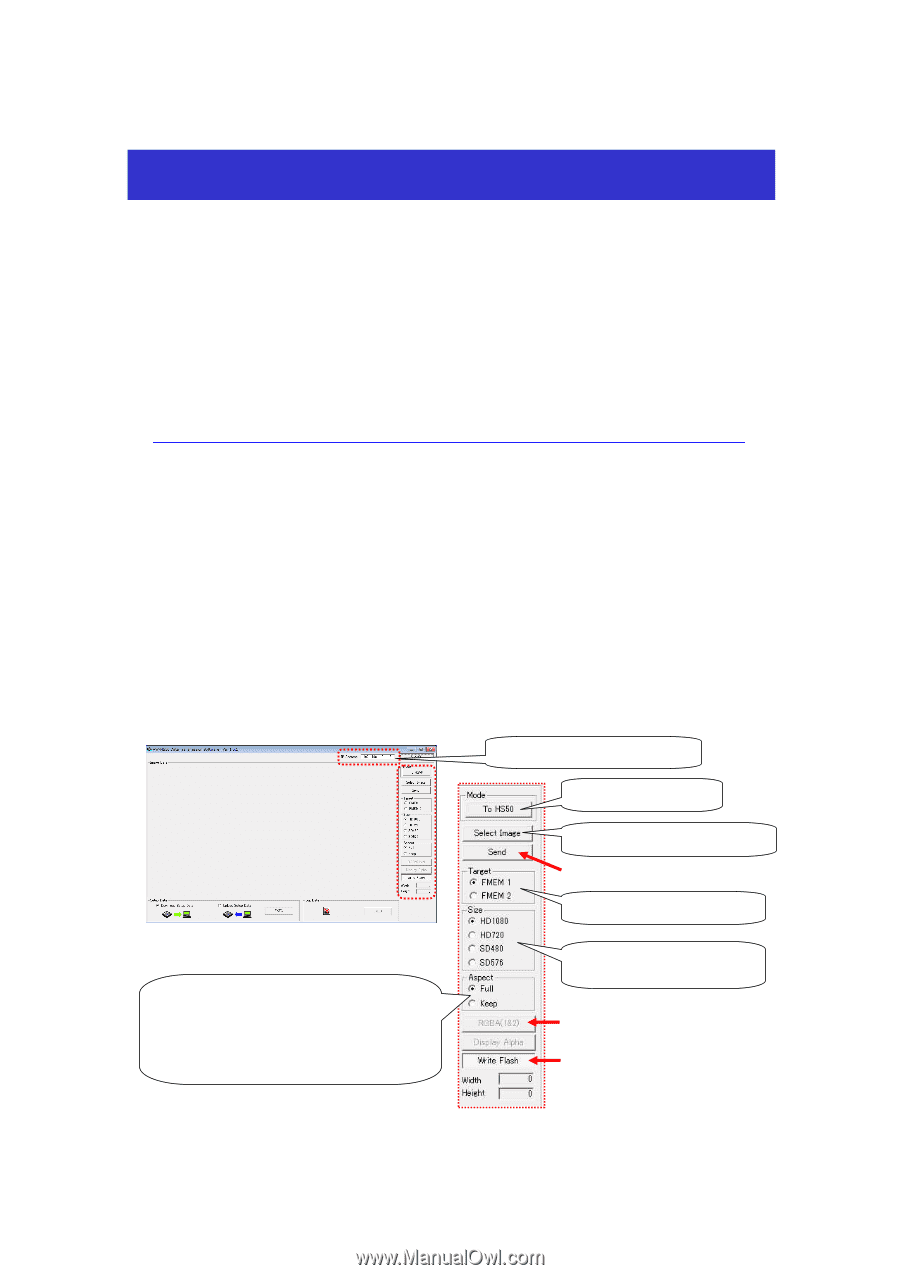
Start the data transmission software (double-click “HS50Tool.exe”) and set it up as shown in Figure 1 below.
⑤
Click Send button – (Fig.1-A).
Data will be transferred and stored in the memory.
⑥
If the transferred image data is stored in the internal flash memory area, it can be retained even when the power is
turned off.
- [Write Flash] Button – (Fig.1-B)
* Selected: Data retained
* Deselected: Data not retained
Enter the IP address for AW-HS50.
Storing Still Images in Frame Memories (with Data Transmission Software)
(Figure 1: Data Transmission Software Screen)
Select the scaling method.
- Full:
Image is enlarged / reduced to match the size
selected at the [Size] section.
- Keep:
Image is enlarged / reduced with its aspect ratio
maintained.
The empty area is black.
Set the mode at [To HS50].
Select the data file to be transferred.
Select the data transfer destination.
Select the size of the image to be
transferred according to the format.
(
A
)
(
B
)
(
C
)