Pentax IQ Zoom IQZoom Manual - Page 18
urrounding
 |
UPC - 027075051010
View all Pentax IQ Zoom manuals
Add to My Manuals
Save this manual to your list of manuals |
Page 18 highlights
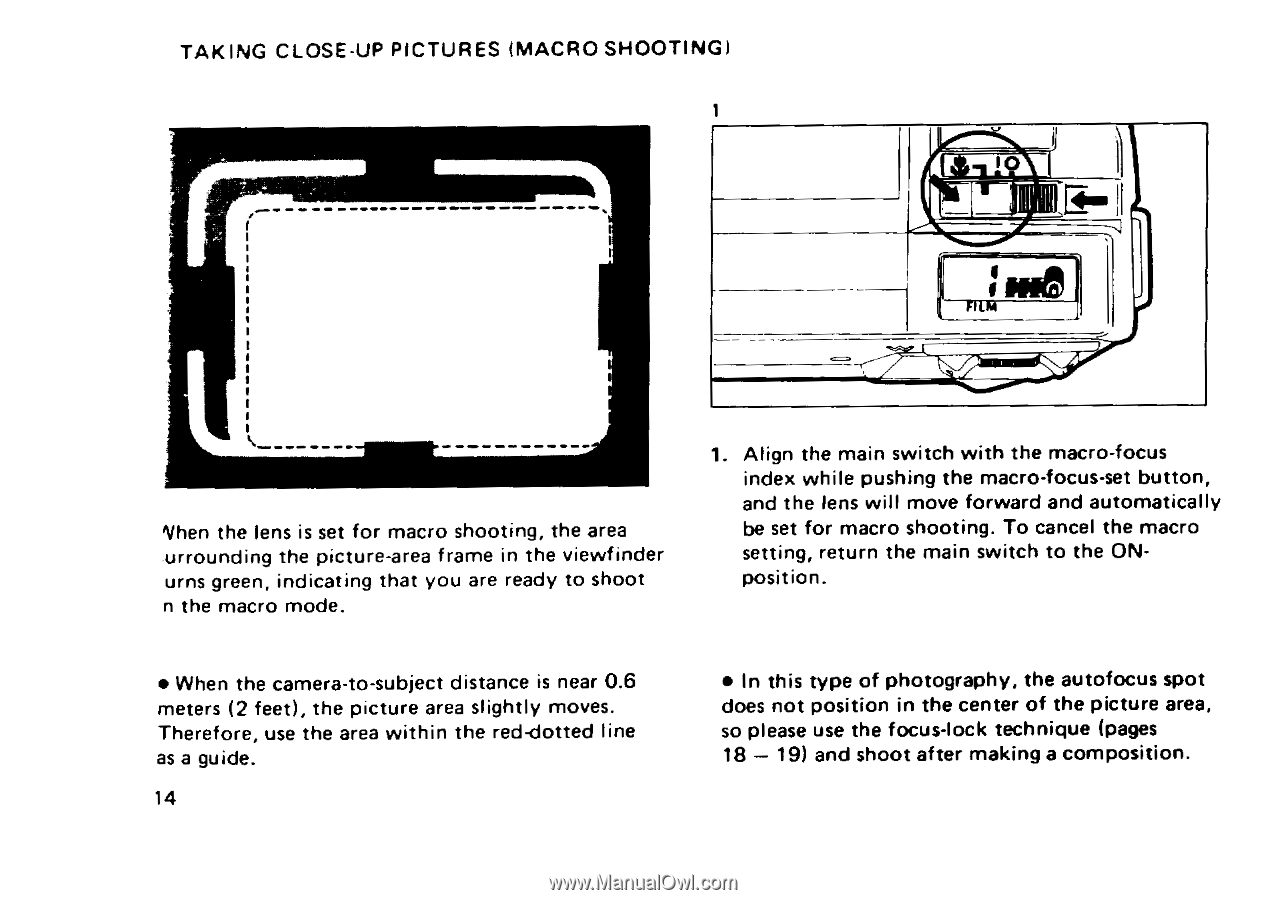
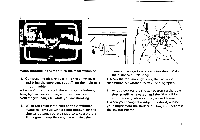
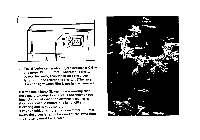
TAKING CLOSE-UP PICTURES (MACRO SHOOTING) 1O MO FILM 'hen the lens is set for macro shooting, the area urrounding the picture-area frame in the viewfinder urns green, indicating that you are ready to shoot n the macro mode. 1. Align the main switch with the macro-focus index while pushing the macro-focus-set button, and the lens will move forward and automatically be set for macro shooting. To cancel the macro setting, return the main switch to the ONposition. • When the camera-to-subject distance is near 0.6 meters (2 feet), the picture area slightly moves. Therefore, use the area within the red-dotted line as a guide. 14 • In this type of photography, the autofocus spot does not position in the center of the picture area, so please use the focus-lock technique (pages 18 - 19) and shoot after making a composition.
-
 1
1 -
2
-
3
-
4
-
5
-
6
-
7
-
8
-
9
-
10
-
11
-
12
-
 13
13 -
 14
14 -
 15
15 -
 16
16 -
 17
17 -
 18
18 -
 19
19 -
 20
20 -
 21
21 -
 22
22 -
 23
23 -
24
-
25
-
26
-
27
-
28
-
29
-
30
-
31
-
32
-
33
-
34
-
35
-
36
-
37
-
38
-
39
-
40
 |
 |