Pfaff 86 Owner's Manual - Page 30
Pfaff 86 Manual
 |
View all Pfaff 86 manuals
Add to My Manuals
Save this manual to your list of manuals |
Page 30 highlights
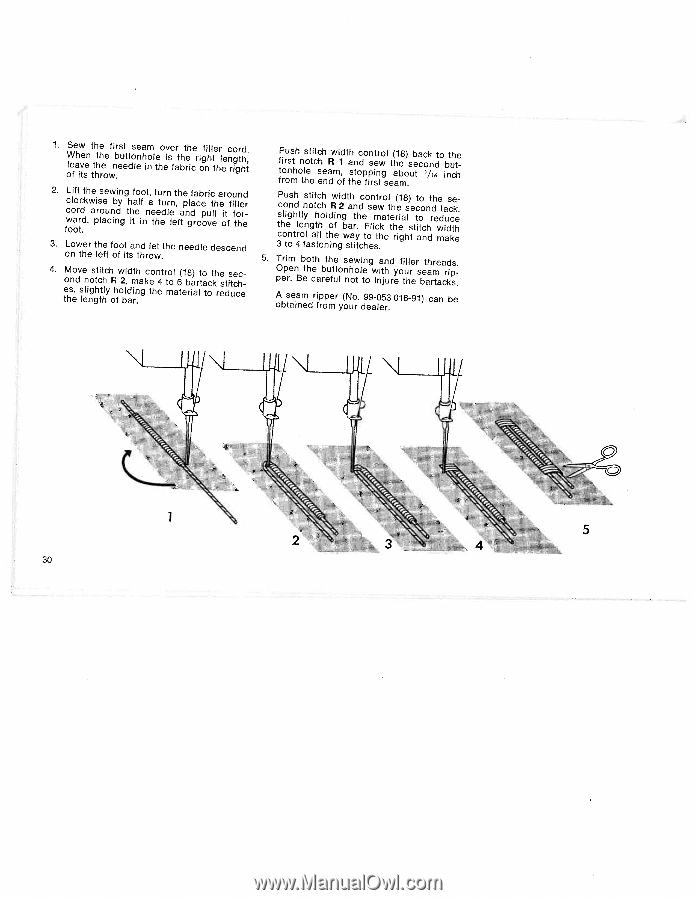
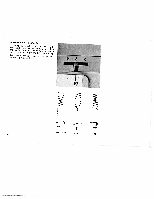
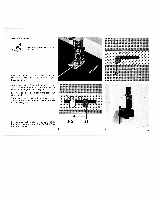
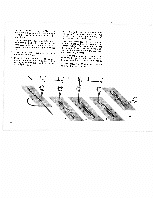
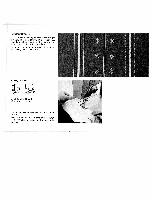
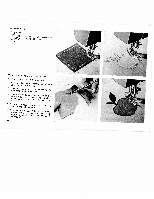
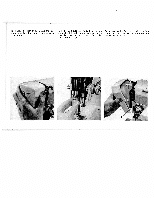
1. Sew When leave of its ttthhhthereoewfni.bresuettdtosleenahimon ltehoevisefratbhtrehiceriogfnihllttehrleecnrogigrthhd,t. 2. fcwcLoolioaofrtrtcd.dtkh,weapirslosaeeucwnibndiynggthhitfaeolfiontn,aettheutedurnlrenle,tfhatepngldfaracobeopruvicltelhaeoirtfofuiftlonhlederr 3. Lower on the the left foot and let the of its throw. needle descend 4. teoMhsne,odvsleleningosghttcittthhlcyhoRhfwo2bl,idadimrtnh. agkcteohne4trtmoola6t(e1br8ia)arlttoatcokthreesdtisutecchce fftProirounsmsthhontlhsoetetictchsehenadRwmoi1,df tthashnteodcpofpinsrietsnrtwogsl et(aha1mbe8o).subet caco1 /knisdto the but inch 3tcsPchloouitegnonshthdr4ltoelynflsnatogisattthtlcchleohhnltdhioRnwfiengi2gdbwstaahatrnity.thdccethoFosenleismcttw.rhkoaetlttehhrr(eiie1ga8hls)stetcittaotoocnnhdtdrhewmedtaiuadcskctkehee, 5. TpOerpirme. nBbetohtceharbetuhfutetlonsnehowot litenogwiniatjnhudryeoftiuhllreersbetaahrmrteaacrdkissp.. A seam obtained ripper (No. from your 99-053 dealer. 016-91) can be 30
-
 1
1 -
2
-
3
-
4
-
5
-
6
-
7
-
8
-
9
-
10
-
11
-
12
-
13
-
14
-
15
-
16
-
17
-
18
-
19
-
20
-
21
-
22
-
23
-
24
-
 25
25 -
 26
26 -
 27
27 -
 28
28 -
 29
29 -
 30
30 -
 31
31 -
 32
32 -
 33
33 -
 34
34 -
 35
35 -
36
-
37
-
38
-
39
-
40
 |
 |