Pfaff expression 2038 Owner's Manual - Page 50
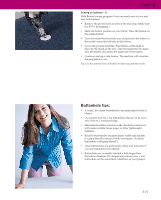
Semi-automatic buttonhole, Fully automatic buttonhole
 |
View all Pfaff expression 2038 manuals
Add to My Manuals
Save this manual to your list of manuals |
Page 50 highlights
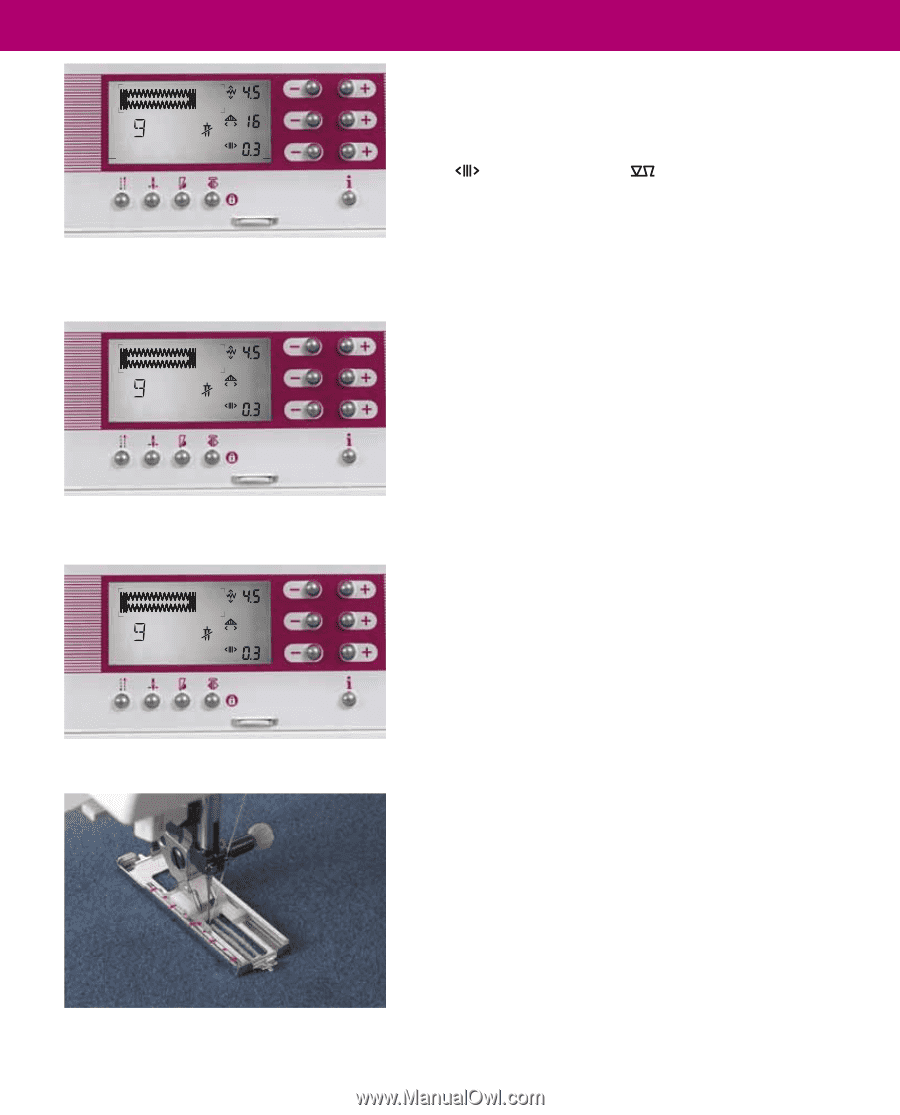
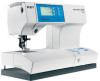
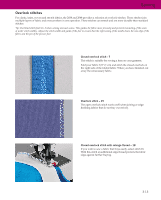
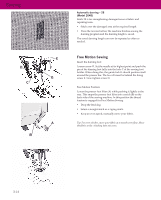
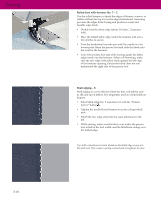
Sewing man auto Fully automatic buttonhole Select the desired buttonhole (e.g. No. 9). Adjust the size of the buttonhole by using the -/+ button B. You can also adjust the buttonhole width (-/+ button A), the buttonhole density (-/+ button C) or the buttonhole balance (-/+ button C). Alter between density and balance by pressing "tie off"-button 36. The symbol will change into on your display. Sew as many buttonholes as you wish. Your expression will continue to sew the same size buttonhole until you make adjustments. Note: Fully automatic buttonhole can only be sewn using the sensormatic buttonhole guide. Semi-automatic buttonhole Used to set the length while sewing. First touch the reverse button. The word "man" appears in the expression window. Sew the forward buttonhole seam and press the reverse button when you have reached the correct buttonhole size. The word "auto" appears in the window. The rest of the buttonhole will be finished automatically. The word "auto" in expression window now means that the buttonhole is automatically saved and can be repeated as many times as you wish. Your expression will continue to sew the same size buttonhole until you make adjustments or press the reverse button once. Note: If the sensormatic buttonhole guide has not been inserted you will have to finish the buttonhole manually by pressing the reverse button. 3:18
-
 1
1 -
2
-
3
-
4
-
5
-
6
-
7
-
8
-
9
-
10
-
11
-
12
-
13
-
14
-
15
-
16
-
17
-
18
-
19
-
20
-
21
-
22
-
23
-
24
-
25
-
26
-
27
-
28
-
29
-
30
-
31
-
32
-
33
-
34
-
35
-
36
-
37
-
38
-
39
-
40
-
41
-
42
-
43
-
44
-
 45
45 -
 46
46 -
 47
47 -
 48
48 -
 49
49 -
 50
50 -
 51
51 -
 52
52 -
 53
53 -
 54
54 -
 55
55 -
56
-
57
-
58
-
59
-
60
-
61
-
62
-
63
-
64
-
65
-
66
-
67
-
68
 |
 |