Pfaff hobbylock 4860 Owner's Manual - Page 13
remove, detachable, support
 |
View all Pfaff hobbylock 4860 manuals
Add to My Manuals
Save this manual to your list of manuals |
Page 13 highlights
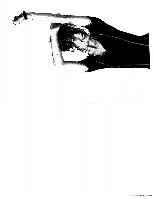
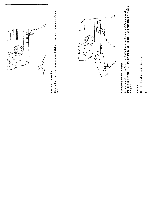
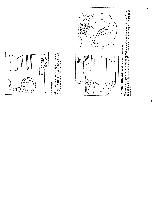
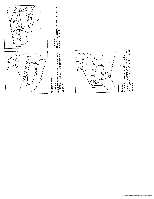
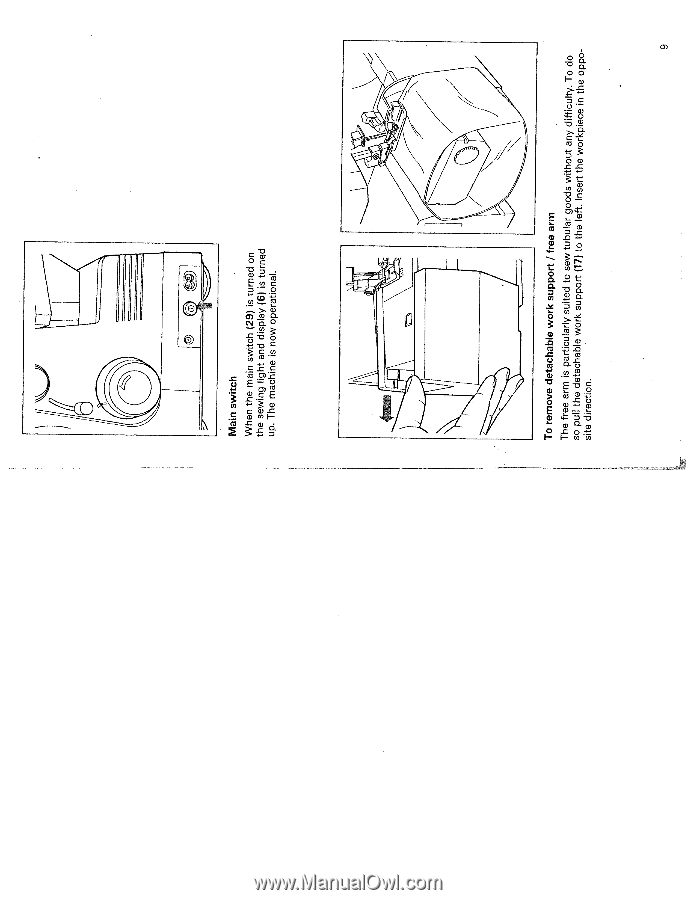
Main switch When the main switch (29) is turned on the sewing light and display (6) is turned up. The machine is now operational. To remove detachable work support I free arm The free arm is particularly suited to so pull the detachable work support site direction. sew (17) tubular goods without any difficulty. To do to the left. Insert the workpiece in the oppo 9
-
 1
1 -
2
-
3
-
4
-
5
-
6
-
7
-
 8
8 -
 9
9 -
 10
10 -
 11
11 -
 12
12 -
 13
13 -
 14
14 -
 15
15 -
 16
16 -
 17
17 -
 18
18 -
19
-
20
-
21
-
22
-
23
-
24
-
25
-
26
-
27
-
28
-
29
-
30
-
31
-
32
-
33
-
34
-
35
-
36
-
37
-
38
-
39
-
40
-
41
-
42
-
43
-
44
-
45
-
46
-
47
-
48
-
49
-
50
-
51
-
52
-
53
-
54
-
55
-
56
-
57
-
58
-
59
-
60
-
61
-
62
-
63
-
64
-
65
-
66
-
67
-
68
-
69
-
70
-
71
-
72
-
73
-
74
-
75
-
76
-
77
-
78
-
79
-
80
-
81
-
82
-
83
 |
 |
The
free
arm
is
particularly
suited
to sew
tubular goods
without
any
difficulty.
To
do
so
pull
the
detachable
work
support
(17)
to
the
left.
Insert
the
workpiece
in
the
oppo
site
direction.
9
Main
switch
When
the
main
switch
(29)
is
turned
on
the
sewing
light
and display
(6)
is
turned
up.
The
machine
is
now
operational.
To
remove
detachable
work
support
I
free
arm