Pfaff hobbylock 799 Owner's Manual - Page 36
chainstitch
 |
View all Pfaff hobbylock 799 manuals
Add to My Manuals
Save this manual to your list of manuals |
Page 36 highlights
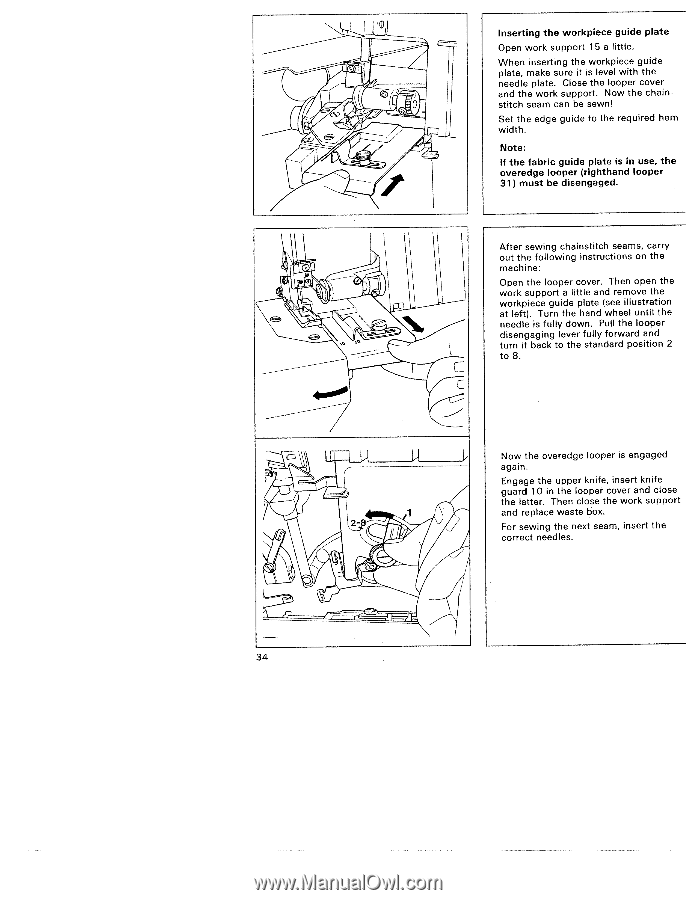
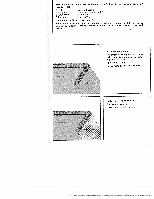
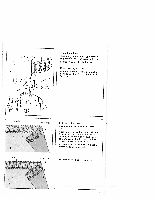
Inserting the workpiece guide plate Open work support 1 5 a little. When inserting the workpiece guide plate, make sure it is level with the needle plate. Close the looper cover and the work support. Now the chainstitch seam can be sewn! Set the edge guide to the required hem width. Note: If the fabric guide plate is in use, the overedge looper (righthand looper 31) must be disengaged. After sewing chainstitch seams, carry out the following instructions on the machine: Open the looper cover. Then open the work support a little and remove the workpiece guide plate (see illustration at left). Turn the hand wheel until the needle is fully down. Pull the looper disengaging lever fully forward and turn it back to the standard position 2 to 8. Now the overedge looper is engaged again. Engage the upper knife, insert knife guard 10 in the looper cover and close the latter. Then close the work support and replace waste box. For sewing the next seam, insert the correct needles. 34
-
 1
1 -
2
-
3
-
4
-
5
-
6
-
7
-
8
-
9
-
10
-
11
-
12
-
13
-
14
-
15
-
16
-
17
-
18
-
19
-
20
-
21
-
22
-
23
-
24
-
25
-
26
-
27
-
28
-
29
-
30
-
 31
31 -
 32
32 -
 33
33 -
 34
34 -
 35
35 -
 36
36 -
 37
37 -
 38
38 -
 39
39 -
 40
40 -
 41
41 -
42
-
43
-
44
-
45
-
46
-
47
-
48
-
49
-
50
-
51
-
52
-
53
-
54
-
55
-
56
-
57
-
58
-
59
-
60
-
61
-
62
-
63
-
64
-
65
-
66
 |
 |