Philips SDV8625T/27 User Manual
Philips SDV8625T/27 Manual
 |
View all Philips SDV8625T/27 manuals
Add to My Manuals
Save this manual to your list of manuals |
Philips SDV8625T/27 manual content summary:
- Philips SDV8625T/27 | User Manual - Page 1
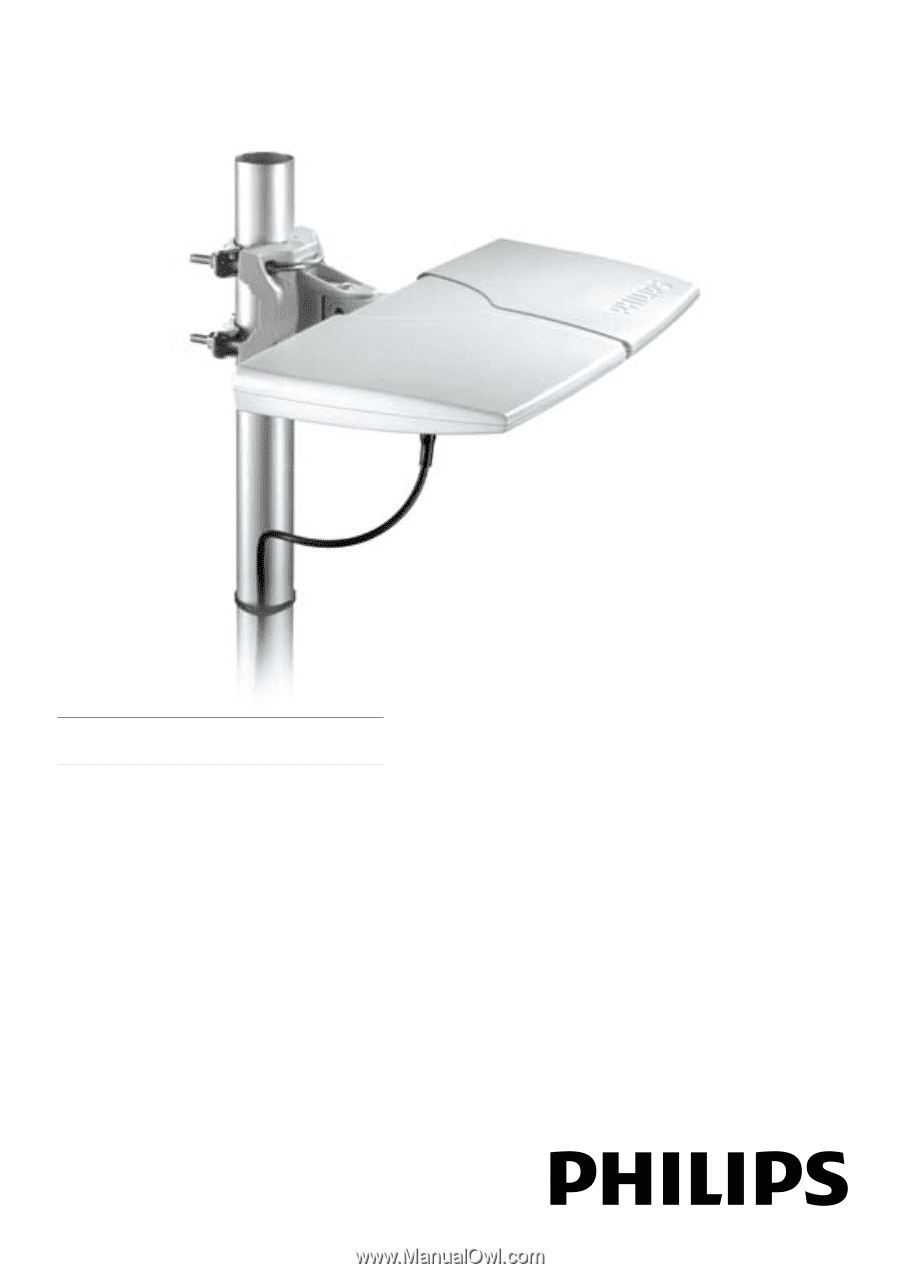
Register your product and get support at www.philips.com/welcome SDV8625T/27 EN User manual - Philips SDV8625T/27 | User Manual - Page 2
- Philips SDV8625T/27 | User Manual - Page 3
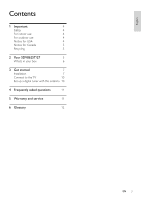
For indoor use 4 For outdoor use 4 Notice for USA 4 Notice for Canada 5 Recycling 5 2 Your SDV8625T/27 5 What's in your box 6 3 Get started 7 Installation 7 Connect to the TV 10 Set up a digital tuner with this antenna 10 4 Frequently asked questions 11 5 Warranty and service - Philips SDV8625T/27 | User Manual - Page 4
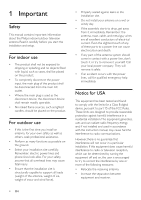
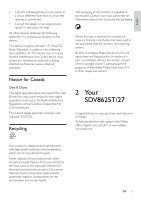
manual contains important information about the Philips indoor/outdoor television antenna. Read it carefully before you start the installation and setup. For indoor capable to support all loads (weight of the antenna, weight of a Class B digital device, pursuant to the instruction manual, - Philips SDV8625T/27 | User Manual - Page 5
owner.Trademarks are the property of Koninklijke Philips Electronics N.V. or their respective owners. 2 Your SDV8625T/27 Congratulations on your purchase and welcome to Philips! To fully benefit from the support that Philips offers, register your product at www.philips. com/welcome. Your product is - Philips SDV8625T/27 | User Manual - Page 6
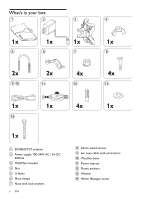
What's in your box 1 2 3 4 1x 1x 1x 1x 5 6 7 8 2x 2x 4x 4x 9 10 11 12 13 1x 1x 4x 1x 14 1x a SDV8625T/27 antenna b Power supply 100-240V AC / 6V DC 500mA c Wall/Mast bracket d Nut e U-Bolts f Mast clamps g Nuts with lock washers 6 EN h 25mm wood screws i 6m coax - Philips SDV8625T/27 | User Manual - Page 7
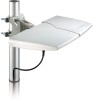
and hexagon screw to attach the antenna to the wall/mast bracket. d a Antenna with built-in amplifier b Power inserter module c Splitters or matching transformers (not included) d TV or video device 2 Use the screw holes of the wall/mast bracket as a guide to mark position for the wood - Philips SDV8625T/27 | User Manual - Page 8
mount installation Note •• Complete all assembly work on the ground. Raise the completed antenna after assembly. 1 Use the nut , washer , and hexagon screw to attach the antenna to the wall/mast bracket. 3.2mm (1/8") 27±5mm 1.1"±0.2" For concrete wall Drill four holes on concrete wall, put four - Philips SDV8625T/27 | User Manual - Page 9
English 3 Attach the assembly to the mast firmly. Rotate You can make a 90 degree rotation to the antenna or the mounting post. 4 Rotate the mast in its mount to adjust the direction. 5 Attach the coaxial cable to the F connector on the underside of - Philips SDV8625T/27 | User Manual - Page 10
, the amplifier (Power injector + Power supply) must be placed inline between the antenna and any splitter or additional devices. 1 Connect the coaxial cable from the antenna to the connector labeled ANT on the power injector . 2 Connect the power injector to the antenna input on the TV, digital set - Philips SDV8625T/27 | User Manual - Page 11
section on "Set up a digital tuner with this antenna"). Warranty information can be found at: www. philips.com/welcome For technical support, send us an email with the model number of the product and a detailed description of your problem to:accessor ysuppor [email protected] Limited One-Year Warranty - Philips SDV8625T/27 | User Manual - Page 12
earliest implementations used analog broadcasting, but today digital television (DTV) signals are used, requiring less bandwidth due to digital video compression. U UHF (Ultra high frequency) In radio or TV broadcasting: it is the frequency range of electromagnetic waves which lies between 300 MHz - Philips SDV8625T/27 | User Manual - Page 13
- Philips SDV8625T/27 | User Manual - Page 14
© 2011 Koninklijke Philips Electronics N.V. All rights reserved. DFU_SDV8625T_27_V1.1
-
 1
1 -
 2
2 -
 3
3 -
 4
4 -
 5
5 -
 6
6 -
 7
7 -
8
-
9
-
10
-
11
-
12
-
13
-
14
 |
 |
Register your product and get support at
www.philips.com/welcome
SDV8625T/27
EN
User manual