Pioneer AVH P4100DVD Owner's Manual - Page 91
Carrying out auto TA and EQ - manual for car
 |
UPC - 012562911298
View all Pioneer AVH P4100DVD manuals
Add to My Manuals
Save this manual to your list of manuals |
Page 91 highlights
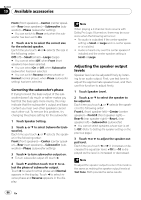
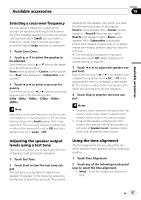
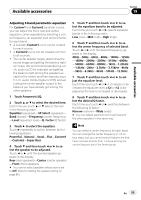
Available accessories Section 19 Available accessories - When delays occur for low sounds due to the influence of the LPF on active subwoofers or external amps. ! Auto TA and EQ changes the audio settings as below: - The fader/balance settings return to the center position. (Refer to page 83.) - The equalizer curve switches to Flat. (Refer to page 88.) - It will be adjusted automatically to high pass filter setting for front, center and rear speaker. ! If you carry out auto TA and EQ when a previous setting of this already exists, the setting will be replaced. Carrying out auto TA and EQ 1 Stop the car in a place that is as quiet as possible, close all doors, windows and the sun roof, and then turn the engine off. If the engine is left running, engine noise may prevent correct auto TA and EQ. 2 Fix the supplied microphone in the center of the headrest of the driver's seat, facing forward, using the belt (sold separately). The auto TA and EQ may differ depending on where you place the microphone. If desired, place the microphone on the front passenger seat to carry out auto TA and EQ. conditioner or heater may prevent correct auto TA and EQ. # Press SRC/OFF to turn the source on if this unit is turned off. 4 Select the position for the seat on which the microphone is placed. Refer to Using the position selector on page 82. # If no position is selected before you start auto TA and EQ, Front-L is selected automatically. 5 Touch the source icon and then touch Off to turn this unit off. 6 Touch the screen to display the touch panel keys. 7 Touch AV Menu and then touch Initial Menu to display the function names. 8 Touch Auto EQ&TA to enter the auto TA and EQ measurement mode. 9 Plug the microphone into the microphone input jack on the multi-channel processor. 3 Turn the ignition switch to ON or ACC. If the car's air conditioner or heater is turned on, turn it off. Noise from the fan in the air For details concerning operation, refer to the multi-channel processor's operation manual. 10 Touch Start to start the auto TA and EQ. En 91
-
 1
1 -
2
-
3
-
4
-
5
-
6
-
7
-
8
-
9
-
10
-
11
-
12
-
13
-
14
-
15
-
16
-
17
-
18
-
19
-
20
-
21
-
22
-
23
-
24
-
25
-
26
-
27
-
28
-
29
-
30
-
31
-
32
-
33
-
34
-
35
-
36
-
37
-
38
-
39
-
40
-
41
-
42
-
43
-
44
-
45
-
46
-
47
-
48
-
49
-
50
-
51
-
52
-
53
-
54
-
55
-
56
-
57
-
58
-
59
-
60
-
61
-
62
-
63
-
64
-
65
-
66
-
67
-
68
-
69
-
70
-
71
-
72
-
73
-
74
-
75
-
76
-
77
-
78
-
79
-
80
-
81
-
82
-
83
-
84
-
85
-
 86
86 -
 87
87 -
 88
88 -
 89
89 -
 90
90 -
 91
91 -
 92
92 -
 93
93 -
 94
94 -
 95
95 -
 96
96 -
97
-
98
-
99
-
100
-
101
-
102
-
103
-
104
-
105
-
106
-
107
-
108
-
109
-
110
-
111
-
112
-
113
-
114
-
115
-
116
 |
 |
