Pioneer MEP-7000 Other Manual - Page 4
<For Windows 2000>, <For Windows XP> - case
 |
UPC - 012562879185
View all Pioneer MEP-7000 manuals
Add to My Manuals
Save this manual to your list of manuals |
Page 4 highlights
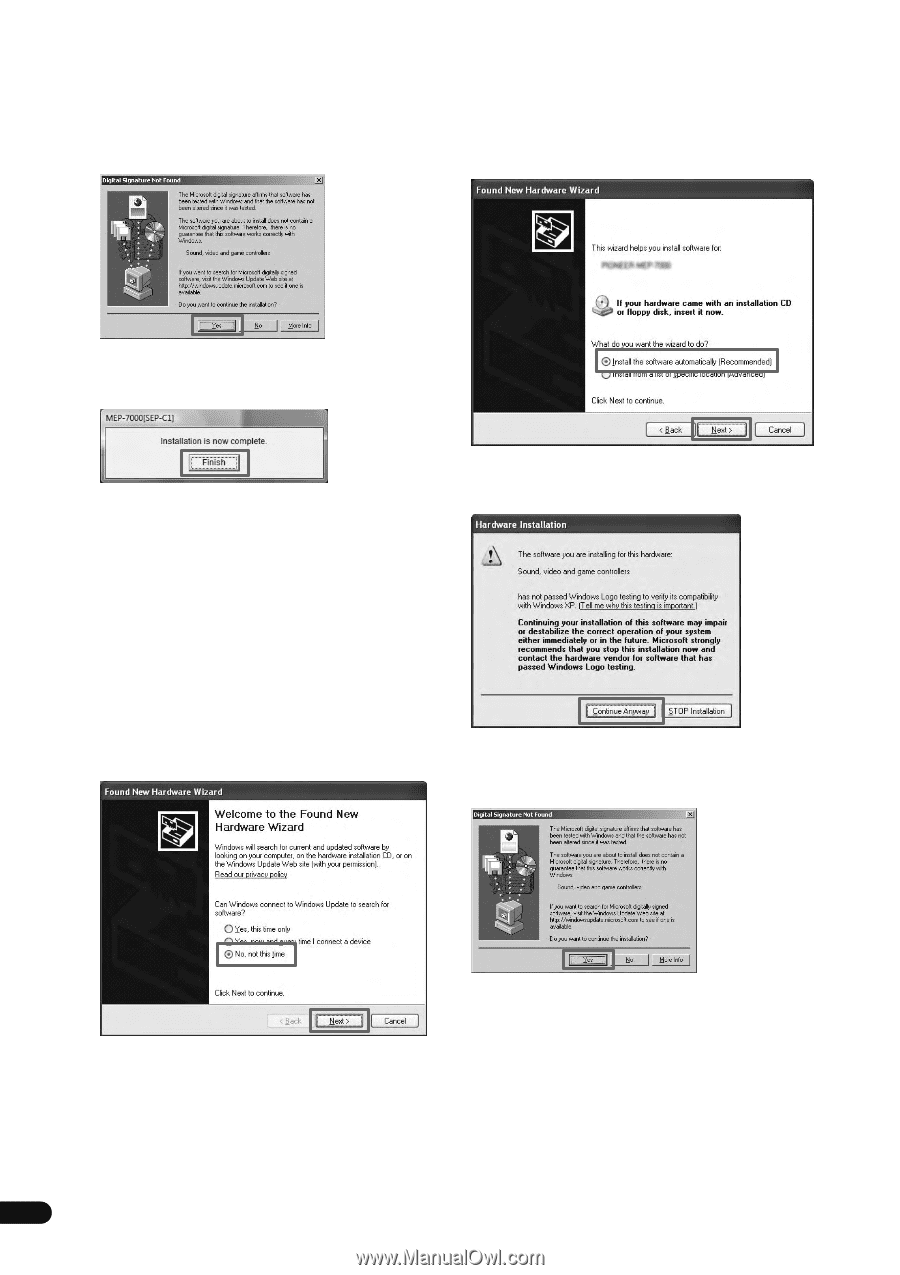
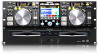
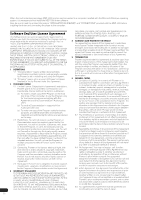
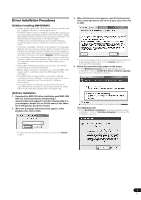
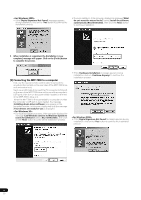
• If the [Digital Signature Not Found] message appears during installation, click on the [Yes] button to continue the installation process. • During installation, if the computer displays the message [What do you want the wizard to do?] select [Install the software automatically (Recommended)], then click the [Next] button to continue installation. 5 When installation is completed, the [Installation is now complete.] message will appear. Click on the [Finish] button to complete the process. [3] Connecting the MEP-7000 to a computer First, use the special remote control cable to connect the remote control sockets on the rear sides of the MEP-7000 drive unit and control unit. Next, use a USB cable to connect the PC connector (USB port) on the rear of the MEP-7000 drive unit to one of the computer's USB ports, then turn on the power switch located on the rear of the MEP-7000's drive unit. When the MEP-7000 is first connected to a computer or when the computer's USB port is reconnected, the message [Installing device driver software] may appear on the computer monitor. In this case, simply wait until the message [Your devices are ready for use] is displayed. • During the installation process, if the computer displays the message [Can Windows connect to Windows Update to search for software?] select [No, not this time], then click on the [Next] button to continue the installation process. • If the [Hardware Installation] message appears during installation, click on [Continue Anyway] to continue the installation process. • If the [Digital Signature Not Found] message appears during installation, click on the [Yes] button to continue the installation process. 4 En
-
 1
1 -
 2
2 -
 3
3 -
 4
4 -
 5
5
 |
 |