Pioneer ND-BC5 Owners Manual - Page 5
Fig. 4, Abb. 4, Fig. 8, Abb. 8, Fig. 6, Abb. 6, Fig. 9, Abb. 9, Fig.5, Abb. 5, Fig. 7, Abb. 7 - installing
 |
View all Pioneer ND-BC5 manuals
Add to My Manuals
Save this manual to your list of manuals |
Page 5 highlights
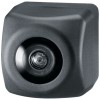
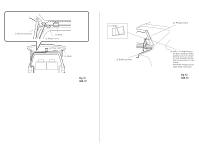
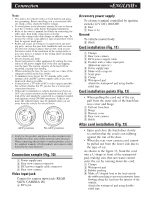
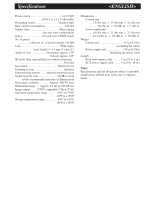
② Top ③ Mark ⑥ Be sure not to hide any part of the characters on the license plate when attaching the camera. ④ Bottom ⑤ Make sure to install the rear view camera so that the mark is located on top of the camera. Fig. 4 Abb. 4 ① Hexagon wrench Fig.5 Abb. 5 Fig. 6 Abb. 6 Fig. 7 Abb. 7 ① Power supply unit ② Bumper or rear edge of car Fig. 8 Abb. 8 ② Hook and loop fastener (hard type) ③ Hook and loop fastener (soft type) Fig. 9 Abb. 9
-
 1
1 -
 2
2 -
 3
3 -
 4
4 -
 5
5 -
 6
6 -
 7
7 -
 8
8 -
 9
9 -
 10
10
 |
 |
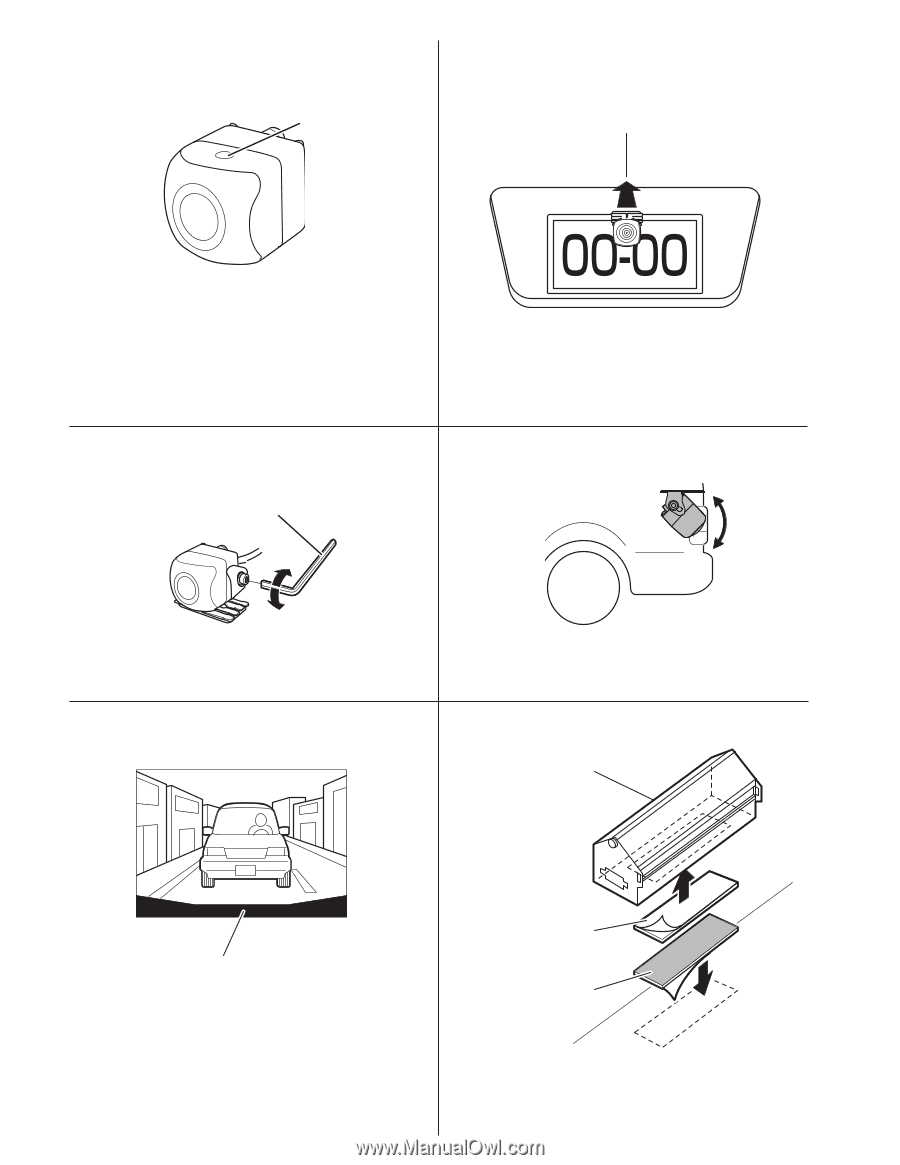
Fig. 4
Abb. 4
Fig. 8
Abb. 8
Fig. 6
Abb. 6
Fig. 9
Abb. 9
②
Bumper or rear edge of car
①
Power supply unit
②
Hook and loop
fastener
(hard type)
③
Hook and loop
fastener
(soft type)
⑥
Be sure not to hide any part of the char-
acters on the license plate when attaching
the camera.
Fig.5
Abb. 5
Fig. 7
Abb. 7
②
Top
③
Mark
④
Bottom
⑤
Make sure to install the rear view camera so
that the mark is located on top of the camera.
①
Hexagon wrench