ProForm 510 Rt Treadmill English Manual - Page 18
How To Use A Quick Calorie Burn Workout
 |
View all ProForm 510 Rt Treadmill manuals
Add to My Manuals
Save this manual to your list of manuals |
Page 18 highlights
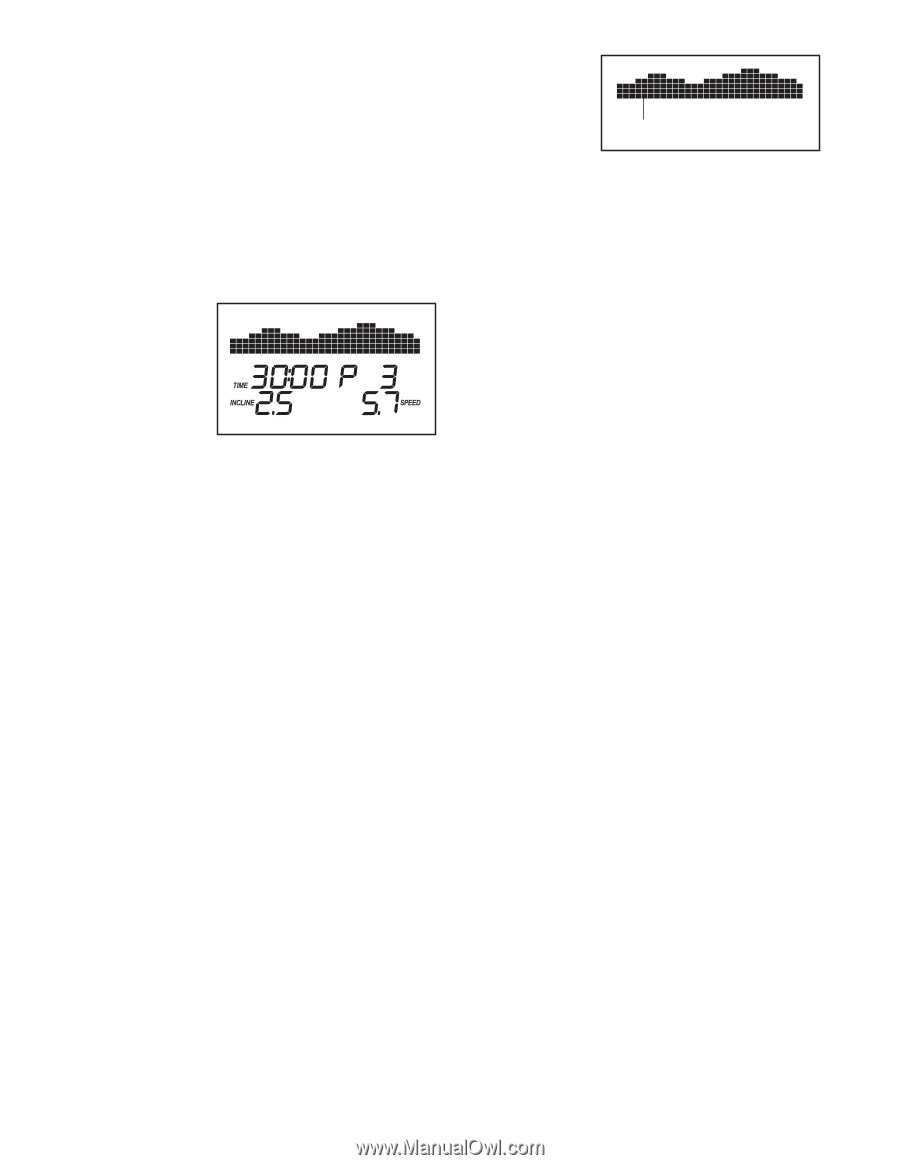
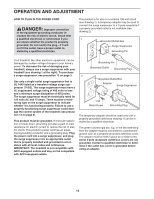
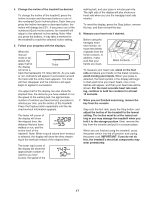
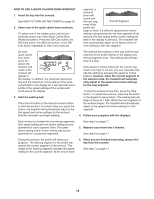
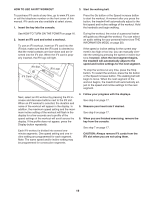
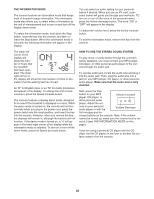
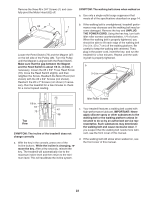
HOW TO USE A QUICK CALORIE BURN WORKOUT 1. Insert the key into the console. See HOW TO TURN ON THE POWER on page 16. 2. Select one of the quick calorie burn workouts. To select one of the sixteen quick calorie burn workouts, press one of the Quick Calorie Burn Workouts buttons. Press the 200 Cals button, the 250 Cals button, the 300 Cals button, or the 350 Cals button repeatedly to view more workouts. segment, a series of tones will sound and the next seg- Current Segment ment of the profile will begin to flash. If a different speed and/or incline setting is programmed for the next segment of the workout, the new speed and/or incline setting will flash in the display to alert you. The treadmill will then automatically adjust to the speed and/or in- cline setting for the next segment. As each quick calorie burn workout is selected, the duration and name of the workout will appear in the display. In addition, the maximum speed setting and the maximum incline setting of the workout will flash in the display for a few seconds and a profile of the speed settings of the workout will scroll across the display. 3. Start the walking belt. Press the Go button or the Speed increase button to start the workout. A moment after you press the button, the treadmill will automatically adjust to the first speed and incline settings for the workout. Hold the handrails and begin walking. The workout will continue in this way until the last segment of the profile flashes in the display and the last segment ends. The walking belt will then slow to a stop. If the speed or incline setting for the current segment is too high or too low, you can manually override the setting by pressing the speed or incline buttons; however, when the current segment of the workout ends, the treadmill will automatically adjust to the speed and incline settings for the next segment. To stop the workout at any time, press the Stop button. To restart the workout, press the Go button or the Speed increase button. The walking belt will begin to move at 1 mph. When the next segment of the workout begins, the treadmill will automatically adjust to the speed and incline settings for that segment. 4. Follow your progress with the displays. Each workout is divided into one-minute segments. One speed setting and one incline setting are programmed for each segment. Note: The same speed setting and/or incline setting may be programmed for consecutive segments. See step 5 on page 17. 5. Measure your heart rate if desired. See step 6 on page 17. During the workout, the profile will show your progress. The flashing segment of the profile represents the current segment of the workout. The height of the flashing segment indicates the speed setting for the current segment. At the end of each 6. When you are finished exercising, remove the key from the console. See step 7 on page 17. 18
-
 1
1 -
2
-
3
-
4
-
5
-
6
-
7
-
8
-
9
-
10
-
11
-
12
-
 13
13 -
 14
14 -
 15
15 -
 16
16 -
 17
17 -
 18
18 -
 19
19 -
 20
20 -
 21
21 -
 22
22 -
 23
23 -
24
-
25
-
26
-
27
-
28
-
29
-
30
-
31
-
32
 |
 |