ProForm 525 User Manual
ProForm 525 Manual
 |
View all ProForm 525 manuals
Add to My Manuals
Save this manual to your list of manuals |
ProForm 525 manual content summary:
- ProForm 525 | User Manual - Page 1
missing or damaged parts, please call: 08457 089 009 Or write: ICON Health & Fitness, Ltd. Customer Service Department Unit 4 Revie Road Industrial Estate Revie Road, Beeston Leeds, LS118JG UK email: [email protected] CAUTION Read all precautions and instructions in this manual before using this - ProForm 525 | User Manual - Page 2
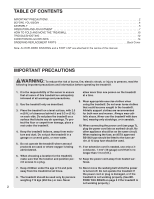
FOLD AND MOVE THE TREADMILL 10 TROUBLESHOOTING 12 CONDITIONING GUIDELINES 14 ORDERING REPLACEMENT PARTS Back Cover Note: An EXPLODED DRAWING and a PART LIST are attached in the centre of this manual. IMPORTANT PRECAUTIONS WARNING: To reduce the risk of burns, fire, electric shock, or injury to - ProForm 525 | User Manual - Page 3
Always unplug the power cord immediately after use, before cleaning the treadmill, and before performing the main- tenance and adjustment procedures de- scribed in this manual. Never remove the motor hood unless instructed to do so by an authorised service representative. Servicing other than - ProForm 525 | User Manual - Page 4
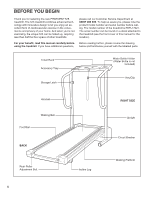
. And when you're not exercising, the unique 525 can be folded up, requiring less than half the floor space of other treadmills. For your benefit, read this manual carefully before using the treadmill. If you have additional questions, please call our Customer Service Department at 08457 089 009 - ProForm 525 | User Manual - Page 5
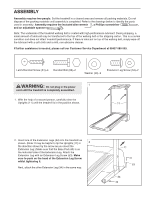
. If further assistance is needed, please call our Customer Service Department at 08457 089 009. Latch/Handrail Screw (81)-4 Handrail Bolt (88)-2 Washer (39)-2 Extension Leg Screw (53)-2 WARNING: Do not plug in the power 1 cord until the treadmill is completely assembled. 1. With the help of - ProForm 525 | User Manual - Page 6
overtighten 5 the Latch Screws. 14 88 39 11 81 6. Make sure that all parts are properly tightened before you use the treadmill. Keep the included allen wrench in a secure place. The allen wrench is used to adjust the walking belt (see page 13). To protect the floor or carpet, place a mat under - ProForm 525 | User Manual - Page 7
- equipped outlets. Socket on treadmill Ferrite Box Plastic Tie Tab Outlet If the power cord is damaged, it must be replaced with a manufacturer-recommended power cord. DANGER: Improper connection of the equipment-earthing conductor can result in an increased risk of electric shock. Check with - ProForm 525 | User Manual - Page 8
stand on the walking belt when turning on the power. • Always wear the clip (see the drawing above) whilst operating the treadmill. When the key is removed from the console, the walking belt will stop. • Adjust the speed in small increments. • To reduce the possibility of electric shock, keep the - ProForm 525 | User Manual - Page 9
are finished exercising, stop the walking belt and remove the key. Step onto the foot rails, stop the walking belt, and remove the key from the kilometres or miles. To change the unit of measurement, first UNPLUG THE POWER CORD. Next, remove the six screws attaching the console to the console - ProForm 525 | User Manual - Page 10
HOW TO CHANGE THE INCLINE OF THE TREADMILL To vary the intensity of your exercise, the incline of the treadmill can be changed. There are three different incline levels. Before changing the incline, first remove the key and unplug the power cord. Next, fold the treadmill to the storage position (see - ProForm 525 | User Manual - Page 11
one foot on the base, and carefully lower the tread mill until it is resting in the storage position. HOW TO LOWER THE TREADMILL FOR USE 1. Hold the upper end of the treadmill with your right hand as shown. Using your left thumb, press the storage latch and hold it. Pivot the - ProForm 525 | User Manual - Page 12
TROUBLESHOOTING Most treadmill problems can be solved by following the steps below. Find the symptom that applies, and follow the steps listed. If further assistance is needed, please call our Customer Service Department. PROBLEM: The power does not turn on SOLUTION: a. Make sure that the power - ProForm 525 | User Manual - Page 13
in the power cord, insert the key and run the treadmill for a few minutes. Repeat until the walking belt is properly tightened. c. If the walking belt still slows when walked on, call our Customer Service Department. b 5-7 cm Rear Roller Adjustment Bolts PROBLEM: The walking belt is off-centre - ProForm 525 | User Manual - Page 14
the speed and incline of the treadmill until your heart rate is near the highest number in your training zone. WORKOUT GUIDELINES EXERCISE INTENSITY Whether your goal is to burn fat or to strengthen your cardiovascular system, the key to achieving the desired results is to exercise with the proper - ProForm 525 | User Manual - Page 15
SUGGESTED STRETCHES The correct form for several basic stretches is shown at the right. Move slowly as you stretch-never bounce. 1. Toe Touch Stretch Stand with your knees bent slightly and slowly bend forward from your hips. Allow your back and shoulders to relax as you reach down toward your - ProForm 525 | User Manual - Page 16
: • the MODEL NUMBER of the product (PETL17021) • the NAME of the product (PROFORM® 525 treadmill) • the SERIAL NUMBER of the product (see the front cover of this manual) • the KEY NUMBER and the DESCRIPTION of the part(s) (see the PART LIST and the EXPLODED DRAWING attached in the centre of this - ProForm 525 | User Manual - Page 17
REMOVE THIS EXPLODED DRAWING AND PART LIST FROM THE MANUAL Save this EXPLODED DRAWING and PART LIST for future reference. Note: Specifications are subject to change without notice. For information about ordering replacement parts, see the back cover of the User's Manual. 34 - ProForm 525 | User Manual - Page 18
Leg Cap Extension Leg Screw Power Cord Set Plastic Washer Circuit Breaker Frame Pivot Washer Frame Pivot Bolt Electronic Bracket Motor Belly Pan 1" Grommet Rear Platform Screw Support Washer Choke Belt Guide Incline Pin Walking Belt Walking Platform Base Leg Assembly Electronics Screw Grounding - ProForm 525 | User Manual - Page 19
2 74 84 39 83 85 83 12 70 9 8 4 46 81 87 1 13 17 35 11 10* 21 18 20* 23 19 13 62 75 86 82 39 13 5 48 7 49 73 42 33 66 63 52 89 80 7 49 13 76 69* 34 36 14 39 88 39 40 37 48 47 38 45 44 38 33 81 13 78 87 31 30 29 55 41 55 28 27 35 70 90 73 5 33 43 50 48 51 39 67 38
-
 1
1 -
 2
2 -
 3
3 -
 4
4 -
 5
5 -
 6
6 -
 7
7 -
8
-
9
-
10
-
11
-
12
-
13
-
14
-
15
-
16
-
17
-
18
-
19
 |
 |
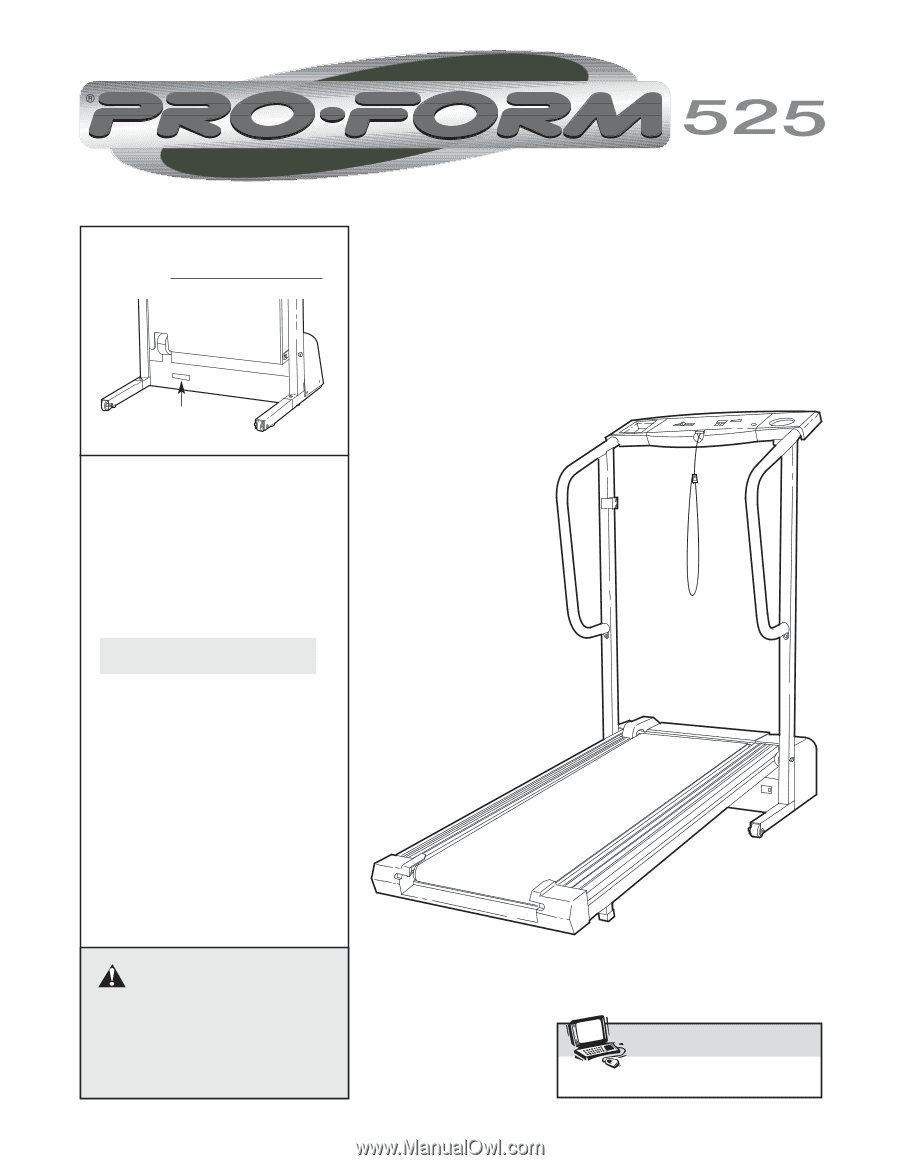
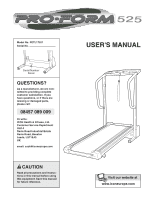
Serial Number
Decal
USER'S MANUAL
Model No. PETL17021
Serial No.
CAUTION
Read all precautions and instruc-
tions in this manual before using
this equipment. Save this manual
for future reference.
www.iconeurope.com
Visit our website at
QUESTIONS?
As a manufacturer, we are com-
mitted to providing complete
customer satisfaction. If you
have questions, or if there are
missing or damaged parts,
please call:
Or write:
ICON Health & Fitness, Ltd.
Customer Service Department
Unit 4
Revie Road Industrial Estate
Revie Road, Beeston
Leeds, LS118JG
UK
email: [email protected]
08457 089 009