RCA DRC8005N User Guide - Page 27
Timer Recordings
 |
UPC - 034909320204
View all RCA DRC8005N manuals
Add to My Manuals
Save this manual to your list of manuals |
Page 27 highlights
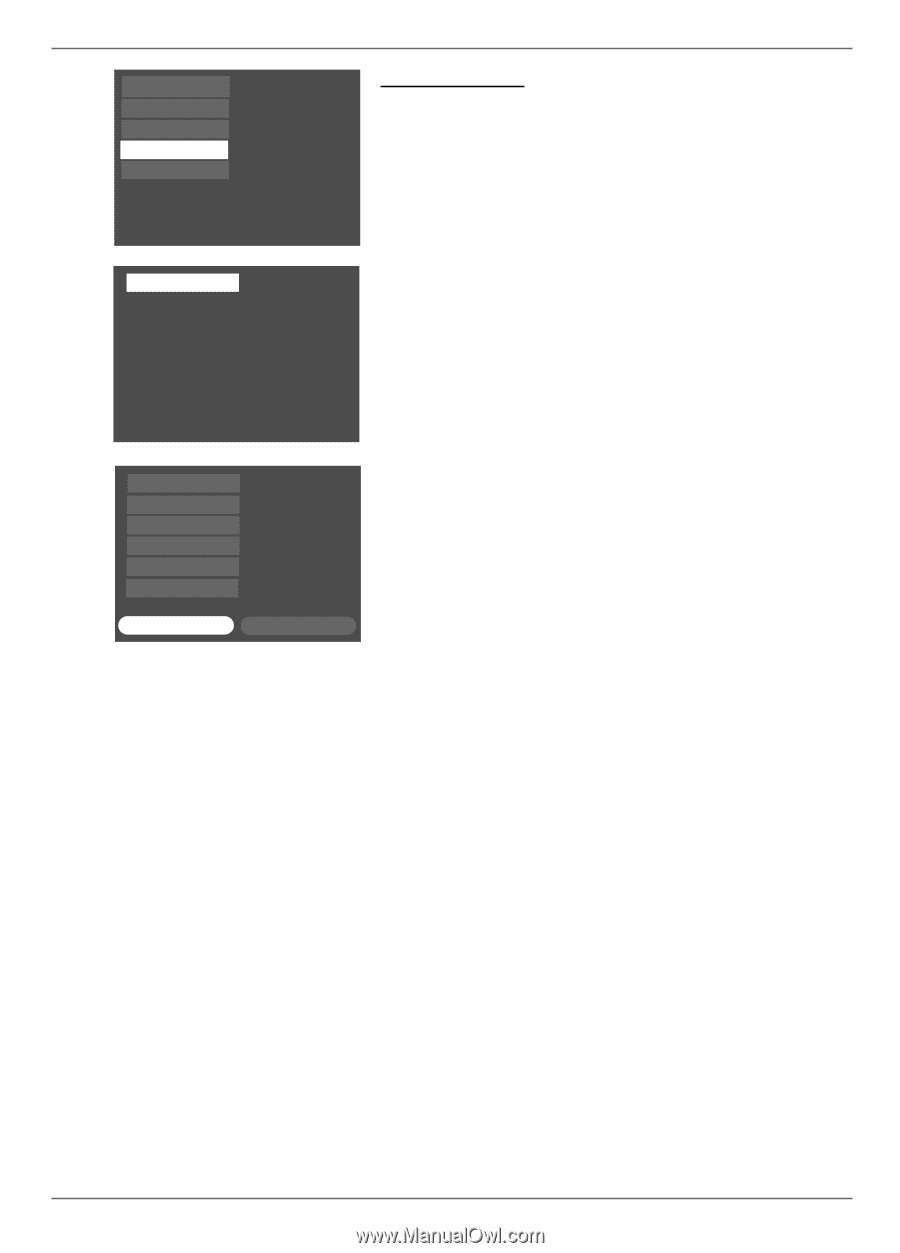
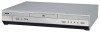
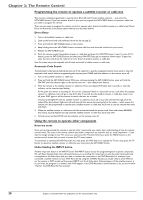
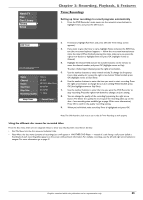
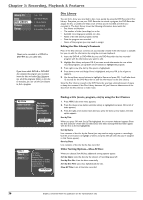
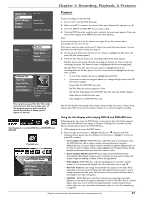
Watch TV Disc Disc Library Timers Setup Chapter 3: Recording, Playback, & Features Timer Recordings Setting up timer recordings to record programs automatically 1. From the DVD Recorder's main menu, use the remote's arrow buttons to highlight Timers, and press the OK button. 2. Add Timer 3. 4. To set a timer for video recording, press OK. To exit, press GO BCK/RETURN 5. Name Timers Channel Day(s) Ch 002 6. 05/19 19 Mon Once Start Time 03:00PM Stop Time 04:00PM 7. Recording Quality *1 : Best 8. Keep Timer Cancel Timer 9. If necessary, highlight Add Timer, and press OK (the Timer Setup screen appears). If you want to give the Timer a name, highlight Name and press the INFO button (the on-screen keyboard appears - follow the on-screen instructions to name the timer).When finished entering the name, make sure you press the right arrow button to highlight Done and press OK (highlight moves to Channel). Highlight the Channel field and use the number buttons on the remote to enter the channel number, and press OK (highlight moves to Day). To enter a Video Input Channel, press the right arrow button. Use the number buttons to enter month and day.To change the frequency (once, daily, weekly, etc.), press the right arrow button.When finished, press OK (highlight moves to Start Time). Use the number buttons to enter the time you want to start recording. Press the right arrow button to change the a.m./p.m. setting.When finished, press OK (the highlight moves to Stop Time). Use the number buttons to enter the time you want the DVD Recorder to stop recording. Press the right arrow button to change a.m./p.m. setting. You can change the quality of the recording by pressing the right arrow button.The better the quality, the more space the recording takes up on the disc- less recording time available (go to page 45 for more information). Press OK to confirm the quality recording setting. When you're finished, make sure Keep Timer is highlighted and press OK. Notes:The DVD Recorder's clock must be set in order for Timer Recordings to work properly. Using the different disc menus for recorded titles: From the Disc menu, there are two separate menus to show you what has been recorded on the disc: • Disc Title Menu: lists the disc name and individual titles. • Player Menu: the disc menu (contents of recordings) as it will appear in ANOTHER DVD Player - instead of a title listing, a still picture (called a thumbnail) of each recording (title) appears on the screen with pertinent information. For multiple recordings, use the left and right arrow buttons to navigate. For more information, go to page 41. Graphics contained within this publication are for representation only. 25
-
 1
1 -
2
-
3
-
4
-
5
-
6
-
7
-
8
-
9
-
10
-
11
-
12
-
13
-
14
-
15
-
16
-
17
-
18
-
19
-
20
-
21
-
 22
22 -
 23
23 -
 24
24 -
 25
25 -
 26
26 -
 27
27 -
 28
28 -
 29
29 -
 30
30 -
 31
31 -
 32
32 -
33
-
34
-
35
-
36
-
37
-
38
-
39
-
40
-
41
-
42
-
43
-
44
-
45
-
46
-
47
-
48
-
49
-
50
-
51
-
52
-
53
-
54
-
55
-
56
-
57
-
58
-
59
-
60
 |
 |