Ryobi BD4601G User Manual
Ryobi BD4601G Manual
 |
View all Ryobi BD4601G manuals
Add to My Manuals
Save this manual to your list of manuals |
Ryobi BD4601G manual content summary:
- Ryobi BD4601G | User Manual - Page 1
BENCH GRINDER MEULEUSE D'ÉTABLI ESMERILADORA DE BANCO BG828 TABLE OF CONTENTS General Safety Rules 2-3 Specific Safety Rules 3-4 Symbols 5 Electrical 6 Features 7 Assembly 7-8 Operation 9 Maintenance 10 Figures (Illustrations 11-15 Parts Ordering and Service manual - Ryobi BD4601G | User Manual - Page 2
READ ALL INSTRUCTIONS KNOW YOUR POWER TOOL. Read the operator's manual carefully. Cluttered areas and benches invite accidents. DO NOT leave tools or pieces of wood on the bench grinder while it or other part that is damaged must be properly repaired or replaced by an authorized service center to - Ryobi BD4601G | User Manual - Page 3
. WHEN SERVICING use only identical replacement parts. Use of any other parts may create a hazard or cause product damage. USE ONLY RECOMMENDED ACCESSORIES listed in this manual or addendums. Use of accessories that are not listed may cause the risk of personal injury. Instructions for safe use - Ryobi BD4601G | User Manual - Page 4
the work rest. DO NOT USE THE BENCH GRINDER if the flange nut or clamp nut it must be replaced only by the manufacturer or by an authorized service center to avoid INSTRUCTIONS. Refer to them frequently and use to instruct other users. If you loan someone this tool, loan them these instructions - Ryobi BD4601G | User Manual - Page 5
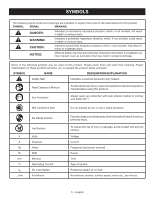
. SYMBOL NAME DESIGNATION/EXPLANATION Safety Alert Indicates a potential personal injury hazard. Read Operator's Manual To reduce the risk of injury, user must read and understand operator's manual before using this product. Eye Protection Always wear eye protection with side shields marked - Ryobi BD4601G | User Manual - Page 6
is green with or without yellow stripes is the equipment-grounding conductor. If repair or replacement of the electric cord or plug is necessary, do not connect the equipment-grounding conductor to a live terminal. Check with a qualified electrician or service personnel if the grounding instructions - Ryobi BD4601G | User Manual - Page 7
: If any parts are damaged or missing do not operate this product until the parts are replaced. Use of this product with damaged or missing parts could result in and possible serious personal injury. WARNING: Always disconnect the bench grinder from the power source before performing any assembly. - Ryobi BD4601G | User Manual - Page 8
battery compartments. Replace and secure the battery it should be fastened securely to a firm supporting surface, such as a workbench with bolts. diameter holes through workbench. n Place sander on workbench, aligning holes in base WARNING: Always make sure your bench grinder is securely mounted to - Ryobi BD4601G | User Manual - Page 9
as designed, your tools should be kept sharp. Dull tools can and will cause accidents. Bench grinders are ideal for sharpening tools such as chisels, scissors, etc., and for removing chisels and screwdrivers, work rest should support the chisel at the correct angle against the wheel. 9 - English - Ryobi BD4601G | User Manual - Page 10
MAINTENANCE WARNING: When servicing, use only identical replacement parts. Use of any other parts could create a hazard or cause product damage. WARNING: Always wear eye protection with side shields marked to comply with ANSI Z87.1. Failure to do so - Ryobi BD4601G | User Manual - Page 11
état. Utiliser exclusivement un cordon d'une capacité suffisante pour supporter le courant de fonctionnement de l'outil. Un cordon de capacité propres pour accroître la sécurité et les performances. Suivre les instructions de lubrification et de changement d'accessoires. DÉBRANCHER TOUS LES OUTILS - Ryobi BD4601G | User Manual - Page 12
est équipé d'une fiche à trois broches, il doit être branché sur une prise secteur à trois trous. CONSULTER UN ÉLECTRICIEN QUALIFIÉ ou le personnel de service si les instructions de mise à la terre ne sont pas bien comprises, ou en cas de doute au sujet de la mise à la terre. N'UTILISER QUE DES - Ryobi BD4601G | User Manual - Page 13
et faire réparer ou remplacer la pièce manquante, brisée ou endommagée avant de remettre la machine en service. S'ASSURER QUE LA MEULE EST SOLIDEMENT MONTÉE, comme décrit dans les instructions d'utilisation avant de brancher l'outil sur une prise secteur. NE PAS TROP SERRER LE BOULON DE LA MEULE - Ryobi BD4601G | User Manual - Page 14
SYMBOLES Les termes de mise en garde suivants et leur signification ont pour but d'expliquer le degré de risques associé à l'utilisation de ce produit. SYMBOLE SIGNAL SIGNIFICATION DANGER : Indique une situation extrêmement dangereuse qui, si elle n'est pas évitée, aura pour conséquences des - Ryobi BD4601G | User Manual - Page 15
veiller à utiliser un cordon prolongateur d'une capacité suffisante pour supporter l'appel de courant de l'outil. Un cordon de capacité une borne sous tension. Consulter un électricien qualifié ou le personnel de service si les instructions de mise à la terre ne sont pas bien comprises, ou en cas - Ryobi BD4601G | User Manual - Page 16
1 Pare-étincelles avec DEL 2 Bouton du appui 2 Rondelle plate 2 Rondelle de blocage 2 Appui due appui 2 Bouton de support 2 Rondelle étoile 2 Rondelle 2 Appui, gauche 1 Appui, droite 1 Bac refroidissement 1 Piles (AAA 4 AVERTISSEMENT : Ne pas brancher sur le - Ryobi BD4601G | User Manual - Page 17
la meule. NOTE : La fente inférieure de l'appui doit être engagée sur le goujon de la garde. n Fixer le bouton du appui sur son support au moyen du bouton à tige fileté restant. Répéter les étapes ci-dessus pour appuis gauche. NOTE : Régler la distance entre la meule et l'appui de - Ryobi BD4601G | User Manual - Page 18
UTILISATION AVERTISSEMENT : Ne pas laisser la familiarité avec l'outil faire oublier la prudence. Ne pas oublier qu'une fraction de seconde d'inattention peut entraîner des blessures graves. AVERTISSEMENT : Toujours porter une protection oculaire avec écrans latéraux certifiée conforme à la norme - Ryobi BD4601G | User Manual - Page 19
ENTRETIEN AVERTISSEMENT : Utiliser exclusivement des pièces d'origine pour les réparations. L'usage de toute autre pièce pourrait créer une situation dangereuse ou endommager l'outil. AVERTISSEMENT : Toujours porter une protection oculaire avec écrans latéraux certifiée conforme à la norme ANSI Z87 - Ryobi BD4601G | User Manual - Page 20
nea, y produce recalentamiento y pérdida de potencia. Se recomienda manual del propietario, donde aparecen los accesorios recomendados. El empleo de accesorios que está destinada. Verifique la alineación de las partes móviles, que no haya atoramiento de partes móviles, que no haya piezas rotas, el - Ryobi BD4601G | User Manual - Page 21
UTILICE ACCESORIOS señalados en este manual o en los apéndices. El uso de accesorios no señalados en este manual puede presentar riesgos de lesiones rese de estar en una postura equilibrada. NUNCA se pare ni tenga ninguna parte del cuerpo en línea con la trayectoria de la muela. NO UTILICE - Ryobi BD4601G | User Manual - Page 22
la exposición personal, trabaje en áreas bien ventiladas, y con equipo de seguridad aprobado, tal como las caretas para el polvo especialmente diseñadas para filtrar partículas microscópicas. 4 - Español - Ryobi BD4601G | User Manual - Page 23
DENOMINACIÓN/EXPLICACIÓN Alerta de seguridad Indica un peligro posible de lesiones personales. Lea el manual del operador Para reducir el riesgo de lesiones, el usuario debe leer y comprender el manual del operador antes de usar este producto. Protección ocular Alerta de condiciones húmedas - Ryobi BD4601G | User Manual - Page 24
antes de usarlos. Si están dañados, reemplácelos de inmediato. Nunca utilice la herramienta con un cordón dañado, ya que si toca la parte dañada puede producirse una descarga eléctrica, y las consecuentes lesiones serias. CONEXIÓN ELÉCTRICA Esta herramienta está impulsada por un motor eléctrico - Ryobi BD4601G | User Manual - Page 25
ADVERTENCIA: Si hay piezas dañadas o faltantes, no utilice esta producto sin haber reemplazado todas las piezas. Usar este producto con partes dañadas o faltantes puede causar lesiones serias al operador. ADVERTENCIA: No intente modificar esta herramienta ni hacer accesorios no recomendados para la - Ryobi BD4601G | User Manual - Page 26
en el lado derecho arriba del muela abrasiva más fina. MONTAJE DEL APOYO DE LA PIEZAS DE TRABAJO Vea la figura 6, página 13. n Retire de la parte perno de carrocería de la inferior de la protección de la muela la perilla derecha, la arandela dentada y la arandela plana. n Fije con el tornillo - Ryobi BD4601G | User Manual - Page 27
FUNCIONAMIENTO ADVERTENCIA: No permita que su familarización con las herramientas lo vuelva descuidado. Tenga presente que un descuido de un instante es suficiente para infligir una lesión grave. ADVERTENCIA: Siempre póngase protección ocular con protección lateral con la marca de cumplimiento de - Ryobi BD4601G | User Manual - Page 28
MANTENIMIENTO ADVERTENCIA: Al dar servicio a la unidad, sólo utilice piezas de repuesto idénticas. El empleo de piezas diferentes puede causar un peligro o dañar el producto. ADVERTENCIA: Siempre póngase protección ocular con protección lateral con la marca de cumplimiento de la norma ANSI Z87.1. - Ryobi BD4601G | User Manual - Page 29
BG828 C B E J I H A D G F A - LED light (lampe à DEL, diodo luminiscente) B - Spark deflector (right) [déflecteur d'étincelles (droit), deflector de chispas (derecho)] C - Spark deflector (left) [pare-étincelles avec DEL (gauche), deflector de chispas con diodo luminiscente (izquierdo)] D - - Ryobi BD4601G | User Manual - Page 30
Fig. 3 J LOOSE PARTS / PIÉCES DÉTACHÉES / PIEZAS SUELTAS I Q K H A F E M B M R G D RO C P F E PO M L N A - Work rest con lupa) L - Screw (vis, tornillo M - Bracket knob (bouton de support, perilla de soporte) N - Coolant tray (bac refroidissement, bandeja de refrigeración) O - Ryobi BD4601G | User Manual - Page 31
rest (right) [appui droit, apoyo derecho de la pieza de trabajo] B - Washer (rondelle, arandela) C - Star washer (rondelle étoilée, arandela dentada) D - Work rest bracket (support d'appui, soporte del apoyo de la pieza de trabajo) E - Work rest knob (bouton du appui, perilla de apoyo de la pieza de - Ryobi BD4601G | User Manual - Page 32
Fig. 10 A Fig. 13 A C B A - LED light switch (lampe à DEL, interrupteur de la lampe DÉL) Fig. 11 A - Vise (étau, prensa) B - Lawn mower blade (lame de tondeuse à gazon, hoja de cortadora de cesped) C - Screwdriver (tournevis, destornillador) Fig. 14 CHISEL SHARPENING AFFÛTAGE DE CISEAUX - Ryobi BD4601G | User Manual - Page 33
Fig. 15 B A F E C D G H A - Screw (vis, tornillo) B - Wheel guard cover (couvercle de protège-meule, cubierta de la protección de la muela) C - Wheel nut (écrou pour meule, tuerca de la muela) D - Outer flange (flasque extérieur, brida exterior) E - Grinding wheel (meule disque, muela - Ryobi BD4601G | User Manual - Page 34
NOTES/NOTAS 16 - Ryobi BD4601G | User Manual - Page 35
NOTES/NOTAS 17 - Ryobi BD4601G | User Manual - Page 36
MANUAL / MANUEL D'UTILISATION /MANUAL DEL OPERADOR BENCH GRINDER MEULEUSE D'ÉTABLI ESMERILADORA DE BANCO BG828 To request service, purchase replacement parts, locate an Authorized Service Center and obtain Customer or Technical Support: Visit www.ryobitools.com or call 1-800-525-2579 If any parts
-
 1
1 -
 2
2 -
 3
3 -
 4
4 -
 5
5 -
 6
6 -
 7
7 -
8
-
9
-
10
-
11
-
12
-
13
-
14
-
15
-
16
-
17
-
18
-
19
-
20
-
21
-
22
-
23
-
24
-
25
-
26
-
27
-
28
-
29
-
30
-
31
-
32
-
33
-
34
-
35
-
36
 |
 |
OPERATOR’S MANUAL
MANUEL D’UTILISATION
MANUAL DEL OPERADOR
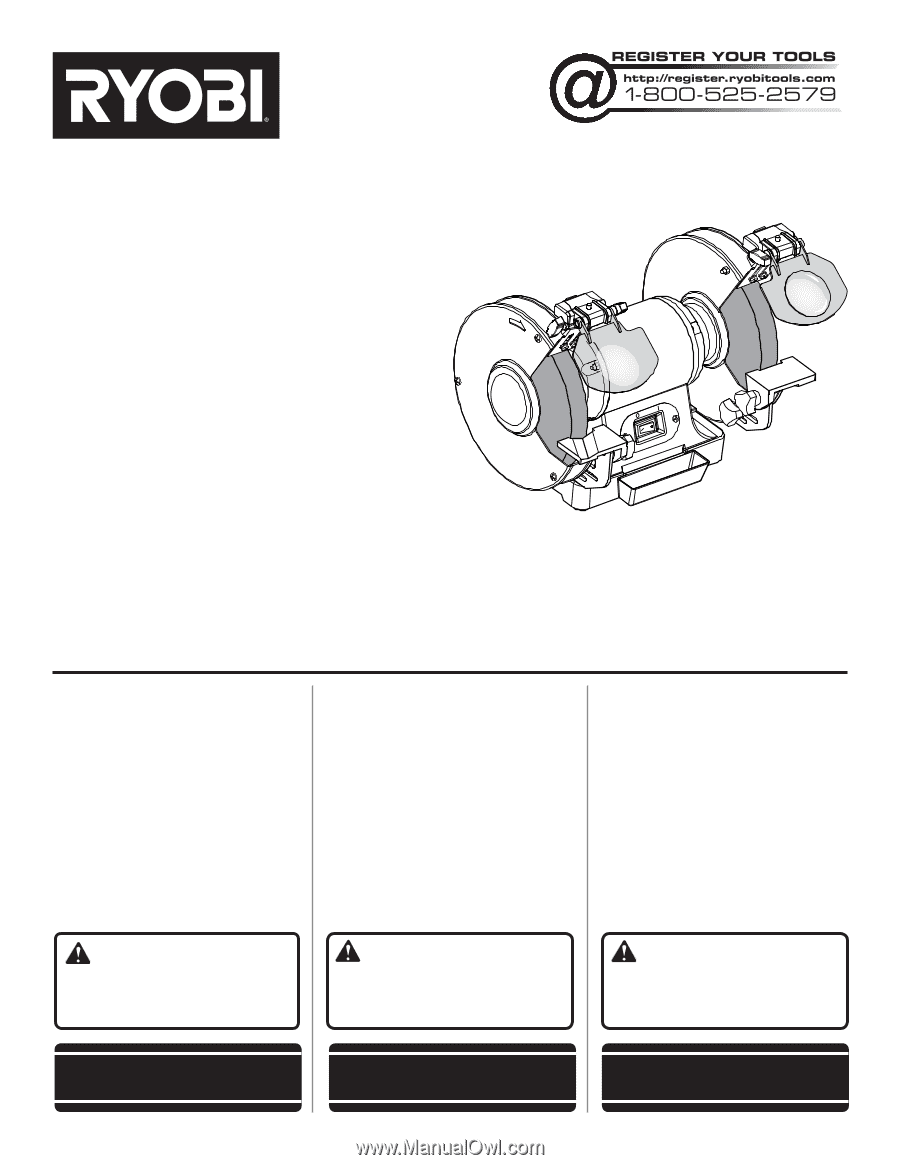
BENCH GRINDER
MEULEUSE D’ÉTABLI
ESMERILADORA DE BANCO
BG828
WARNING:
To reduce the
risk of injury, the user must read and
understand the operator’s manual
before using this product.
ADVERTENCIA:
Para reducir
el riesgo de lesiones, el usuario debe leer
y comprender el manual del operador
antes de usar este producto.
AVERTISSEMENT :
Pour
réduire les risques de blessures,
l’utilisateur doit lire et veiller à bien
comprendre le manuel d’utilisation avant
d’employer ce produit.
TABLE OF CONTENTS
General Safety Rules
.......................
2-3
Specific Safety Rules
......................
3-4
Symbols
..............................................
5
Electrical
.............................................
6
Features
..............................................
7
Assembly
.........................................
7-8
Operation
............................................
9
Maintenance
.....................................
10
Figures (Illustrations)
...................
11-15
Parts Ordering
and Service
.........................
Back page
TABLE DES MATIÈRES
Règles de sécurité générales
..........
2-3
Règles de sécurité particulières
......
3-4
Symboles
............................................
5
Caractéristiques électriques
...............
6
Caractéristiques
.................................
7
Assemblage
.....................................
7-8
Utilisation
............................................
9
Entretien
...........................................
10
Figures (illustrations)
....................
11-15
Commande de pièces
et dépannage
....................
Page arrière
ÍNDICE DE CONTENIDO
Reglas de seguridad generales
.......
2-3
Reglas de seguridad específicas
....
3-4
Símbolos
............................................
5
Aspectos eléctricos
............................
6
Características
...................................
7
Armado
............................................
7-8
Funcionamiento
..................................
9
Mantenimiento
..................................
10
Figuras (illustraciones)
.................
11-15
Pedidos de piezas
y servicio
.......................
Pág. posterior
SAVE THIS MANUAL FOR
FUTURE REFERENCE
CONSERVER CE MANUEL
POUR FUTURE RÉFÉRENCE
GUARDE ESTE MANUAL
PARA FUTURAS CONSULTAS