Ryobi P213 User Manual 5
Ryobi P213 Manual
 |
View all Ryobi P213 manuals
Add to My Manuals
Save this manual to your list of manuals |
Ryobi P213 manual content summary:
- Ryobi P213 | User Manual 5 - Page 1
DRILL PRESS. Your new Drill Press has been engineered and manufactured to Ryobi's high standards for dependability, ease of operation, and operator safety. Properly cared for, it will give you years of rugged, trouble-free performance. CAUTION: Carefully read through this entire operator's manual - Ryobi P213 | User Manual 5 - Page 2
On/Off Switch Key ...13 Self-Ejecting Chuck Key ...13 Operating Your Drill Press ...13 Drilling Tips ...14 Maintenance ...14 General Maintenance ...14 Lubricating ...14 Troubleshooting ...15 Parts Ordering / Service ...16 PRODUCT SPECIFICATIONS Chuck Taper No Load Speed Swing Spindle Travel 1/2 in - Ryobi P213 | User Manual 5 - Page 3
any danger. The instructions or warnings they service technician. For service we suggest you return the tool to your nearest RYOBI AUTHORIZED SERVICE CENTER for repair. When servicing, use only identical Ryobi replacement parts all instructions, safety rules, etc. contained in this manual. Failure - Ryobi P213 | User Manual 5 - Page 4
and adjusted the drill press as described in this manual and have read and understood all precautions and operating instructions in the manual and printed on moving parts. Non-slip footwear is recommended. Wear protective covering over long hair. 18. DISCONNECT POWER TOOLS BEFORE SERVICING or - Ryobi P213 | User Manual 5 - Page 5
Authorized Service Center. Use only Ryobi identical replacement parts. 32. SAVE THESE INSTRUCTIONS. Refer to them frequently and use to instruct other users. If you loan someone this tool, loan them these instructions also. WARNING: Some dust created by power sanding, sawing, grinding, drilling - Ryobi P213 | User Manual 5 - Page 6
cord or plug is necessary, do not connect the equipment-grounding conductor to a live terminal. Check with a qualified electrician or service personnel if the grounding instructions are not completely understood, or if in doubt as to whether the tool is properly grounded. Repair or replace a damaged - Ryobi P213 | User Manual 5 - Page 7
of a belt. Pilot Hole A small hole drilled in a workpiece that serves as a guide for drilling large holes accurately. Quill Also known as the Workpiece The object into which a hole is to be drilled. Work Table Flat, level surface supported on the column and able to be positioned at various angles - Ryobi P213 | User Manual 5 - Page 8
chuck key included. Self-Ejecting Chuck Key Key automatically ejects from the chuck to prevent accidentally starting drill press with key still engaged in chuck. Spindle Spindle is supported by quality ball bearings to ensure accuracy. Depth Stop Adjustable locking depth stop for accurate depth - Ryobi P213 | User Manual 5 - Page 9
to inflict severe injury. WARNING: Do not attempt to assemble the drill press, plug in the power cord, or turn on switch if any parts are damaged or missing. Failure to heed this warning could result in Collar 16. Chuck 17. Base Collar 18. Scale Set Handle 19. Operator's Manual (not shown) 9 Fig. 3 - Ryobi P213 | User Manual 5 - Page 10
NEEDED FOR ASSEMBLY #1 and #2 Philips Screwdriver Adjustable Wrench Hammer or rubber mallet 1. Place the base on a flat a piece of scrap wood to protect the chuck, firmly tap the chuck into place using a hammer. TABLE CRANK HANDLE Fig. 4 3. Feed the gear rack through the slot in the table assembly - Ryobi P213 | User Manual 5 - Page 11
and down the column. s Check to assure that the spindle shaft moves smoothly. MOUNTING BOLTS Fig. 9 ADJUSTMENTS WARNING: Before adjustment, disconnect the drill press from the power source. TABLE ADJUSTMENTS Adjusting the Table Height See Figure 10. To adjust table, hold the table with one hand - Ryobi P213 | User Manual 5 - Page 12
securely. See Figure 2. SPEED CHART Table Rotation See Figure 11. When drilling large objects it may be necessary to swing the table out of the way DEPTH STOP ADJUSTMENT See Figure 13. Where a number of holes are to be drilled to exactly the same depth, the depth stop is used as follows. Loosen - Ryobi P213 | User Manual 5 - Page 13
electric shock, or serious personal injury. Save this operator's manual and review it frequently for continuing safe operation and instructing others who may operate this tool. WARNING: Before attempting to use your drill press familiarize yourself with all operating features and safety requirements - Ryobi P213 | User Manual 5 - Page 14
may need to reduce the spindle speed. If drilling a through hole, make sure that the bit will not drill into the table after moving through your work. MAINTENANCE WARNING: When servicing use only identical Ryobi replacement parts. Use of any other parts may create a hazard or cause product damage - Ryobi P213 | User Manual 5 - Page 15
TROUBLE SHOOTING Problem Noisy replace bit. Feed fast enough, allow drill to cut. Lubricate bit for metal work. Excessive drill runout or wobble. Bent bit. Bit Install chuck properly. See page 10. Contact Ryobi Authorized Service Center. Drill bit binds in workpiece Excessive feed pressure. - Ryobi P213 | User Manual 5 - Page 16
OPERATOR'S MANUAL 10 in. (254 mm) Drill Press Model DP101 EXTENSION CORD CAUTION When using a - 20 amp circuit. • SERVICE Now that you have purchased your tool, should a need ever exist for repair parts or service, simply contact your nearest Ryobi Authorized Service Center. Be sure to provide
-
 1
1 -
 2
2 -
 3
3 -
 4
4 -
 5
5 -
 6
6 -
 7
7 -
8
-
9
-
10
-
11
-
12
-
13
-
14
-
15
-
16
 |
 |
1
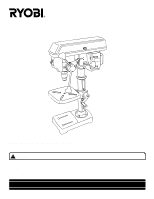
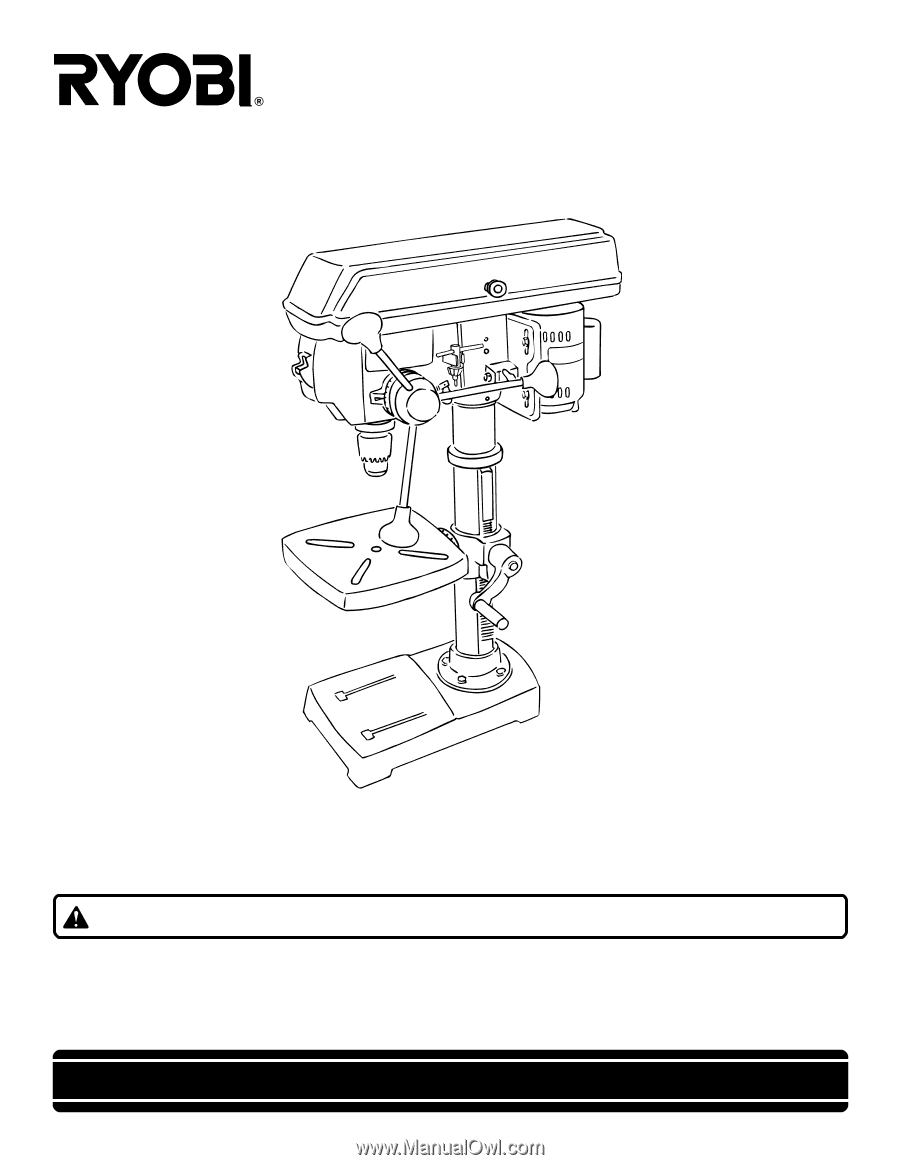
THANK YOU FOR BUYING A RYOBI BENCH TOP DRILL PRESS.
Your new Drill Press has been engineered and manufactured to Ryobi's high standards for dependability, ease of operation,
and operator safety. Properly cared for, it will give you years of rugged, trouble-free performance.
CAUTION:
Carefully read through this entire operator's manual before using your new machine.
Pay close attention to the Rules for Safe Operation, Warnings, and Cautions. If you use your machine properly and only for
what it is intended, you will enjoy years of safe, reliable service.
Please fill out and return the Warranty Registration Card so we can be of future service to you.
Thank you again for buying Ryobi tools.
OPERATOR’S MANUAL
10 in. (254 mm) DRILL PRESS
MODEL DP101
SAVE THIS MANUAL FOR FUTURE REFERENCE