Ryobi P3200 English Manual - Page 14
Rmaintenance
 |
View all Ryobi P3200 manuals
Add to My Manuals
Save this manual to your list of manuals |
Page 14 highlights
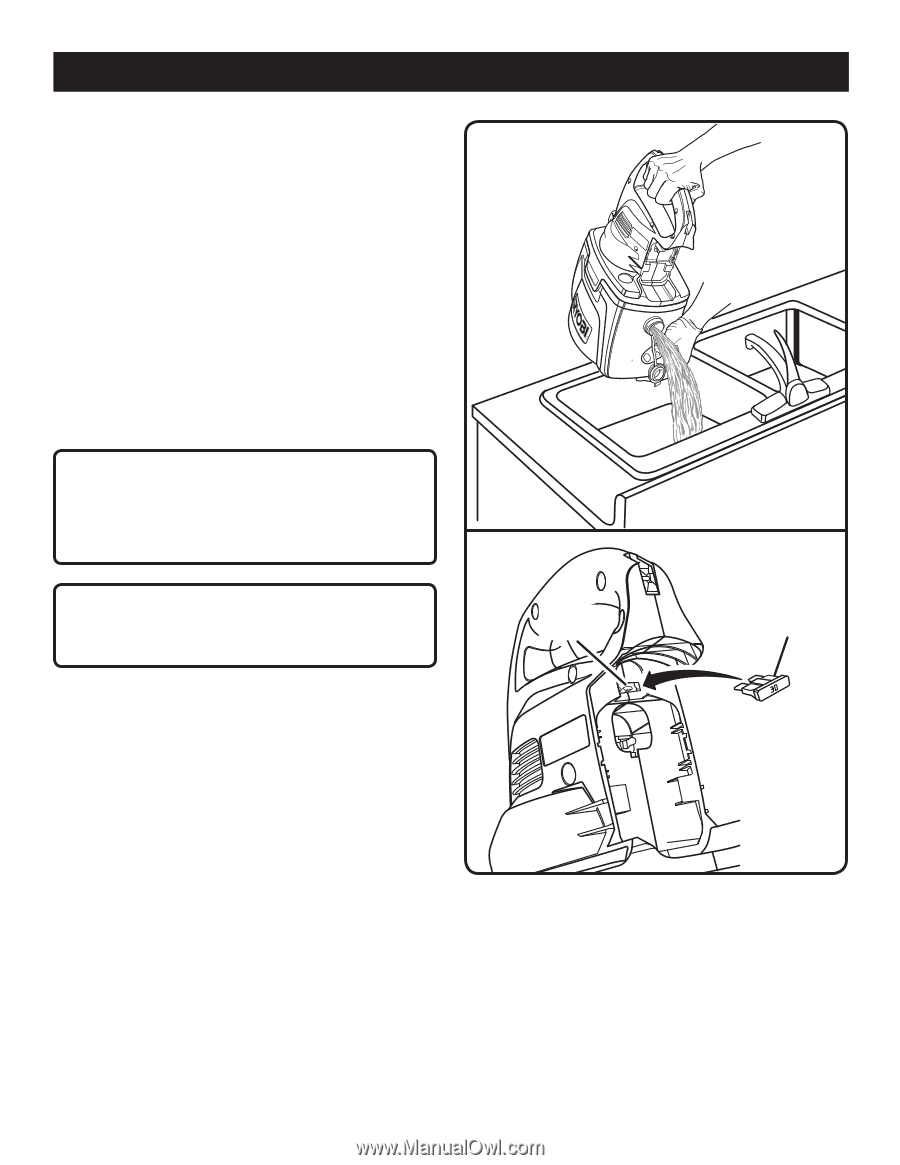
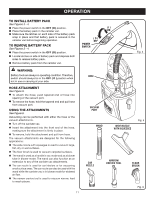
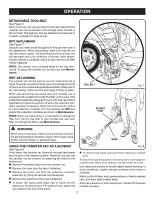
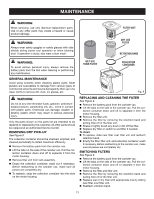
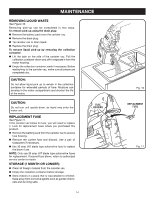
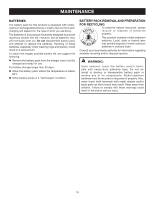
MAINTENANCE REMOVING LIQUID WASTE See Figure 10. Removing pick-up can be completed in two ways. To remove pick-up using the drain plug: Remove the battery pack from the canister vac. Remove the drain plug. Tip canister vac to drain liquid. Replace the drain plug. To remove liquid pick-up by removing the collection container: Lift the tabs on the side of the canister vac. Pull the R collection container down and off to separate it from the motor housing. Empty the collection container; wash if necessary. Before reattaching to the canister vac, make sure all pieces are completely dry. CAUTION: Do not allow liquid pick up to remain in the collection container for extended periods of time. Moisture can develop in the motor compartment and shorten the life of the motor. CAUTION: Do not turn unit upside down, as liquid may enter the motor unit. REPLACEMENT FUSE See Figure 11. If the canister vac blows its fuse, you will need to replace it. Look for replacement fuses where you purchased this product. Remove the battery pack from the canister vac to access fuse housing. Remove the current fuse and discard. Use a pair of fusepullers if necessary. Use 30 amp JAT blade type automotive fuse to replace the blown fuse. NOTE: Only use 30 amp JAT blade type automotive fuses for replacement. If second fuse blows, return to authorized service center for repair. STORAGE (1 MONTH OR LONGER) Clean all foreign material from the canister vac. Empty the collection container before storage. Store indoors in a place that is inaccessible to children. Keep away from corrosive agents such as garden chemicals and de-icing salts. FUSE HOUSING 14 Fig. 10 REPLACEMENT FUSE Fig. 11
-
 1
1 -
2
-
3
-
4
-
5
-
6
-
7
-
8
-
 9
9 -
 10
10 -
 11
11 -
 12
12 -
 13
13 -
 14
14 -
 15
15 -
 16
16
 |
 |