Ryobi P500 English Manual
Ryobi P500 Manual
 |
View all Ryobi P500 manuals
Add to My Manuals
Save this manual to your list of manuals |
Ryobi P500 manual content summary:
- Ryobi P500 | English Manual - Page 1
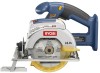
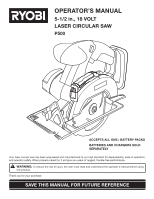
OPERATOR'S MANUAL 5-1/2 in., 18 volt LASER CIRCULAR SAW P500 ACCEPTS ALL one+ BATTERY PACKS batterIES and chargerS sold Separately Your laser circular saw has been engineered and manufactured to our high standard for dependability, ease of operation, and operator safety. When properly cared for, it - Ryobi P500 | English Manual - Page 2
bill of sale). We will repair any faulty workmanship, and either repair or replace any defective part, at our option. We will do so without any charge to you. We will complete the work in a reasonable time, but, in any case, within ninety (90) days or less. WHAT'S NOT COVERED: This warranty applies - Ryobi P500 | English Manual - Page 3
Instructions unstable support. Stable users. 130429001, 130429002 140501001 When battery pack is not in use, keep it away from P500 (P100 Ni-Cd) 130255004, 130224028 BATTERY parts, breakage of parts, and any other condition that may affect the tool's operation. If damaged, have the tool serviced - Ryobi P500 | English Manual - Page 4
personnel may result in a risk of injury. When servicing a tool, use only identical replacement parts. Follow instructions in the Maintenance section of this manual. Use of unauthorized parts or failure to follow Maintenance Instructions may create a risk of shock or injury. SPECIFIC SAFETY - Ryobi P500 | English Manual - Page 5
serious personal injury, never use any cordless product in the presence of open flame. An exploded battery can propel debris and chemicals. If replaced only by the manufacturer or by an authorized service center to avoid risk. Laser Guide Warnings The laser guide radiation used in this circular saw - Ryobi P500 | English Manual - Page 6
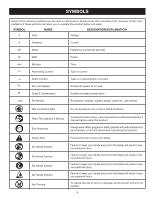
SYMBOL NAME DESIGNATION/EXPLANATION V Volts Voltage A Amperes Current Hz reduce the risk of injury, user must read and understand operator's manual before using this product. Always wear the blade will result in serious personal injury. Failure to keep your hands away from the blade will - Ryobi P500 | English Manual - Page 7
CENTER for repair. When servicing, use only identical replacement parts. WARNING: To avoid serious personal injury, do not attempt to use this product until you read thoroughly and understand completely the operator's manual. If you do not understand the warnings and instructions in the operator - Ryobi P500 | English Manual - Page 8
FEATURES PRODUCT SPECIFICATIONS Motor 18 V DC Blade Diameter 5-1/2 in. Blade Arbor 3/8 in. Cutting Depth at 0 1-9/16 in. Cutting Depth at 45 1-1/8 in. No Load Speed 4,300 r/min. (RPM) Laser Guide Class IIIa, - Ryobi P500 | English Manual - Page 9
1-800-525-2579 for assistance. PACKING LIST Circular Saw with Laser 5-1/2 in. Blade Blade Wrench AAA batteries (2) Lanyard (not included in combo) Operator's Manual WARNING: If any parts are missing or damaged do not operate this tool until the parts are replaced. Failure to do so could result in - Ryobi P500 | English Manual - Page 10
not tighten properly. n Fit the saw blade inside the lower blade guard and onto the spindle. NOTE: The saw teeth point upward at the front of the saw. n Replace the outer blade washer. n Depress the spindle lock button, then replace the blade screw. Tighten the blade screw securely by turning it - Ryobi P500 | English Manual - Page 11
and Ryobi One+ 18 V nickel-cadmium battery rib on battery pack aligns with the bottom of the tool packs. and latches into place properly. Improper installa- For complete charging instructions, refer to the Operator's tion of the battery pack can cause damage to internal Manual for the battery - Ryobi P500 | English Manual - Page 12
or nails before cutting. Never saw into a knot or nail. Make straight cuts. Always use a straight edge guide when rip cutting. This helps prevent twisting the blade. Use clean, sharp, and properly set blades. Never make cuts with dull blades. Support the workpiece properly before beginning - Ryobi P500 | English Manual - Page 13
. DO NOT USE GASOLINE. BLADE GUARD SYSTEM See Figure 9. The lower blade guard attached to your circular saw is there for your protection and safety. Do not alter it for any reason. If it becomes damaged, do not operate the saw until you have the guard repaired or replaced. Always leave guard in - Ryobi P500 | English Manual - Page 14
of the cut as needed. Switch on the laser beam. Install the battery pack into the tool and start the mo- tor. NOTE: Do not touch the blade to the workpiece until the saw has reached maximum speed. Slowly push the saw forward into the workpiece. NOTE: Keep the laser beam on the marked line - Ryobi P500 | English Manual - Page 15
guard closes. Make sure the lower blade guard is closed before setting the saw down. To make the best possible cut, follow these helpful hints. Hold the saw firmly with both hands. Avoid placing your hand on the workpiece while making a cut. Support the workpiece so that the cut (kerf) is - Ryobi P500 | English Manual - Page 16
the blade in the cut. width OF CUT SCALE See Figure 18. A width of cut scale has been provided on the base of your saw. When blade. It can be used to measure up to one inch to the left side of the blade. STRAIGHT EDGE Top View of Saw Blade Guide Notch Guideline 1 0 45 1 2 3 4 Front of saw - Ryobi P500 | English Manual - Page 17
result in serious injury. MAKING A BEVEL CUT See Figure 21. Hold the saw firmly with both hands as shown. Rest the front edge of the base on the workpiece. Start the saw and let the blade reach full speed. Guide the saw into the workpiece and make the cut. Release the trigger and allow the - Ryobi P500 | English Manual - Page 18
guard by the handle. Rest the front of the base flat against the workpiece with the rear of the handle raised so the blade does not touch the workpiece. Start the saw and let the blade reach full speed. Guide the saw into the workpiece and make the cut. Release the trigger and allow the - Ryobi P500 | English Manual - Page 19
screw to the laser aperture and slowly moving the laser guide left or right. Since blade thicknesses vary, always make a trial cut in scrap workpiece to ensure an accurate cut. Once alignment is achieved, tighten the screw. Replace the laser cover. Check for proper alignment. Repeat as - Ryobi P500 | English Manual - Page 20
serious personal injury. Only the parts shown on the parts list are intended to be repaired or replaced by the customer. All other parts should be replaced at an Authorized Service Center. REPLACING LASER GUIDE BATTERIES See Figure 25. Remove the battery pack from the saw. Make sure the laser - Ryobi P500 | English Manual - Page 21
Length of service from each charging will depend on the type of work you are doing. The batteries for this product have been designed to provide maximum trouble-free life. However, like all batteries, they will eventually wear out. Do not disassemble battery pack and attempt to replace the batteries - Ryobi P500 | English Manual - Page 22
OPERATOR'S MANUAL 5-1/2 in., 18 volt LASER CIRCULAR SAW P500 WARNING: Some dust created by power sanding, sawing, grinding, drilling, -2579. Replacement parts can also be obtained at one of our Authorized Service Centers. • How to locate an Authorized Service Center: Authorized Service Centers can
-
 1
1 -
 2
2 -
 3
3 -
 4
4 -
 5
5 -
 6
6 -
 7
7 -
8
-
9
-
10
-
11
-
12
-
13
-
14
-
15
-
16
-
17
-
18
-
19
-
20
-
21
-
22
 |
 |
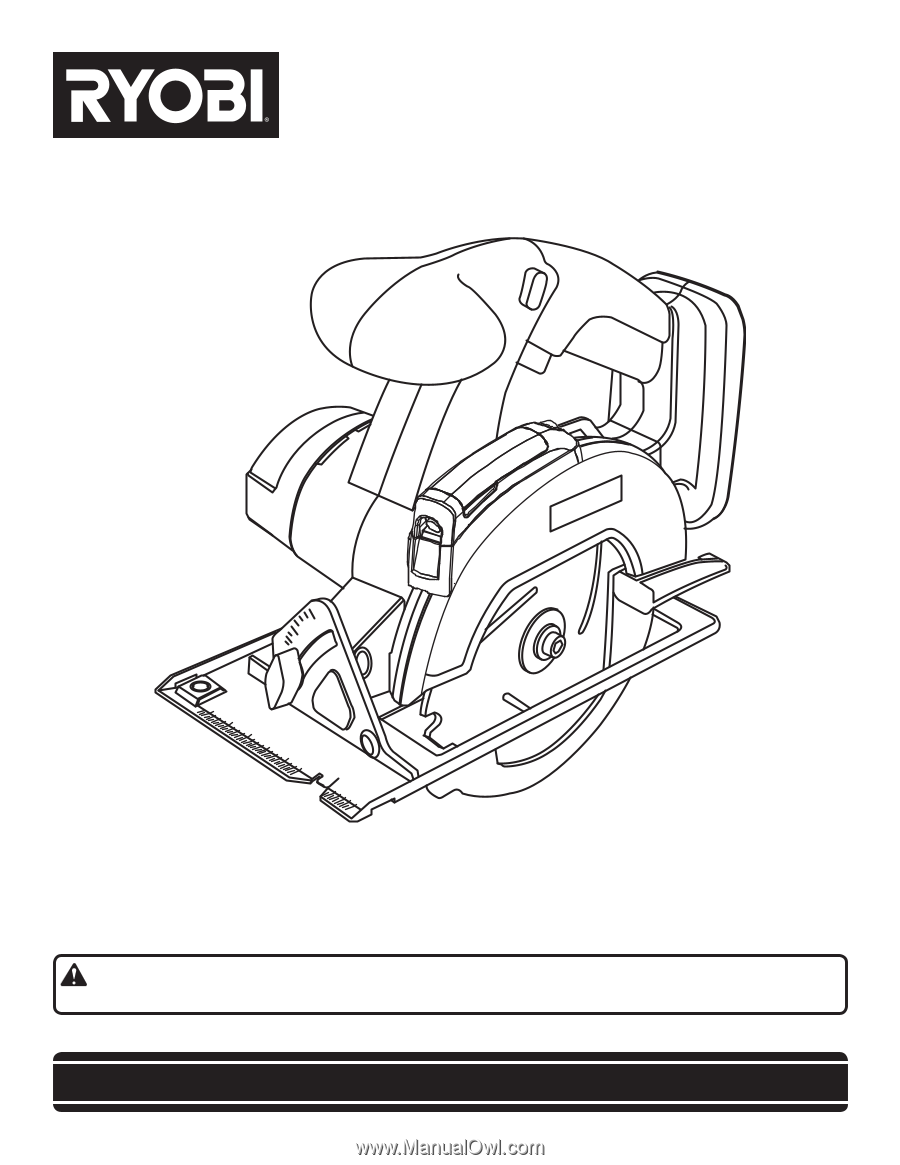
OPERATOR’S MANUAL
5-1/2 in., 18 VOLT
LASER CIRCULAR SAW
P500
SAVE THIS MANUAL FOR FUTURE REFERENCE
Your laser circular saw has been engineered and manufactured to our high standard for dependability, ease of operation,
and operator safety. When properly cared for, it will give you years of rugged, trouble-free performance.
WARNING:
To reduce the risk of injury, the user must read and understand the operator's manual before using
this product.
Thank you for your purchase.
ACCEPTS ALL ONE+ BATTERY PACKS
BATTERIES AND CHARGERS SOLD
SEPARATELY