Ryobi P882 User Manual 3
Ryobi P882 Manual
 |
View all Ryobi P882 manuals
Add to My Manuals
Save this manual to your list of manuals |
Ryobi P882 manual content summary:
- Ryobi P882 | User Manual 3 - Page 1
dependability, ease of operation, and operator safety. When properly cared for, it will give you years of rugged, trouble-free performance. WARNING: To reduce the risk of injury, the user must read and understand the operator's manual before using this product. Thank you for your purchase. SAVE THIS - Ryobi P882 | User Manual 3 - Page 2
Specific Safety Rules...3-4 Safety Rules for Charger ...5 � Symbols...6-7 � Features...8 � Assembly ...9 � Operation...10-14 � Maintenance ...15 � Parts Ordering / Service ...16 INTRODUCTION This tool has many features for making its use more pleasant and enjoyable. Safety, performance, and - Ryobi P882 | User Manual 3 - Page 3
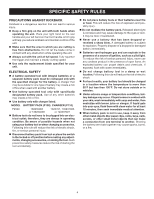
unexpected situations. Do not use on a ladder or unstable support. Do not operate in poor lighting. Keep servicing a tool, use only identical replacement parts. Follow instructions in the Maintenance section of this manual. Use of unauthorized parts or failure to follow Maintenance instructions - Ryobi P882 | User Manual 3 - Page 4
SPECIFIC SAFETY RULES PRECAUTIONS AGAINST KICKBACK Kickback is a dangerous reaction that can lead to serious injury. Keep a firm grip on the unit with both hands when operating the unit. Place your right hand on the rear handle and your left hand on the front handle. A firm grip will help you - Ryobi P882 | User Manual 3 - Page 5
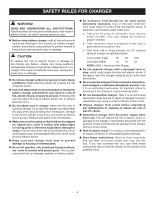
injury. Before using battery charger, read all instructions and cautionary markings in this manual, on battery charger, battery, and product using Do not disassemble charger. Take it to an authorized serviceman when service or repair is required. Incorrect reassembly may result in a risk of - Ryobi P882 | User Manual 3 - Page 6
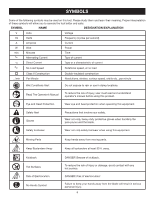
per minute Wet Conditions Alert Do not expose to rain or use in damp locations. Read The Operator's Manual To reduce the risk of injury, user must read and understand operator's manual before using this product. Eye and Head Protection Wear eye and head protection when operating this equipment - Ryobi P882 | User Manual 3 - Page 7
servicing, use only identical replacement parts. WARNING: To avoid serious personal injury, do not attempt to use this product until you read thoroughly and understand completely the operator's manual. Save this operator's manual and review frequently for continuing safe operation and instructing - Ryobi P882 | User Manual 3 - Page 8
with all operating features and safety rules. BLADE COVER The blade cover protects the blade when the tool is being stored or transported. CUTTING GUIDE The cutting guide helps to steady a limb when making cuts. HEX KEY AND STORAGE AREA The hex key provided with your pole pruner can be used for - Ryobi P882 | User Manual 3 - Page 9
for assistance. PACKING LIST Pole Pruner Blade Blade Cover Hex Key Operator's Manual Warranty Registration Card WARNING: If any parts are damaged or missing do not they could get cut. NEVER touch the blade or service the unit with the battery pack installed. HEX KEY STORAGE MOUNTING CLAMP PIN POSITIONING - Ryobi P882 | User Manual 3 - Page 10
insert another battery. Return the charger and battery to your nearest service center for service or replacement. LED FUNCTIONS OF CHARGER LED WILL BE ON TO to the touch while charging. This is normal and does not indicate a problem. Do not place the charger and battery pack in an area of extreme - Ryobi P882 | User Manual 3 - Page 11
30 minutes, reinsert the battery pack in the charger. If the green LED continues to remain on, return battery pack to your nearest Authorized Service Center for checking or replacing. NOTE: This situation only occurs when continuous use of the tool causes the batteries to become hot. It does not - Ryobi P882 | User Manual 3 - Page 12
OPERATION WARNING: Battery tools are always in operating condition. Therefore, switch should always be locked when not in use or carrying at your side. ADJUSTING THE SHAFT See Figures 6 - 8. Rotate the lower portion of the shaft adjustment collar to the "Unlock" position. The lower shaft should - Ryobi P882 | User Manual 3 - Page 13
OPERATION STARTING AND STOPPING THE POLE PRUNER See Figures 9 - 10. STARTING THE POLE PRUNER Hold the pole pruner as shown and ensure that you are well away from anything that may contact the blade. Press and hold the trigger lock. Depress the switch trigger. Release the trigger lock. - Ryobi P882 | User Manual 3 - Page 14
second and final cuts (from top of limb or branch), hold the front cutting guide against the limb being cut. This will help steady the limb and make it the flush cut next to the main limb or trunk until you have cut off CUTTING GUIDE Fig. 12 60° MAXIMUM Fig. 13 ( ) () Fig. 14 the limb further - Ryobi P882 | User Manual 3 - Page 15
for this tool is equipped with nickel-cadmium rechargeable batteries. Length of service from each charging will depend on the type of work you are doing. The batteries in this tool have been designed to provide maximum trouble-free life. However, like all batteries, they will eventually wear out. - Ryobi P882 | User Manual 3 - Page 16
OPERATOR'S MANUAL 18 VOLT POLE PRUNER P2500 • PARTS AND SERVICE Prior to requesting service or SERVICE CENTER: Authorized Service Centers can be located online at www.ryobitools.com or by calling 1-800-860-4050. • HOW TO OBTAIN CUSTOMER OR TECHNICAL SUPPORT: To obtain Customer or Technical Support
-
 1
1 -
 2
2 -
 3
3 -
 4
4 -
 5
5 -
 6
6 -
 7
7 -
8
-
9
-
10
-
11
-
12
-
13
-
14
-
15
-
16
 |
 |
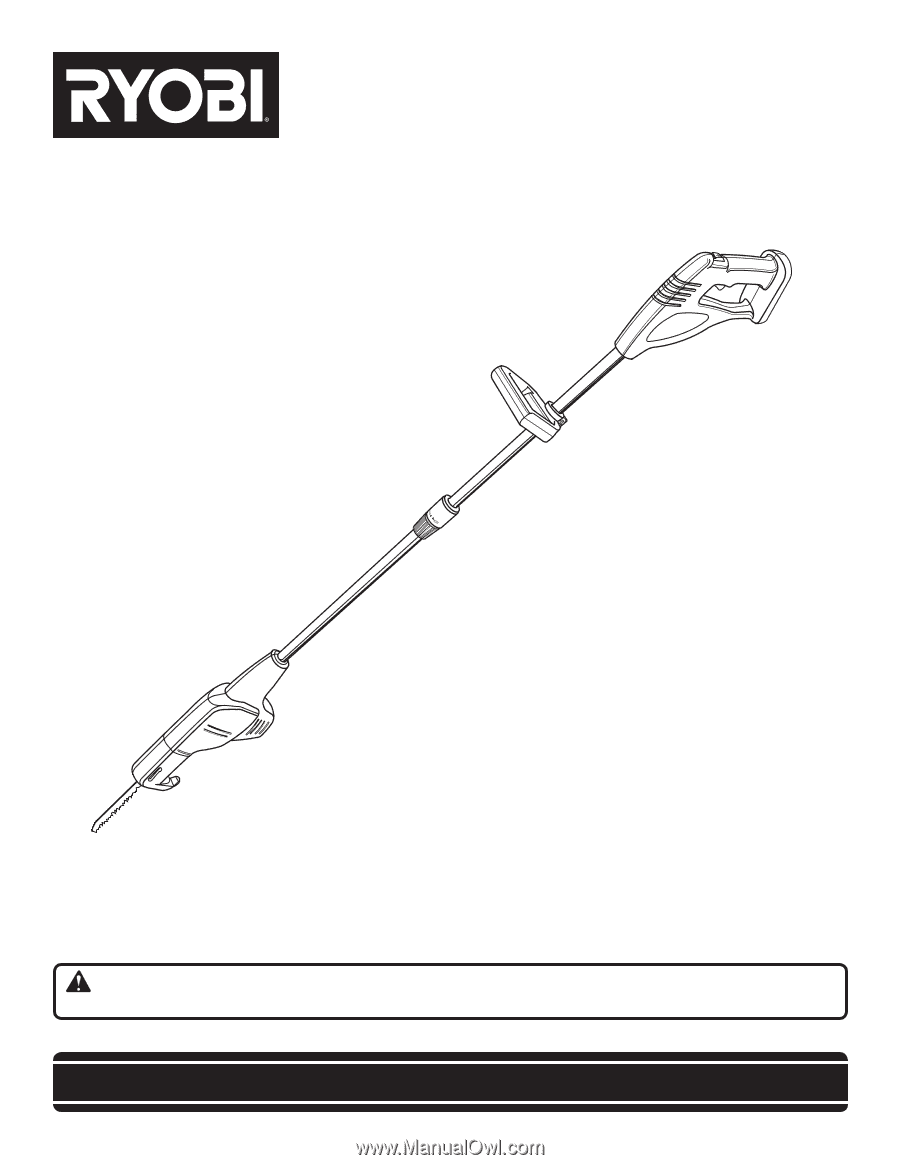
OPERATOR’S MANUAL
18 VOLT POLE PRUNER
P2500
SAVE THIS MANUAL FOR FUTURE REFERENCE
Your pole pruner has been engineered and manufactured to our high standard for dependability, ease of operation, and
operator safety. When properly cared for, it will give you years of rugged, trouble-free performance.
WARNING:
To reduce the risk of injury, the user must read and understand the operator’s manual before using
this product.
Thank you for your purchase.
BATTERIES AND CHARGERS
SOLD SEPARATELY