Samsung HXMU016DA User Manual (user Manual) (ver.1.0) (English)
Samsung HXMU016DA Manual
 |
View all Samsung HXMU016DA manuals
Add to My Manuals
Save this manual to your list of manuals |
Samsung HXMU016DA manual content summary:
- Samsung HXMU016DA | User Manual (user Manual) (ver.1.0) (English) - Page 1
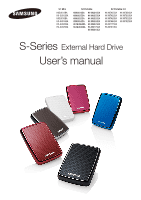
HXMU032DA HXMU050DA HX-MU064DA HX-MU040DA HX-MU016DA HX-MU025DA HX-MU032DA HX-MU050DA HX-MU075DA HX-MUT75DA HX-MU010EA S2 Portable 3.0 HX-MTA25DA HX-MTA32DA HX-MTA50DA HX-MTA64DA HX-MTT75DA HX-MT010EA HX-MT064DA HX-MT050DA HX-MT032DA HX-MT025DA S-Series External Hard Drive User's manual - Samsung HXMU016DA | User Manual (user Manual) (ver.1.0) (English) - Page 2
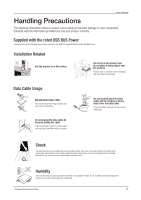
the instructions as outlined in the Handling Precautions section could result in damage to you or to your S-Series External Hard Drive. Refer to the Troubleshooting section first if you experience a problem with the product. Software and user's manuals are available for download at the Samsung Hard - Samsung HXMU016DA | User Manual (user Manual) (ver.1.0) (English) - Page 3
data cable and do not place a heavy object over the data cable. If the data cable is damaged, it may cause a malfunction. Shock The external drive is very portable and you may easily drop it. Take care not to drop and tip the product while carrying the external - Samsung HXMU016DA | User Manual (user Manual) (ver.1.0) (English) - Page 4
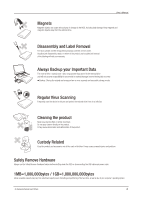
For repair, please visit the designated (samsung) customer service center. Unauthorized disassembly, repair, or reform of the product and unauthorized removal of the labeling will void your warranty. Always Backup your Important Data The external drive manufacturer does not guarantee data stored in - Samsung HXMU016DA | User Manual (user Manual) (ver.1.0) (English) - Page 5
17 19 25 26 29 30 S-Series External Hard Drive Software Samsung Auto Backup Samsung Auto Backup Installation Data Backup using Samsung Auto Backup Quick Backup Restoring Backup Data Samsung SecretZone™ Virtual Drive with Samsung SecretZone™ Troubleshooting 32 FAQ Appendix 33 33 34 34 35 35 - Samsung HXMU016DA | User Manual (user Manual) (ver.1.0) (English) - Page 6
Introduction User's Manual The S-Series External Hard Drive is a high-performance external hard drive that supports USB. Unlike conventional desktop disk drives, the S-Series External Hard Drive makes it possible for you to instantaneously add greater storage capacity to your system without having - Samsung HXMU016DA | User Manual (user Manual) (ver.1.0) (English) - Page 7
to the latest version to enjoy better performance and reliability. Components S1 Mini / S2 Portable USB 2.0-Cable Quick Start Guide Pouch When you purchase a S1 Mini / S2 Portable External Hard Drive, make sure that all components have been included in your product package. Overview LED - Samsung HXMU016DA | User Manual (user Manual) (ver.1.0) (English) - Page 8
User's Manual System Requirements PC : Windows XP / Vista / 7 Upgrade your operating system to the latest version to enjoy better performance and reliability. Components S2 Portable 3.0 USB 3.0 Micro-B Cable Quick Start Guide Pouch When you purchase a S2 Portable 3.0 External Hard Drive, make - Samsung HXMU016DA | User Manual (user Manual) (ver.1.0) (English) - Page 9
User's Manual Connecting your S1 Mini / S2 Portable Installation Verify that the computer meets the minimum system requirements as outlined in #System Requirements. Insert the USB cable to the desktop/laptop computer as shown in Figures 1 and 2: Figure 1. Connecting to a Desktop Computer Figure 2. - Samsung HXMU016DA | User Manual (user Manual) (ver.1.0) (English) - Page 10
Figures 3 and 4: Figure 3. Connecting to a Desktop Computer Figure 4. Connecting to a Laptop Computer LED Color - USB 2.0 : Green - USB 3.0 : Blue To use the S2 Portable 3.0 model at its maximum speed, you need a PC or a Host Card that supports USB 3.0 interface. S-Series External Hard Drive 10 - Samsung HXMU016DA | User Manual (user Manual) (ver.1.0) (English) - Page 11
User's Manual Windows When you connect the S-Series External Hard Drive to the computer a small icon will appear in the system tray at the lower right corner of the screen. Figure 5. System Tray indicating an external device The operating system will recognize and display "Samsung" drive under "My - Samsung HXMU016DA | User Manual (user Manual) (ver.1.0) (English) - Page 12
the SAMSUNG icon, the following folder will appear. Figure 8. Macintosh Folders You are now ready to use the Samsung S-Series External Hard Drive. Stop & Read (Software included with your S-Series External Hard Drive does not support the Mac operating environment.) S-Series External Hard Drive 12 - Samsung HXMU016DA | User Manual (user Manual) (ver.1.0) (English) - Page 13
9. Getting to the Windows Explorer From the Windows Explorer, you will see various drive letters; A, C, your C drive is your local Hard Drive. The S-Series will most likely be the E drive however, it could be any drive letter. For the purposes of this manual, we will assume that the S-Series is the - Samsung HXMU016DA | User Manual (user Manual) (ver.1.0) (English) - Page 14
the Temp file onto the S-Series drive. Right click on the Samsung E drive and choose NOTE : Detaching the USB cable while file transfer is in progress can damage your computer and/or S-Series External Stop & Read Hard Drive. If you need to disconnect the USB cable, wait for the transfer process - Samsung HXMU016DA | User Manual (user Manual) (ver.1.0) (English) - Page 15
device that is attached to your system. Click "Samsung S-Series USB device". Figure 14. This prompt will list all of the Mass Storage Devices like your Local Hard drive and your S-Series Hard drive. [S1 Mini] [S2 Portable] [S2 Portable 3.0] When you see the "Safely Remove Hardware" message - Samsung HXMU016DA | User Manual (user Manual) (ver.1.0) (English) - Page 16
's Manual For Macintosh Click the external hard drive icon and select "Eject "SAMSUNG."" Figure 15. For the Macintosh click the USB icon and choose Eject "SAMSUNG" This safely disconnects the drive. It is now safe to detach the drive from the computer. Do not disconnect S-Series External Hard Drive - Samsung HXMU016DA | User Manual (user Manual) (ver.1.0) (English) - Page 17
S-Series Software User's Manual S-Series External Hard Drive Software Samsung S-Series External Hard Drive comes with Samsung Auto Backup and Samsung SecretZone™. These applications support the Windows only. Connecting your S-Series External Hard Drive to the computer will automatically activate - Samsung HXMU016DA | User Manual (user Manual) (ver.1.0) (English) - Page 18
user license agreement. Carefully read the agreement. Select "yes". 7. Select the destination for Samsung Auto Backup installation and then click "Next." 8. Select the folder under which you wish the Samsung Auto Backup icon to be registered. Then, click "Next." S-Series External Hard Drive 18 - Samsung HXMU016DA | User Manual (user Manual) (ver.1.0) (English) - Page 19
using Samsung Auto Backup There are two ways to backup data: Data Backup Options Manual Backup Quick Backup You will need to first configure backup options before using Samsung Auto Backup. Launch Samsung Auto Backup by clicking Start Programs SEC Samsung Auto Backup. S-Series External Hard Drive - Samsung HXMU016DA | User Manual (user Manual) (ver.1.0) (English) - Page 20
Figure 16. Samsung Auto Back Screen User's Manual Figure 17. Backup Destination Selection Dialog Designate the path to the backup device and then click "Next." S-Series External Hard Drive 20 - Samsung HXMU016DA | User Manual (user Manual) (ver.1.0) (English) - Page 21
Figure 18. Optional Settings Dialog User's Manual Configure the various backup options. Figure 19. File Filter Configuration Dialog From the File Filter Configuration dialog, change in this dialog sets the application to backup all types of files from the source. S-Series External Hard Drive 21 - Samsung HXMU016DA | User Manual (user Manual) (ver.1.0) (English) - Page 22
Backup Scheduling Dialog User's Manual It's even possible for Samsung Auto Backup is configured to perform real time backup by default. Therefore, the application will automatically back up the content of "My Documents" after you exit the backup configuration wizard. S-Series External Hard Drive - Samsung HXMU016DA | User Manual (user Manual) (ver.1.0) (English) - Page 23
Figure 22. Initial Application Screen User's Manual Once you have successfully configured Auto Backup, a new icon will appear on your system tray. In this icon, you wish to back up by checking the file(s) and/or folder(s) from the Original File Selection window. S-Series External Hard Drive 23 - Samsung HXMU016DA | User Manual (user Manual) (ver.1.0) (English) - Page 24
Figure 25. Original File Selection Screen - Manual Backup User's Manual Select "Backup" from the "Task" menu or click "Backup" from the toolbar. Figure 26. Backup Completion Dialog S-Series External Hard Drive 24 - Samsung HXMU016DA | User Manual (user Manual) (ver.1.0) (English) - Page 25
- Quick Backup User's Manual Figure 28. Backup Completion Dialog Quick Backup will only function with the backup device properly configured. Stop & Read Files and folder that have been backed up with Quick Backup are automatically stored as backups of originals. S-Series External Hard Drive 25 - Samsung HXMU016DA | User Manual (user Manual) (ver.1.0) (English) - Page 26
User's Manual Restoring Backup Data You can restore your backup data using Samsung Auto Backup. To restore your backup data using Samsung Auto Backup, you will need to launch the restore wizard. on "Restore" from the toolbar. Figure 29. Restore Selection Screen S-Series External Hard Drive 26 - Samsung HXMU016DA | User Manual (user Manual) (ver.1.0) (English) - Page 27
Figure 30. Restore Selection Screen User's Manual Restore wizard's first screen will prompt you to select the restore backup file destination. There are two options restore backup files that are different from their originals only or to restore all the files. S-Series External Hard Drive 27 - Samsung HXMU016DA | User Manual (user Manual) (ver.1.0) (English) - Page 28
. File Filter Screen User's Manual Restore file filter wizard lets After configuring the options, click "Finish" to start restoring backup files. Samsung Auto Backup Engine window will prompt and display the restore progress. This engine . Restore Completion Screen S-Series External Hard Drive 28 - Samsung HXMU016DA | User Manual (user Manual) (ver.1.0) (English) - Page 29
privacy software application operating in the Windows environment. Samsung SecretZone™ enables you to save and protect important and private data from others with ease. Samsung SecretZone™ Installation 1.You will see the following dialog the first time you connect your S-Series External Hard Drive - Samsung HXMU016DA | User Manual (user Manual) (ver.1.0) (English) - Page 30
to create. 2. Designate the name and size of the volume image you wish to create. Samsung SecretZone™ is a security software and will not allow you access to protected data without a proper ID Stop & Read and password. Be careful not to lose your ID and password. S-Series External Hard Drive 30 - Samsung HXMU016DA | User Manual (user Manual) (ver.1.0) (English) - Page 31
User's Manual 3. Designate the drive to connect with, the file system, label, accessibility, and idle session limit. 4. Designate the volume's password and If the settings are correct, click "Finish" to generate the volume image. You've now created a virtual drive. S-Series External Hard Drive 31 - Samsung HXMU016DA | User Manual (user Manual) (ver.1.0) (English) - Page 32
then try booting again. Q6. I formatted my S-Series External Hard Drive and lost all the bundle software. A6. Bundle applications that came with your S-Series External Hard Drive are available for download at Samsung Electronics' customer support website. Q7. I am using a Mac, and I can't copy files - Samsung HXMU016DA | User Manual (user Manual) (ver.1.0) (English) - Page 33
Use Samsung USB Format Utility to format your S-Series External Hard Drive to FAT32. (Samsung USB Format Utility is a Windows application and is available for downloaded from Samsung's online Customer Support page.) Figure 34. FAT format utility [S1 Mini] [S2 Portable] [S2 Portable 3.0] S-Series - Samsung HXMU016DA | User Manual (user Manual) (ver.1.0) (English) - Page 34
User's Manual Reformat to NTFS Following describes formatting to NTFS in Windows XP: - Connect S-Series External Hard Drive to the computer. - Click "Start" from the lower left corner of your screen. - Right-click "My Computer" and then select "Manage." - From the "Computer Management" - Samsung HXMU016DA | User Manual (user Manual) (ver.1.0) (English) - Page 35
User's Manual Product Certifications the product and its electronic accessories (e.g. charger, headset, USB cable) should not be disposed of with other household waste not installed and used in accordance with the instructions, may cause harmful interference to radio communications, Hard Drive 35 - Samsung HXMU016DA | User Manual (user Manual) (ver.1.0) (English) - Page 36
User's Manual Warranty Information The following limited warranty applies to the Samsung external hard disk drive but does not supersede regional and national laws and regulations. Limited Warranty Samsung makes the following limited warranties during the warranty period: (a) the Products will - Samsung HXMU016DA | User Manual (user Manual) (ver.1.0) (English) - Page 37
it describes at the time of publication. However, content of this manual and/or product specifications are subject to change without prior notice and with no direct or indirect liability on Samsung Electronics' part concerning such change. S-Series External Hard Drive User's manual EN (Rev. 05)
-
 1
1 -
 2
2 -
 3
3 -
 4
4 -
 5
5 -
 6
6 -
 7
7 -
8
-
9
-
10
-
11
-
12
-
13
-
14
-
15
-
16
-
17
-
18
-
19
-
20
-
21
-
22
-
23
-
24
-
25
-
26
-
27
-
28
-
29
-
30
-
31
-
32
-
33
-
34
-
35
-
36
-
37
 |
 |
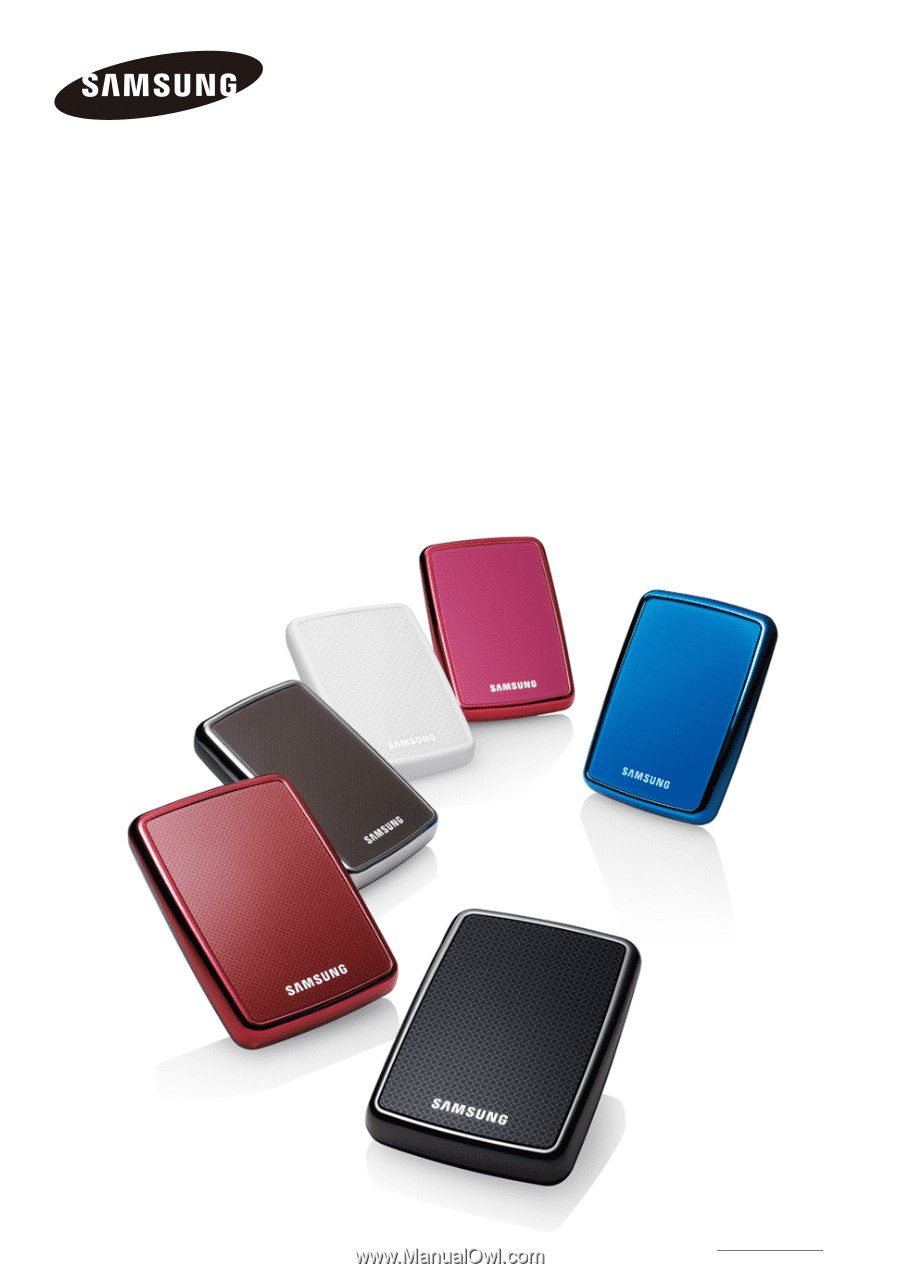
S-Series
External Hard Drive
User’s manual
S1 Mini
HXSU012BA
HX-SU012BA
HXSU016BA
HX-SU016BA
HX-SU020BA
HX-SU025BA
S2 Portable
S2 Portable 3.0
HX-MTA25DA
HX-MTA32DA
HX-MTA50DA
HX-MTA64DA
HX-MTT75DA
HX-MT010EA
HXMU016DA
HX-MU016DA
HXMU025DA
HX-MU025DA
HXMU032DA
HX-MU032DA
HXMU050DA
HX-MU050DA
HX-MU064DA
HX-MU075DA
HX-MU040DA
HX-MU010EA
HX-MUT75DA
HX-MT064DA
HX-MT050DA
HX-MT032DA
HX-MT025DA