Samsung MP0402H User Manual (ENGLISH) - Page 2
Configuring your Hard Disk Drive Master, Slave - hard drive
 |
UPC - 729507523361
View all Samsung MP0402H manuals
Add to My Manuals
Save this manual to your list of manuals |
Page 2 highlights
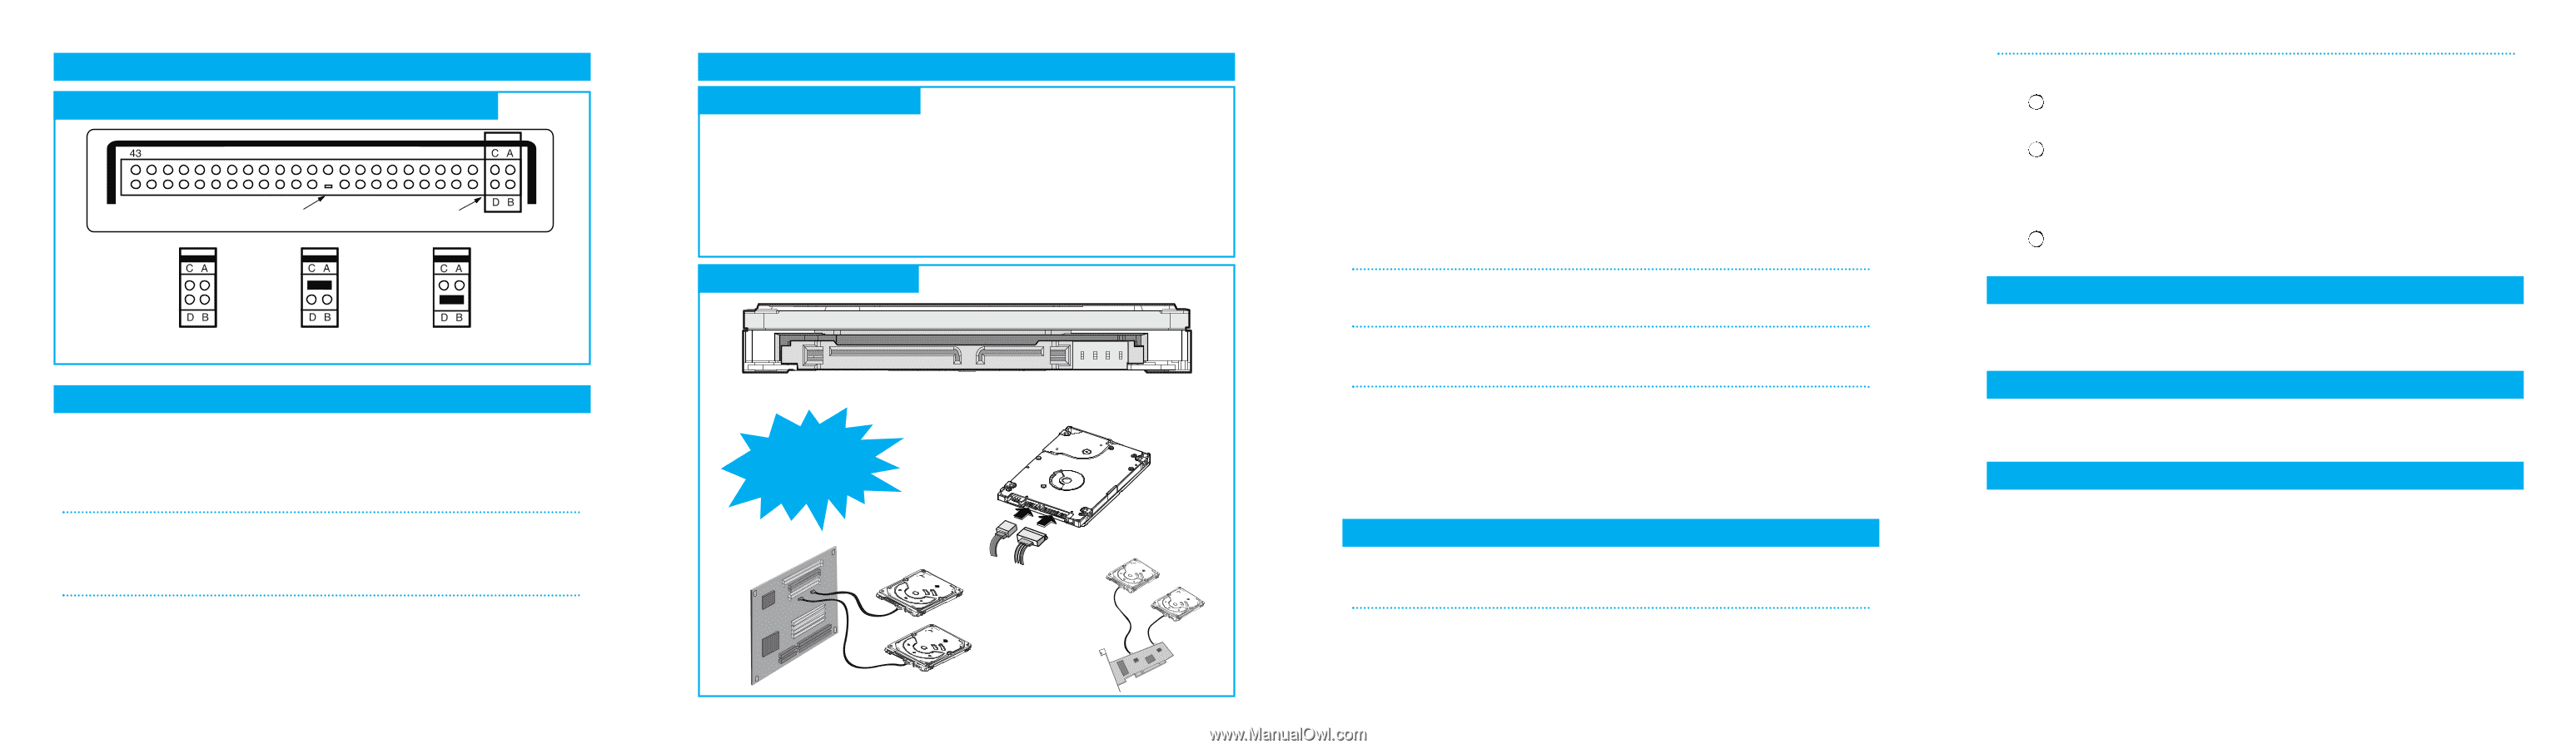
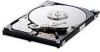
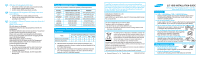
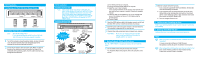
PATA Installation Configuring your Hard Disk Drive (Master, Slave) Polarity Jumpers Master Slave Cable Select Installation Your Hard Drive Note: - Turn off the system power ! - Cover opening mechanism and the location of the hard disk drive may vary from one computer to another. 1 Turn off the computer, unplug the external cables, and open computer cover. Mount the hard disk drive in the designated place in the computer with screws provided with the product. 2 Connect 40 pin interface cable and power cable. Make sure that the direction of the cables are correct and matches the shape of the receptacles when connecting cables. Incorrect cable connection may damage the hard disk drive. SATA Installation Installing the hard disk Note: SATA 1.5Gb/s Speed Limit Jumper setting Only for SATA 3.0Gb/s products. In some rare cases SATA 1.5Gb/s hosts can not establish SATA interface connection with SATA 3.0Gb/s devices due to interface protocol issues. In this case the jumper may be installed as shown on the figure below to force the device to negotiate for SATA 1.5Gb/s speed. Installing the hard disk Power Connector Do Not Connect In Reverse !! Computer Main Board SATA Interface Jumper Pins Connector (For Factory Use Only) SATA Interface Cable Power Cable Serial SATA Host Adapter (a) Turn off the power of your computer. (b) Unplug the external power cables to the computer. (c) Open the cover of your Computer. Cover opening mechanism and the location of the hard disk drive may vary from one computer to another. (Consult your computer manual) (d) Insert the HDD into an available 3.5" bay in your computer and secure it to computer and secure it to the chassis using the provided screws. (e) Connect Cables. 1 Attach the SATA interface cable to the interface connector on the hard disk drive. The connector is keyed and will fit in only one way. 2 Attach the power cable to the power receptor on the hard disk drive. The connector is keyed and will fit in only one way. 3 Check all other cable connections before turning on your computer. CAUTION! : Do not force or rock the connectors into their sockets on the hard disk drive. Push them in straight until they are seated. 1. Making Computer Detect the New Device Run the CMOS (BIOS) set-up program to detect the new hard disk drive. 1 Go into CMOS screen during the booting of the computer. For descriptive details of the program, refer to the computer's user's manual 2 Make the computer detect the hard disk. 1 If your computer supports IDE HDD Auto Detection, the hard disk drive will automatically be detected. 2 If your computer does not support auto detect, go into the User Define Mode and by referring written information on the product, set the correct settings for Cylinder, Head, and Sector and if some Bios must be, set the HDD Mode to LBA. 3 Save the changed details and exit. 2. Partitioning and Formatting the Drive Refer to your Operating System manual or system manual for partitioning and formatting. 3. Samsung World Wide Web Site Additional information can be obtained at www.samsunghdd.com. FAQs Q1 When using within an USB external case, sometimes drive is not recognized. It may be caused by insufficiency of USB DC power. By supplying a subsidy DC power, the symptom can be solved. Q2 When using within an USB external case, drive can not be Format. First, confirm whether a partition has been created correctly. Format does not work if there is no partition.
-
 1
1 -
 2
2
 |
 |