Samsung SCX 6555N SyncThru 5.0 Guide (ENGLISH) - Page 25
Dashboard Settings tab
 |
UPC - 635753610314
View all Samsung SCX 6555N manuals
Add to My Manuals
Save this manual to your list of manuals |
Page 25 highlights
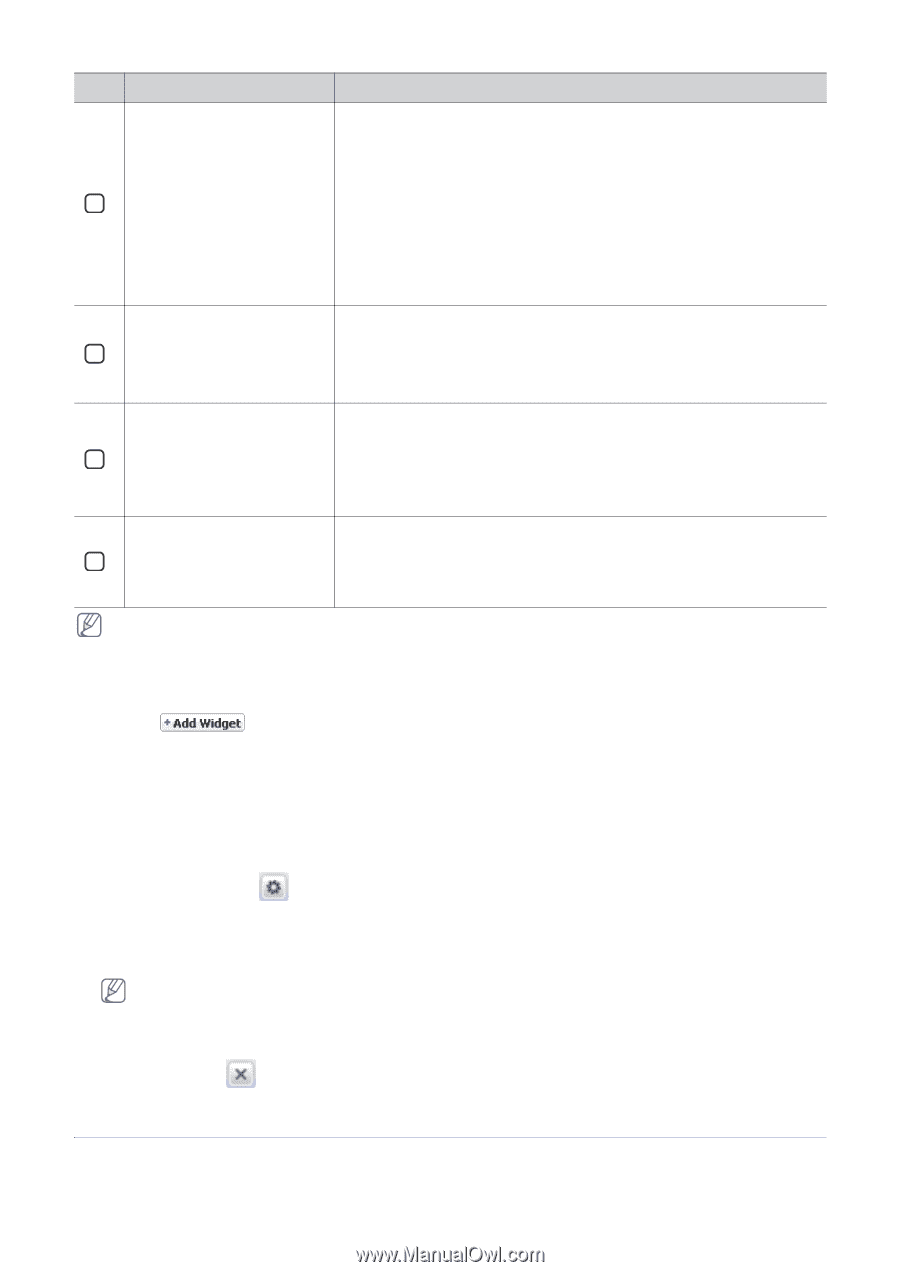
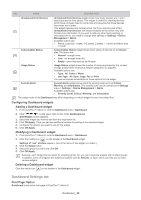
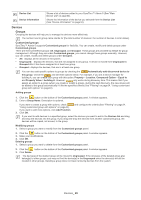
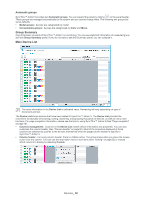
NO. NAME DESCRIPTION Unresolved Error Devices 3 Unresolved Error Devices widget shows how many devices are in error status grouped by time period. This widget is useful for checking devices which have not been fixed for some time and assume that those devices have been out of order. This widget includes only Critical errors. So if you click any part of this Unresolved Error Devices, the related analysis will be shown only with Critical error information. If you want to add any other level (warning, or information) error, you need to change alert settings in Settings > Device Management > Alerts. Available options are: • Period: Less than 1 week, 1~2 weeks, 2 weeks ~ 1 month and More than 1 month Consumables Status 4 Consumables Status widget shows toner status of devices on the Device List. The status are: • Normal: enough toner. • Low: not enough toner left. • Empty: toner has reached its life span. Usage Status 5 Usage Status widget shows the number of devices grouped by the number of page printed (See "Analysis & Report categories" on page 61). Available options are: • Type: All, Color or Mono • Job Type: All, Scan, Copy, Fax or Print You can set various combination of these options for this widget. Current Alerts 6 Current Alerts widget shows alerts by severity level such as Critical, Warning, and Information. The severity level can be customized in Settings menu > Settings > Device Management > Alerts. Available options are: • Severity Level: Critical, Warning, and Information The widget order of the Dashboard may differ depending on which widget the user has added first. Configuring Dashboard widgets Adding a Dashboard widget 1. From SyncThru™ Admin 5, click the Dashboard menu > Dashboard. 2. Click on the upper right corner of the Dashboard tab. Add Widget window appears. 3. Select the widget you want to add from the drop-down list. 4. Click OK/Apply. Then you can see additional window for setting of the selected widget. 5. Configure the options you want to use for the widget. 6. Click OK/Apply. Modifying a Dashboard widget 1. From SyncThru™ Admin 5, click the Dashboard menu > Dashboard. 2. Click the modify icon on the header of the Dashboard widget. Settings of "xxx" window appears. (xxx is the name of the widget you select.) 3. Click the Select button. 4. Select the group you want and click OK. 5. Click OK/Apply. Basically, each widget has an option for selecting group. So, you can customize widgets with multiple groups. In addition, some of widgets have additional options such as Periods, or Type, which can help you to make various widgets. Deleting a Dashboard widget Click the delete icon on the header of the Dashboard widget. Dashboard Settings tab First Page Option Dashboard is set as the first page of SyncThru™ Admin 5. Dashboard_ 25
-
 1
1 -
2
-
3
-
4
-
5
-
6
-
7
-
8
-
9
-
10
-
11
-
12
-
13
-
14
-
15
-
16
-
17
-
18
-
19
-
 20
20 -
 21
21 -
 22
22 -
 23
23 -
 24
24 -
 25
25 -
 26
26 -
 27
27 -
 28
28 -
 29
29 -
 30
30 -
31
-
32
-
33
-
34
-
35
-
36
-
37
-
38
-
39
-
40
-
41
-
42
-
43
-
44
-
45
-
46
-
47
-
48
-
49
-
50
-
51
-
52
-
53
-
54
-
55
-
56
-
57
-
58
-
59
-
60
-
61
-
62
-
63
-
64
-
65
-
66
-
67
-
68
-
69
-
70
-
71
-
72
-
73
-
74
-
75
-
76
-
77
-
78
-
79
-
80
-
81
-
82
-
83
-
84
-
85
-
86
-
87
-
88
-
89
-
90
-
91
-
92
-
93
-
94
-
95
-
96
-
97
-
98
-
99
-
100
-
101
-
102
-
103
-
104
-
105
-
106
-
107
-
108
-
109
-
110
-
111
 |
 |