Seagate STM320004SDA20G-RK User Guide - Page 10
Naming Conventions, To Create a Public Home User Account, To Create a Public Business User Account
 |
UPC - 763649005705
View all Seagate STM320004SDA20G-RK manuals
Add to My Manuals
Save this manual to your list of manuals |
Page 10 highlights
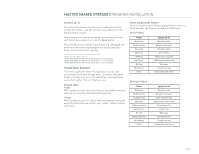
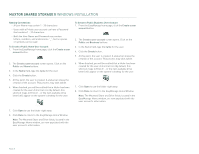
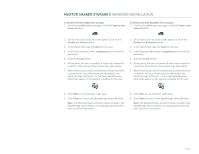
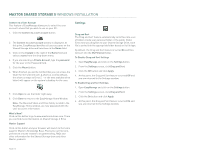
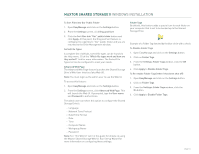
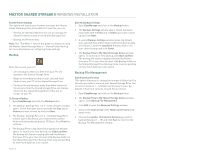
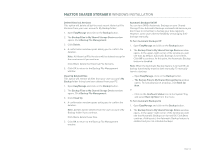
MAXTOR SHARED STORAGE II WINDOWS INSTALLATION Naming Conventions - A User Name may contain 1 - 20 characters - Users with a Private user account can have a Password that contains 1 - 32 characters - Both the User Name and Password may contain letters, numbers, and underscores "_", but no spaces or symbols can be used To Create a Public Home User Account 1. From the EasyManage home page, click the Create a user account button. 2. The Create a user account screen opens. Click on the Public and Home buttons. 3. In the Name field, type the name for the user. 4. Click the Create button. 5. At this point, the user is created. A status bar shows the creation of the account. This process may take awhile. 6. When finished, you will be notified that a folder has been created for the user. A shortcut icon (by default, this shortcut maps to Drive Z: - or the next available drive letter) will appear on the system's desktop for the user. To Create a Public Business User Account 1. From the EasyManage home page, click the Create a user account button. 2. The Create a user account screen opens. Click on the Public and Business buttons. 3. In the Name field, type the name for the user. 4. Click the Create button. 5. At this point, the user is created. A status bar shows the creation of the account. This process may take awhile. 6. When finished, you will be notified that a folder has been created for the user. A shortcut icon (by default, this shortcut maps to Drive Z: - or the next available drive letter) will appear on the system's desktop for the user. 7. Click Open to use the folder right away. 8. Click Done to return to the EasyManage Home Window. Note: The Mounted Share and Drive fields, located in the EasyManage Home window, are now populated with the user account's information. 7. Click Open to use the folder right away. 8. Click Done to return to the EasyManage Home Window. Note: The Mounted Share and Drive fields, located in the EasyManage Home window, are now populated with the user account's information. PAGE 8
-
 1
1 -
2
-
3
-
4
-
 5
5 -
 6
6 -
 7
7 -
 8
8 -
 9
9 -
 10
10 -
 11
11 -
 12
12 -
 13
13 -
 14
14 -
 15
15 -
16
-
17
-
18
-
19
-
20
-
21
-
22
-
23
-
24
-
25
-
26
-
27
-
28
-
29
-
30
-
31
-
32
-
33
-
34
-
35
-
36
-
37
-
38
-
39
-
40
-
41
-
42
-
43
-
44
-
45
-
46
-
47
-
48
-
49
-
50
-
51
-
52
-
53
 |
 |
