Singer 1 One Instruction Manual 40 - Page 8
Preparation, sewing
 |
View all Singer 1 One manuals
Add to My Manuals
Save this manual to your list of manuals |
Page 8 highlights
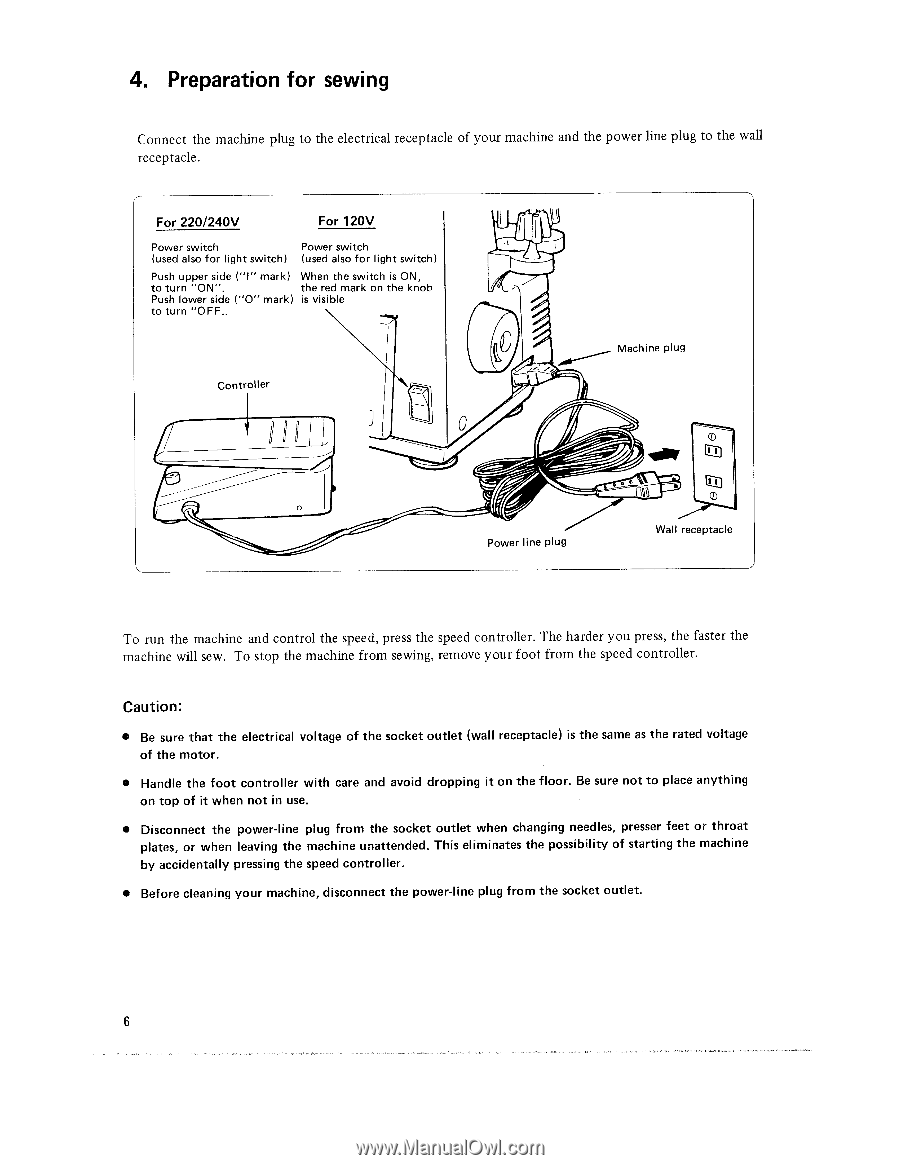
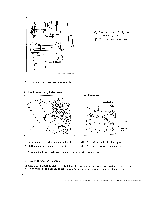
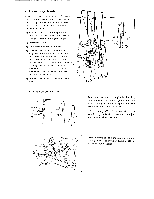
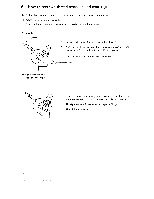
4. Preparation for sewing Connect the machine plug to the electrical receptacle of your machine and the power line plug to the wall receptacle. For 220/240V For 120V Power switch Power switch (used also for light switch) (used also for light switch) Push upper side ("I" mark) When the switch is ON, to turn "ON". the red mark on the knob Push lower side ("0" mark) is visible to turn "OFF.. Controller Machine plug Power line plug Wall receptacle To run the machine and control the speed, press the speed controller. The harder you press, the faster the machine will sew. To stop the machine from sewing, remove your foot from the speed controller. Caution: • Be sure that the electrical voltage of the socket outlet (wall receptacle) is the same as the rated voltage of the motor. • Handle the foot controller with care and avoid dropping it on the floor. Be sure not to place anything on top of it when not in use. • Disconnect the power-line plug from the socket outlet when changing needles, presser feet or throat plates, or when leaving the machine unattended. This eliminates the possibility of starting the machine by accidentally pressing the speed controller. • Before cleaning your machine, disconnect the power-line plug from the socket outlet. 6
-
 1
1 -
2
-
 3
3 -
 4
4 -
 5
5 -
 6
6 -
 7
7 -
 8
8 -
 9
9 -
 10
10 -
 11
11 -
 12
12 -
 13
13 -
14
-
15
-
16
-
17
-
18
-
19
-
20
-
21
-
22
-
23
-
24
-
25
-
26
-
27
-
28
-
29
-
30
-
31
-
32
-
33
-
34
-
35
-
36
 |
 |